
Desktop Organizer: Plan the Layout Before You Glue
Wood glue sets fast enough that there's no fixing a compartment that's the wrong size once it's attached — a full dry-fit before any glue touches the wood is the step that actually prevents a wasted afternoon.
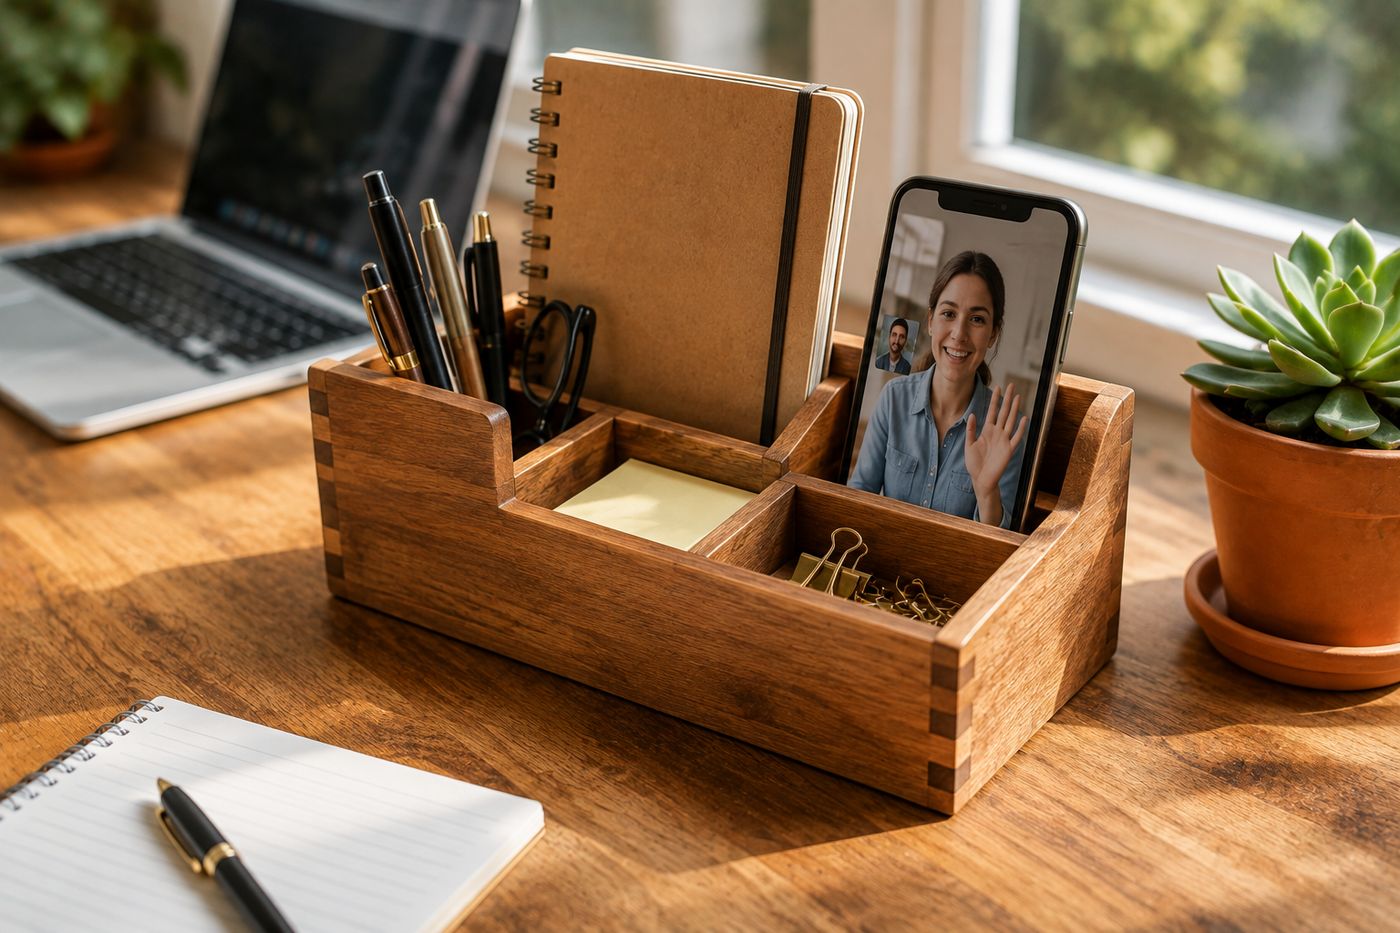
A desktop organizer only works if the compartments actually fit what you're putting in them — a pen slot too narrow, a notebook section too shallow, or a phone stand at the wrong width defeats the whole purpose no matter how nicely the piece is built. The problem is that wood glue sets fast enough that there's no repositioning a wall once it's attached, which means any sizing mistake discovered after assembly means cutting a piece free and starting that section over rather than making a small adjustment. Dry-fitting every piece on the base before any glue comes out solves this entirely: lay out your actual pens, sticky notes, phone, and notebooks against the cut pieces, and adjust compartment widths on the spot while everything is still just resting in place rather than permanently joined. That planning step is what separates an organizer that fits your specific desk clutter from one that's just an attractive box with compartments that don't quite work for what you own. Once the layout's confirmed, the build itself is simple — about $8-14 in lumber and roughly an hour of work.
What You'll Need
- 1x8 lumber, for the base, cut to about 10" long — about $4
- 1x4 and 1x6 lumber, for walls and dividers — about $6
- Wood glue
- Small screws or brads
- Sandpaper, progressive grits
- Stain, paint, or clear sealer, to match your workspace — about $3
- Drill, for an optional charging cable notch or hole
- Square, for checking walls sit perpendicular to the base
- The actual items you plan to store (pens, phone, notebook), for dry-fitting compartment sizes
How to Build It
- Cut your base from 1x8 lumber to about 10" long, then cut your wall and divider pieces from 1x4 and 1x6 lumber to your planned heights.
- Dry-fit every piece on the base without any glue, arranging your actual pens, sticky notes, phone, and notebooks into the planned compartments to confirm each one is the right size — this is the step that prevents a costly mistake, since adjustments are easy now and impossible once things are glued.
- Adjust any compartment that feels too tight or too loose by trimming a divider before moving forward, rather than assembling first and hoping it works out.
- Mark the final positions of each wall and divider on the base once you're satisfied with the fit.
- Apply wood glue to the base edges of each wall and divider, then position them according to your marks, checking each one with a square before it sets.
- Secure each piece with small screws or brads through the base and into adjoining walls for a stronger connection than glue alone.
- Drill a small notch or hole at the back of the phone compartment if you want a charging cable to pass through cleanly.
- Sand the entire assembled piece smooth, rounding any sharp edges, then finish with stain, paint, or clear sealer to match your workspace.
Woodworkers who build custom desk accessories as gifts often ask the recipient to send a quick photo of what's currently cluttering their desk before finalizing compartment sizes, rather than guessing at generic proportions, since the actual mix of items — extra-wide sticky note pads, a specific phone model, a particular pen style — varies enough between people that a one-size layout rarely fits everyone's real desk clutter equally well.














