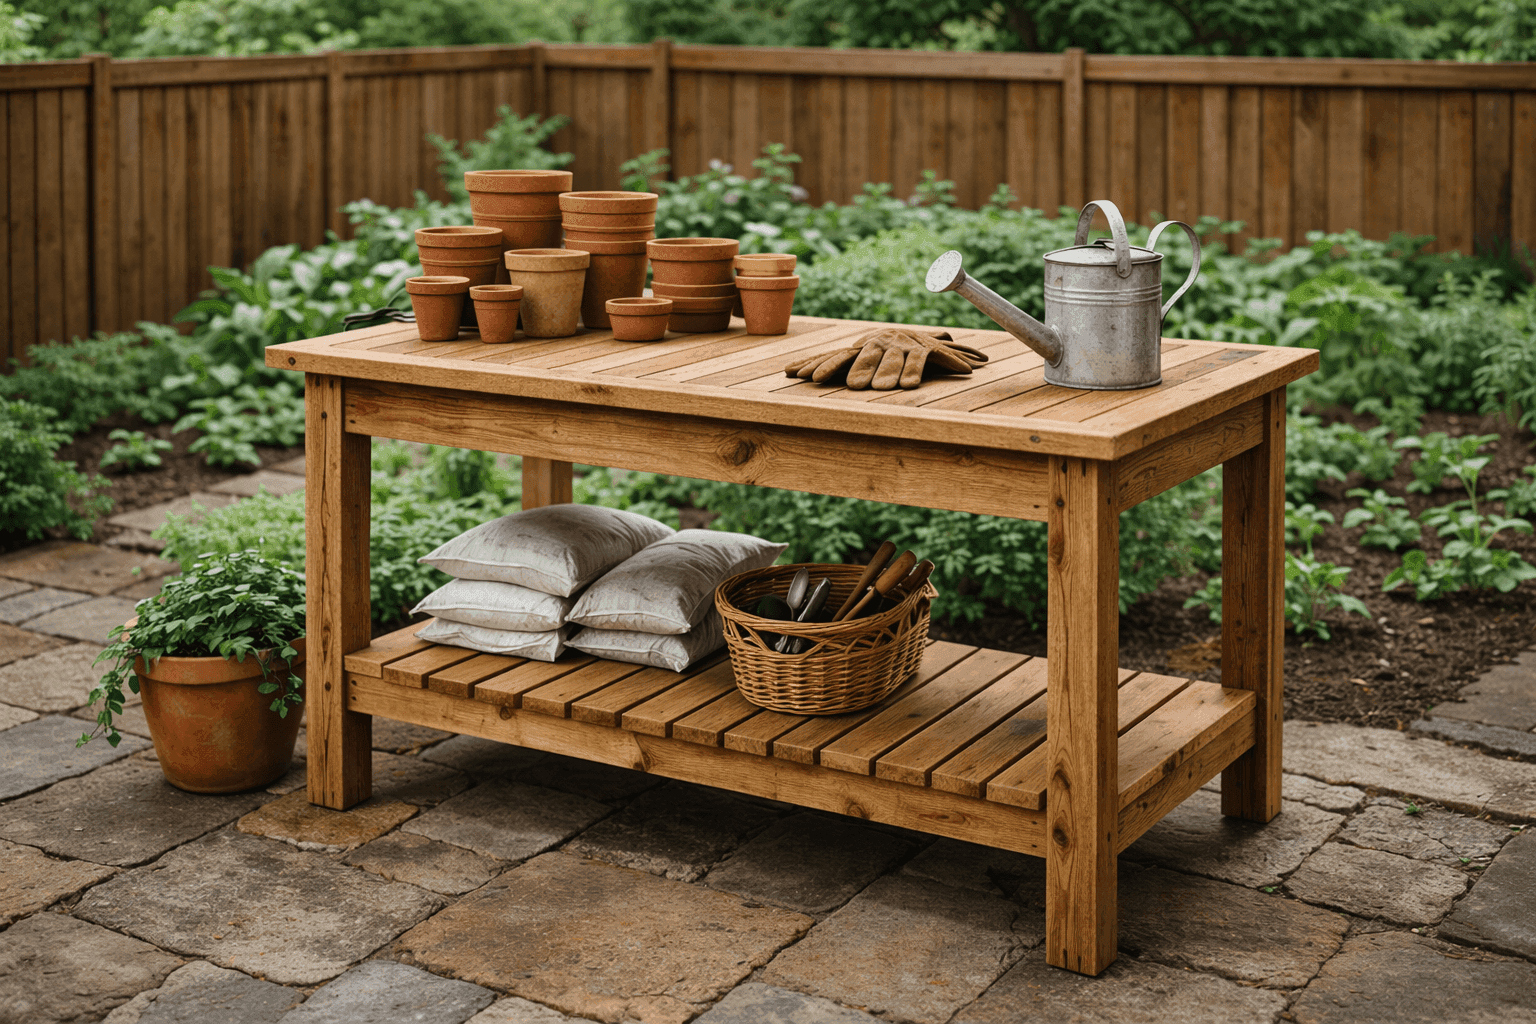
Dig In: Build a Potting Table With Built-In Storage
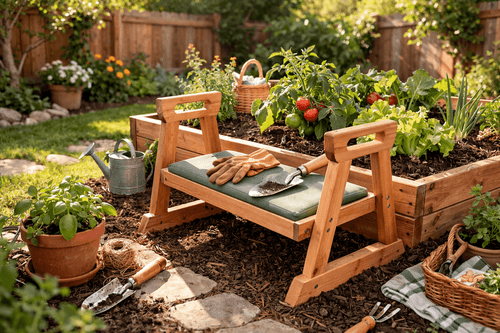
A waist-height work surface with a lower storage shelf — the dedicated potting station that makes every spring planting task faster and cleaner
If you've ever found yourself on your knees in the driveway, surrounded by open soil bags, scattered seedling trays, and tools you have to stand up to find every five minutes, you already understand exactly why a dedicated potting table is one of the most genuinely useful things a gardener can build. A waist-height work surface means no more back strain from bending over a low bench or crouching on the ground, and a built-in lower shelf keeps your soil bags, fertilizer, and extra pots right where you need them without a separate trip to the shed. This straightforward build uses basic lumber, requires no advanced joinery, and comes together in a solid afternoon for $50–$80 depending on wood choice and finish. It's sturdy enough to handle heavy soil bags, roomy enough to spread out a full flat of seedlings, and practical enough that you'll wonder how you got through a single planting season without it. This is the workshop project that pays for itself the first weekend you actually use it.
What You'll Need
- Lumber
- Four 2x4x8 boards for legs and frame supports — ~$4–$6 each (~$16–$24 total)
- Two 1x6x8 boards or one sheet of ¾-inch plywood cut to size for the work surface — ~$12–$18
- Two 1x6x8 boards for the lower storage shelf — ~$8–$12
- Cedar or pressure-treated lumber highly recommended for outdoor use — costs slightly more but resists rot and warping through seasons of moisture and soil exposure
- Hardware
- 2½-inch exterior deck screws — one pound box covers the full build — ~$6–$8
- Eight 3-inch structural screws or carriage bolts with nuts and washers for leg-to-frame joints — ~$4–$6
- Exterior wood glue for reinforcing joints — ~$5
- Optional: four adjustable leveling feet for uneven patio or ground surfaces — ~$8–$10
- Finish & Protection
- Exterior wood sealant or deck stain in your preferred color — one quart covers the full table — ~$12–$16
- 120 and 220-grit sandpaper for prep and finishing
- Drop cloth and 2-inch paintbrush for applying finish
- Tools
- Circular saw or miter saw (or request cuts at the hardware store)
- Drill/driver with Phillips and drill bit set
- Tape measure, pencil, and speed square
- Clamps — at least two, four is better — for holding joints during assembly
- Level for confirming the work surface is flat
How to Build It
- Plan your dimensions before making a single cut — a standard potting table works best at 34–36 inches tall (matching kitchen counter height so you can work without hunching), 48 inches wide, and 20–24 inches deep. Mark every cut on your lumber with a pencil and speed square before touching the saw, and double-check each measurement against your cut list so you don't end up with a leg that's an inch shorter than the other three.
- Cut all your lumber to length in a single session — four legs at your chosen height, two long frame rails at 48 inches, two short frame rails at 17–21 inches (depth minus 3 inches for the leg width), and your shelf boards to match the frame width. Cutting everything at once lets you dry-fit the whole table before driving a single screw and catch any measurement errors while they're still easy to fix.
- Build the two end frames first by laying two legs parallel on a flat surface, positioning one short rail flush across the top and one at your chosen shelf height (typically 10–12 inches from the ground), and clamping everything square before drilling pilot holes and driving screws. Pre-drilling is non-negotiable with 2x4 lumber — skipping it splits the wood at the ends every single time.
- Connect the two end frames with your long rails by standing both end assemblies upright, clamping the long rails across the front and back at the top and shelf positions, and confirming everything is square with your speed square before fastening. Drive two screws per joint at minimum, and add a dab of exterior wood glue to each connection for a table that won't rack or wobble after a season of heavy use outdoors.
- Attach the work surface boards across the top frame rails with even spacing — leaving ¼-inch gaps between boards if using individual planks allows water and soil to drain through rather than pooling on the surface. Center the boards across the frame width, clamp them in place, then fasten with two screws per board per rail so nothing shifts or bows over time.
- Install the lower shelf the same way across the shelf-height rails, spacing boards evenly and fastening securely — this shelf needs to handle the real weight of full soil bags and heavy ceramic pots, so don't skimp on fasteners here. A shelf positioned 10–12 inches from the ground is low enough to slide a full 40-pound soil bag under without tilting it but high enough to keep bags clear of standing water after rain.
- Sand the entire table starting with 120-grit to knock down rough edges, splinters, and mill marks, then finishing with 220-grit for a smooth surface that won't snag gloves or catch soil in rough grain. Pay particular attention to the top work surface edges and the shelf front edge where hands make the most contact — a few minutes of careful sanding here makes the finished table feel genuinely well-made.
- Seal and finish with two coats of exterior deck stain or wood sealant, letting the first coat dry completely before applying the second — this is what separates a potting table that lasts one season from one that's still solid five years later through rain, soil, and constant moisture exposure. Let the final coat cure for a full 24 hours before loading the shelf and putting the table to work for your first spring planting session.
The detail that separates a truly functional potting table from one that just looks good in photos is a backsplash — a simple 6-inch board screwed vertically along the back edge of the work surface. It keeps soil, water, and debris from constantly falling behind the table onto your patio or fence, and it doubles as a mounting surface for small hooks, a narrow shelf for seed packets, or a strip of pegboard for hanging hand tools. Add two or three galvanized or stainless steel S-hooks along the front apron rail for hanging trowels, gloves, and small watering cans, and suddenly your potting table has become a fully organized garden workstation rather than just a flat surface with a shelf underneath. If you want the table to age beautifully outdoors rather than just weather and gray out, finish it with a penetrating teak oil rather than a surface sealant — it soaks into the wood fibers, won't peel or flake the way topcoat finishes do, and needs only a single fresh coat each spring to stay protected all season.