Interior Design

Recent Content

Wooden Wall Shelf: Why Pilot Holes Stop Splits

Wooden Wall Shelf: Why Pilot Holes Stop Splits

Build a simple pine wall shelf in an afternoon for about $20. Drilling pilot holes first is what keeps the wood from splitting and the shelf solid.

Make Cedar Fire Starter Bundles in 45 Minutes for $14

Make Cedar Fire Starter Bundles in 45 Minutes for $14

Light your first fire in seconds, not frustration! Make cedar-and-wax fire starter bundles in 45 minutes for $14 and be ready for cold November nights.

Peel-Off Stair-Step Shelf Trick for Tiny Desks

Peel-Off Stair-Step Shelf Trick for Tiny Desks

Free up desk space with a freestanding monitor riser shelf. No drilling, no glue, zero deposit risk. A small-space win you can set up in 10 minutes!

Dollar Store Tray Shelf: The Anchor That Holds $5

Dollar Store Tray Shelf: The Anchor That Holds $5

Turn two $1 dollar-store trays into a wall-hung bathroom shelf for under $5. Hanging it from a sturdy hook, not tape, keeps it from crashing down.

Build a Glove and Hat Drying Rack in 1 Hour for $18

Build a Glove and Hat Drying Rack in 1 Hour for $18

Soggy mittens by the door? Build a slim dowel drying rack in an hour for $18 and wake up to warm, dry gloves and hats all winter long.

logo
  • Home Improvement
  • DIY Projects
  • Interior Design
  • Gardening & Outdoor
  • Real Estate
  • Home Improvement
  • DIY Projects
  • Interior Design
  • Gardening & Outdoor
  • Real Estate
  • ​

Dreamy Escape: Create a Bedroom Canopy

Transform your bedroom into a romantic retreat with flowing fabric that adds safari-chic style and bug protection!

Romantic bedroom with flowing white sheer canopy draped over bed creating an elegant safari-chic atmosphere
INTERIOR DESIGN

There's something absolutely magical about sleeping under a canopy that makes you feel like you're in a luxury safari lodge or beachside resort. I installed my first bedroom canopy three years ago during a particularly stressful period, and it instantly transformed my space from ordinary to extraordinary – suddenly, bedtime felt like escaping to a dreamy retreat every single night. The flowing fabric creates an intimate cocoon that makes your bed feel like the most romantic spot in the house, while the practical mosquito netting means you can sleep with windows open for those perfect summer breezes without becoming a midnight snack buffet. At under $50, this project delivers five-star hotel vibes for a fraction of the cost.

What You'll Need

  • Canopy Material: 8-10 yards of sheer fabric (chiffon, tulle, or mosquito netting, ~$25-35)
  • Mounting Hardware: Ceiling hooks or curtain rod brackets, depending on your installation method
  • Support Options: Curtain rod for full canopy OR single ceiling hook for draped effect (~$10-15)
  • Hanging Tools: Stud finder, drill with bits, measuring tape, level, pencil for marking
  • Fabric Accessories: Fabric ties or ribbons, optional fairy lights for ambiance
  • Safety & Finish: Appropriate wall anchors, cord management for lighting, fabric scissors

Step-by-Step Method

  1. Measure your bed area and ceiling height to determine fabric length and mounting positions
  2. Choose your style: full four-poster effect with rod frame or romantic single-point drape
  3. Install mounting hardware securely into ceiling joists or use heavy-duty drywall anchors
  4. Prepare fabric by hemming raw edges and creating attachment points with fabric ties
  5. Drape fabric starting from the head of the bed, allowing generous pooling at floor level
  6. Adjust flow and positioning until the canopy creates the desired intimate atmosphere
  7. Secure fabric ties to prevent excessive movement while maintaining natural draping
  8. Style with ambient lighting, throw pillows, or plants to complete the resort-inspired look
DESIGNER TIP

Interior designers use the "puddle method" for luxury canopies – let fabric pool gracefully on the floor rather than hanging it perfectly even. This creates that effortless, expensive look you see in high-end hotels. Also, layer different textures: start with functional mosquito netting closest to the bed, then add flowing chiffon or silk on the outside for visual drama. The key is creating depth and movement, not just hanging a flat curtain!
Related Content

Interior Design

07 November 2026

Post

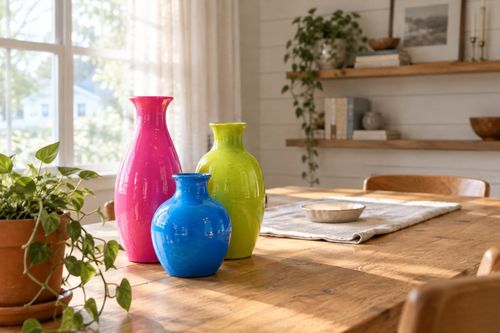
Painted Vase Trio: Why the Gloss Coat Must Go Last

Turn thrifted vases into a bold, color-blocked trio for under $20. The clear gloss coat is what makes the color pop and keeps the paint from chipping....

Interior Design

04 November 2026

Post

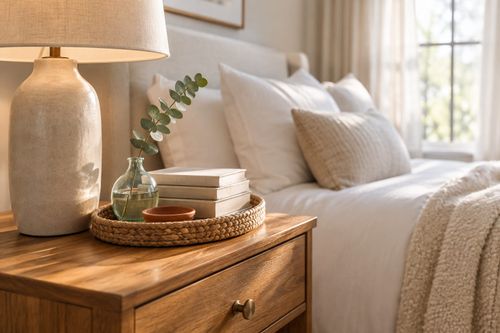
Style a Layered Nightstand Vignette in 1 Hour for $35

Turn a cluttered nightstand into a cozy styled vignette with the height-rule trick—1 hour, $35, instant bedroom upgrade....

Interior Design

02 November 2026

Post

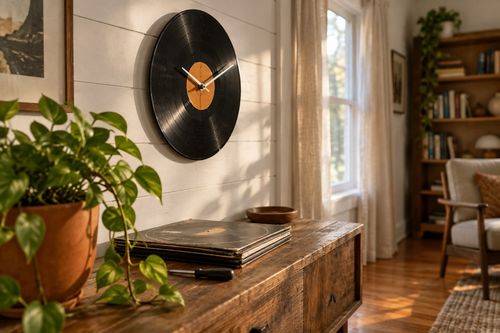
Vinyl Record Clock: The Center Hole Size That Matters

Turn a scratched vinyl record into a working wall clock—the center hole size is what keeps the mechanism snug instead of wobbling off-center. Under $15....

Interior Design

26 October 2026

Post

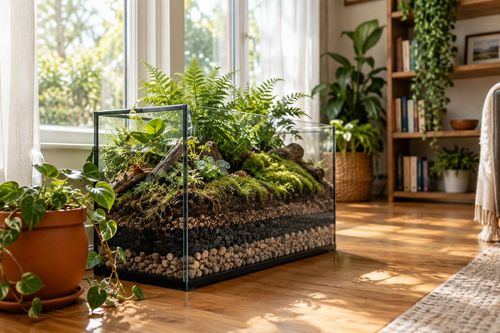
Fish Tank Terrarium: The Drainage Layer That Saves It

Turn a leaky old fish tank into a stunning terrarium—the gravel drainage layer is what stops root rot before your plants ever get a chance....

Interior Design

24 October 2026

Post

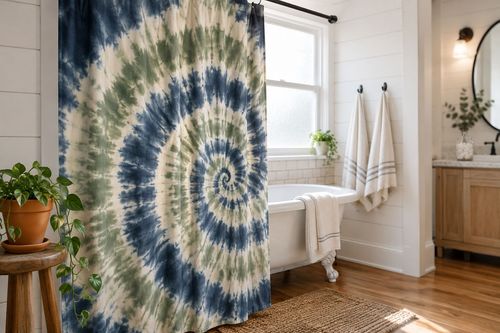
Tie-Dye Shower Curtain: The Fold That Makes Spirals

Turn a plain $8 shower curtain into a wild tie-dye spiral—the fold-and-twist technique is what makes the pattern radiate instead of blotch....

Interior Design

21 October 2026

Post

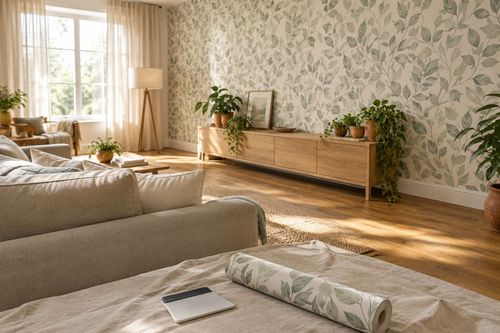
Peel-and-Stick Wallpaper Accent Wall in 3 Hours for $60

Turn one blank wall into a showstopper with peel-and-stick wallpaper—no wet paste, no mess, just a sharp accent wall by dinnertime....

Interior Design

19 October 2026

Post

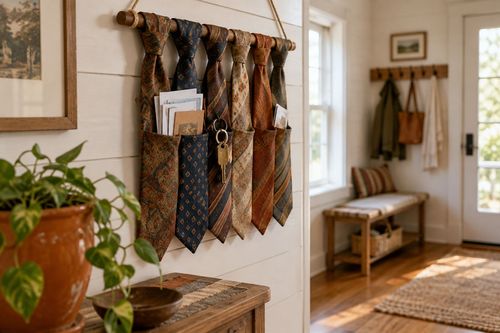
Necktie Wall Organizer: The Knot Spacing That Holds

Turn old neckties into a boho wall organizer for keys and mail—even knot spacing is what keeps the pockets from sagging open. Under $10....

Interior Design

17 October 2026

Post

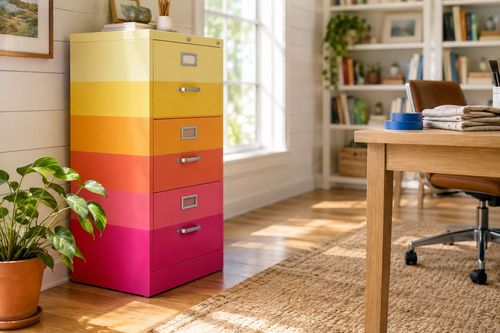
Neon Ombré File Cabinet: The Tape Order That Prevents Bleed

Turn a beige metal file cabinet into a neon ombré showstopper—the tape-layering order is what keeps colors crisp instead of muddy. Under $25....

Interior Design

15 October 2026

Post

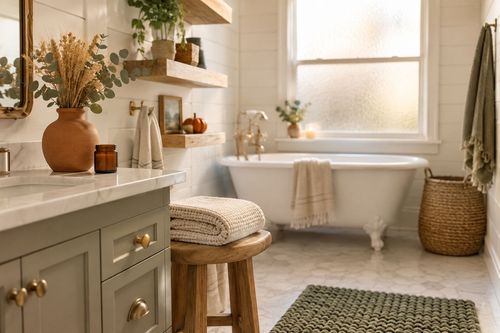
Style a Cozy Fall Guest Bathroom Refresh in 2 Hours for $35

Turn a sterile guest bath into a warm fall retreat with layered textiles and scent—2 hours, $35, zero renovation required....

Interior Design

13 October 2026

Post

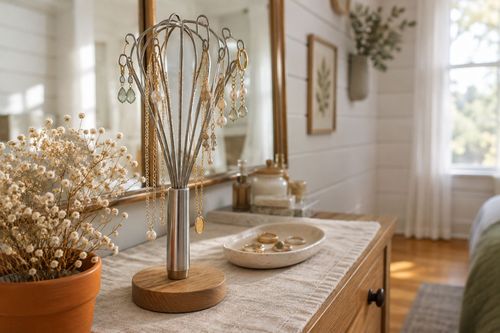
Whisk Jewelry Holder: The Bend That Stops Sagging

Turn a $1 dollar-store whisk into a boutique earring holder—the wire bend angle is what stops it from drooping under real jewelry weight....

Interior Design

12 October 2026

Post

Shutter Towel Rack: The Anchor Screw That Won't Rip Out

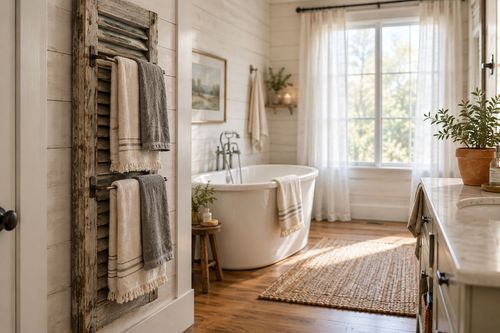
Turn a salvaged wood shutter into a bathroom towel rack—the stud anchor is what stops it ripping out under soaked towels....

Interior Design

11 October 2026

Post

Style a Cozy Window Seat Nook in 2 Hours for $45

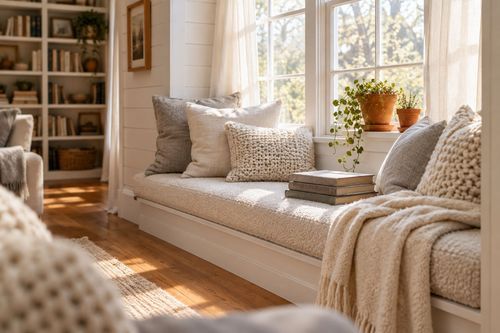
Turn a bare window seat into a cozy fall reading nook with the right cushion layering trick—2 hours, $45, instant curl-up energy....

Interior Design

10 October 2026

Post

Sunburst Mirror: The Ray Overlap That Hides Gaps

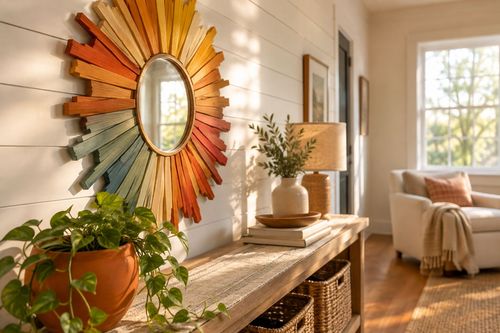
Paint a bold rainbow sunburst mirror for $25—overlapping each ray's base is the trick that hides gaps and makes it look store-bought....

Interior Design

07 October 2026

Post

Style a Cozy Fall Bedroom Refresh in 2 Hours for $50

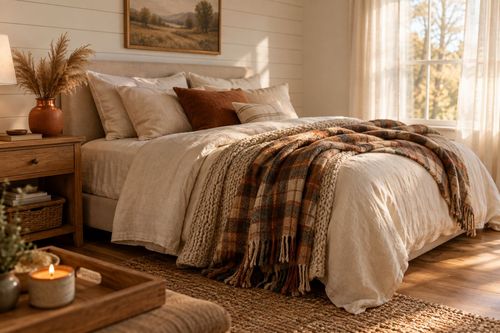
Layer flannel, wool, and warm light the right way and your bedroom finally feels like fall — 2 hours, $50, zero renovation....

Interior Design

03 October 2026

Post

Style a Fall Bookshelf Refresh in 2 Hours for $40

Turn a cluttered bookshelf into a magazine-worthy fall vignette using the triangle rule and warm accents—2 hours, $40, zero carpentry....
Terms and ConditionsDo Not Sell or Share My Personal InformationPrivacy PolicyPrivacy NoticeAccessibility NoticeUnsubscribe
Copyright © 2026 DIY HomeBoost