
Fall Leaf Garland: Density Is the Whole Secret
A garland with visible gaps between leaves reads as a craft project — one packed dense enough that the twine disappears entirely reads as an expensive floral arrangement, and that's purely a function of how many leaves you're willing to use.
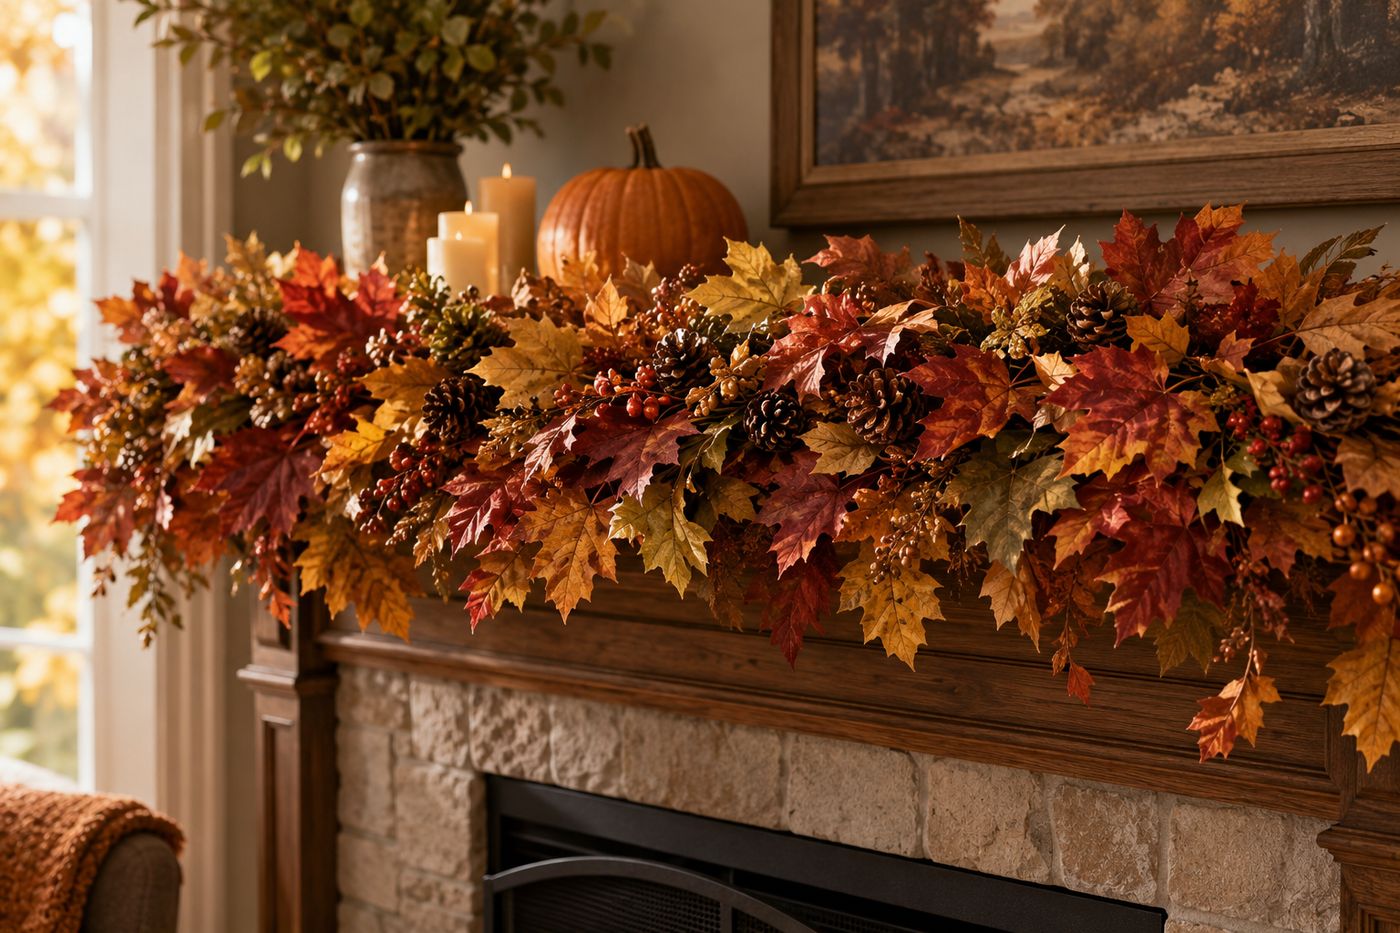
A garland with any visible gaps of twine between leaves signals a handmade craft immediately, since the underlying structure is showing through, while a garland where every inch of twine disappears under overlapping leaves reads as a full, professionally arranged piece regardless of how inexpensive the individual materials actually were. That's the entire visual mechanism behind why density matters more here than leaf quality, color choice, or arrangement skill — a genuinely packed garland made from dollar store silk leaves looks more expensive than a sparse one made from higher-quality artificial foliage, because fullness itself is what the eye reads as luxurious rather than the material cost of any single leaf. Overlapping leaves generously, so each new leaf covers the stem attachment point of the one before it, is what achieves that continuous coverage rather than leaving gaps at every attachment. Once density is handled, alternating colors and tucking in pinecones or berries for texture just adds finishing detail on top of an already-full base. Get the packing density right, and a $4-8 garland reads as a $20-40 store-bought version.
What You'll Need
- Artificial fall leaves, bunches or bags of silk leaves in autumn colors — about $3-5
- Twine, jute, or floral wire, for the base — about $1
- Mini pinecones, faux berries, or small acorns (optional) — about $2-3
- Hot glue gun or floral wire, for securing leaf stems
- Scissors
How to Do It
- Cut your twine or wire base to the length you need for your display spot, adding extra length at each end for tying or draping.
- Start at one end, wrapping the stem of your first leaf around the twine and securing it with a small dab of hot glue or a twist of floral wire.
- Attach your next leaf so it overlaps the stem and attachment point of the previous one completely, covering any visible twine between the two.
- Continue attaching leaves along the full length this way, checking as you go that no bare twine is showing through — this overlapping density is the single detail that determines whether the finished garland reads as full and expensive or sparse and homemade.
- Alternate leaf colors and sizes as you work, avoiding clustering all of one color together for a more natural, abundant look.
- Tuck mini pinecones, faux berries, or acorns in at intervals among the leaves, securing each with a small dab of glue for added texture and dimension.
- Check the finished garland from a few feet away, adding extra leaves to any spot that still looks thin from that distance.
- Drape the finished garland across a mantel, wind it through a stair banister, frame a doorway, or lay it as a table runner.
Floral designers who build seasonal garlands professionally often work in short 6-8 inch sections at a time, fully completing the density in each small section before moving forward, rather than loosely placing leaves along the entire length first and going back to fill gaps. Working section by section makes it much easier to catch and fix thin spots immediately instead of discovering uneven density only after the whole garland is finished.














