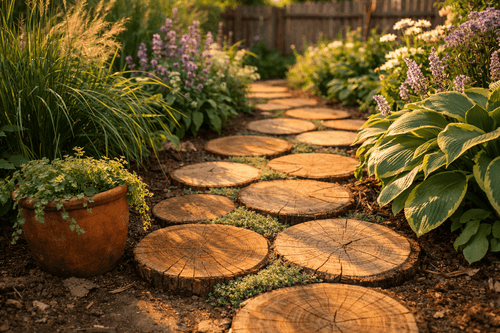
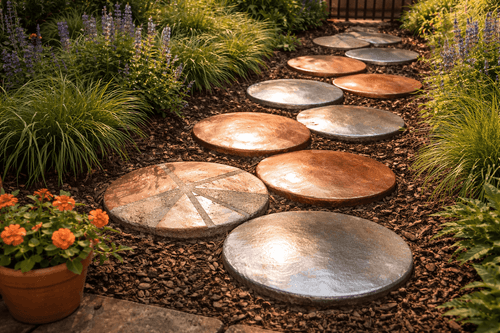
Garden Gallery: DIY Mosaic Stepping Stones
Transform your garden path into a colorful walkway of memories with personalized stones that tell your family's story!

Every time I walk down my garden path, I'm reminded of the magical weekend we spent creating these mosaic stepping stones as a family. Each stone tells a story – there's my daughter's handprint from when she was seven, a sunburst pattern made from golden glass beads, and even our dog's pawprint that makes everyone smile. What started as a practical need for a garden walkway became an ongoing art project that we add to every summer. The best part is that these stones become more beautiful with age, weathering into the landscape while preserving precious memories literally underfoot. At about $8-12 per stone, you can create a personalized pathway that's both functional and deeply meaningful – it's like having a family gallery that you walk through every day.
What You'll Need
- Base Materials: Concrete mix or stepping stone kit (~$15), circular or square molds (12-16 inches)
- Mosaic Elements: Glass beads, broken tiles, marbles, sea glass, or ceramic pieces (~$20-30)
- Design Tools: Tweezers for placement, rubber gloves, spray bottle for misting
- Personalization: Acrylic paints, permanent markers, letter stencils for names and dates
- Finishing: Grout (optional), sealer for protection, soft brush for cleaning
- Workspace: Plastic sheeting, level surface, bucket for mixing concrete
Step-by-Step Method
- Plan your design by sketching patterns and arranging materials before mixing any concrete
- Mix concrete according to package directions, aiming for thick but workable consistency
- Pour concrete into molds, filling about 3/4 full and tapping to release air bubbles
- Level the surface and let concrete set for 15-20 minutes until firm but still impressionable
- Create patterns by pressing glass beads, tiles, or marbles into the surface systematically
- Add personal touches like handprints, names, or dates while concrete is still workable
- Cure stones for 24-48 hours before carefully removing from molds
- Install in your garden path by leveling ground and adding sand base for stability
Professional landscape designers use the "rule of thirds" for mosaic patterns – divide your stone into nine sections mentally and place focal elements at intersection points for the most pleasing composition. Also, work from the center outward to ensure balanced coverage, and always press decorative elements just deep enough to be secure but not completely buried. For longevity, seal finished stones with concrete sealer annually to prevent freeze-thaw damage and color fading!