Home Improvement

Recent Content

Wooden Dish Rack: The Dowel Angle That Drains Right

Wooden Dish Rack: The Dowel Angle That Drains Right

Build a slatted wood dish rack for $18—the dowel tilt angle is what actually drains water into the tray instead of pooling on your counter.

Install a Fireplace Draft Stopper in 20 Minutes for $25

Install a Fireplace Draft Stopper in 20 Minutes for $25

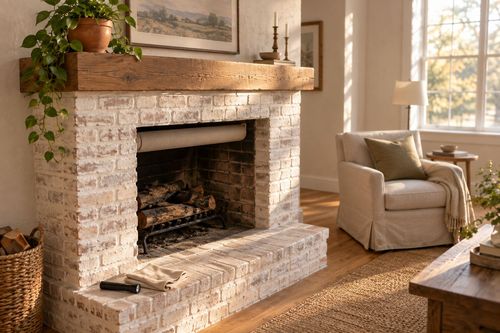
Stop your chimney from sucking heat right out of the house—an inflatable draft stopper seals it in 20 minutes for about $25.

The Shower Rod Trick That Fakes a Walk-In Closet

The Shower Rod Trick That Fakes a Walk-In Closet

Steal spare closet space with a second shower-curtain rod—zero holes, zero fuss, and your full deposit stays safe.

Pool Noodle Knife Block: The Slice Depth That Stops Wobble

Pool Noodle Knife Block: The Slice Depth That Stops Wobble

Turn a $1 pool noodle into a safe knife block—the slice depth is what keeps blades from wobbling loose or slicing through the foam.

Build a Wooden Pie Carrier in 2 Hours for $25

Build a Wooden Pie Carrier in 2 Hours for $25

Never smash a pie in the car again! Build a snug wooden pie carrier in 2 hours for $25—perfect timing for fall potlucks.

logo
  • Home Improvement
  • DIY Projects
  • Interior Design
  • Gardening & Outdoor
  • Real Estate
  • Home Improvement
  • DIY Projects
  • Interior Design
  • Gardening & Outdoor
  • Real Estate
  • ​

Install a Garage Door Threshold Seal in 1 Hour for $30

The difference between a seal that blocks drafts for years and one that peels off by December comes down to how flat and clean the concrete is before adhesive ever touches it.

[#~image_alt_1~#]
Home improvement

Every fall, that gap under your garage door turns into a wind tunnel, a leaf chute, and honestly an open invitation for mice looking for a warm place to nest. The fix is a rubber threshold seal, but here's the part most people get wrong: it's not the seal material that fails first, it's the surface prep underneath it. Skip cleaning and drying the concrete thoroughly and the adhesive never bonds properly, so the seal lifts at the edges within weeks and you're right back to square one. Do it correctly and you get a weathertight garage floor-to-door seal that lasts for years. This whole project takes about 1 hour and costs around $30.

What You'll Need

  • Materials (~$30 total):
  • 1 rubber garage door threshold seal kit, sized to your door width — about $22
  • 1 tube of exterior-grade polyurethane adhesive/sealant — about $6
  • Isopropyl alcohol or concrete cleaner for surface prep — about $2
  • Tools (likely already on hand):
  • Utility knife or fine-tooth hand saw for trimming the seal to length
  • Stiff-bristle broom and shop vacuum
  • Caulking gun
  • Tape measure and pencil for marking cut lines
  • Heavy books or bricks to weigh the seal down while curing

How to Do It

  1. Measure the full width of your garage door opening at the threshold, adding no extra length — a seal cut too long will buckle in the middle instead of laying flat.
  2. Clean the concrete threshold thoroughly with a broom, shop vacuum, and isopropyl alcohol wipe-down, since any dust, oil, or grit left behind will stop the adhesive from bonding and cause premature lifting.
  3. Dry the concrete completely before moving on — even slight residual moisture traps under the seal and weakens the bond from day one, especially in a damp fall garage.
  4. Cut the rubber seal to your measured length using a sharp utility knife, angling the blade slightly to get a clean, straight edge rather than a ragged one that won't sit flush.
  5. Test-fit the seal by laying it in place dry first, checking that the raised center ridge lines up directly under where the door bottom will close against it, since misalignment here means the seal won't actually compress and block air.
  6. Apply a continuous, unbroken bead of exterior polyurethane adhesive along the full underside of the seal — gaps in the adhesive line create weak points where wind and water sneak through first.
  7. Press the seal firmly into place along your marked line, working from one end to the other so you don't trap air bubbles that create bumps under the rubber.
  8. Weigh down the seal with books or bricks along its length and leave it undisturbed for the adhesive's full cure time, typically 24 hours, before opening or closing the garage door — closing it too soon can shift the seal before it's set.
DESIGNER TIP

Garage door technicians will tell you the most common seal failure isn't the product, it's closing the door on it before the adhesive fully cures — they recommend propping a rolled towel against the door track overnight as a physical reminder not to close it early. They also cut a slight bevel on the leading edge of the seal so the door's weight compresses it evenly instead of catching one corner first.
Related Content

Home Improvement

28 October 2026

Post

Install a Fireplace Draft Stopper in 20 Minutes for $25

Stop your chimney from sucking heat right out of the house—an inflatable draft stopper seals it in 20 minutes for about $25....

Home Improvement

25 October 2026

Post

Toy Bin Reset: The Bin Depth That Stops Overflow

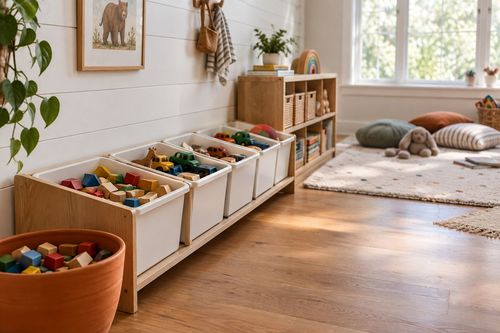
Reset chaotic toy bins in 25 minutes—the bin depth trick that stops overflow and actually gets kids to put things away....

Home Improvement

23 October 2026

Post

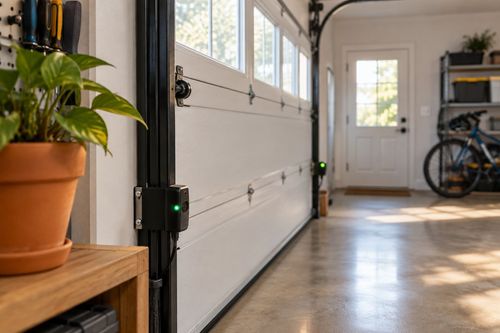
Garage Door Sensor Fix: The Alignment Mark Nobody Checks

Stop your garage door from reversing for no reason—the sensor alignment mark is the real fix, not the safety eye. Under 15 minutes, free....

Home Improvement

20 October 2026

Post

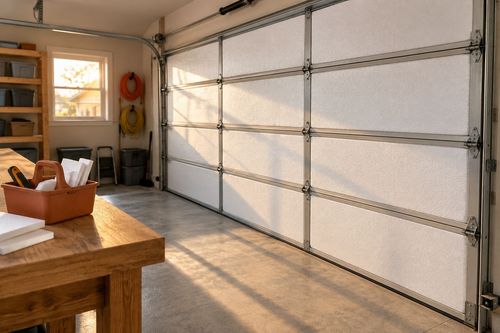
Insulate Your Garage Door Panels in 1 Hour for $30

Your garage is a giant uninsulated wall! Foam panel kits cut heat loss fast, cheap, and before winter really bites down....

Home Improvement

18 October 2026

Post

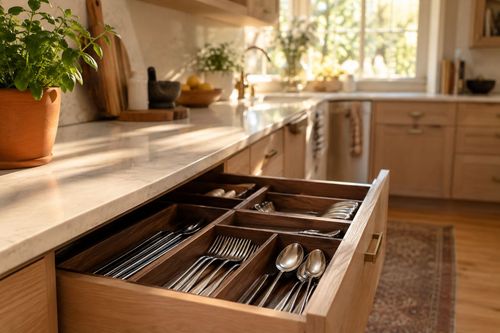
Silverware Drawer Reset: The Divider Depth That Stops Slide

Fix that sliding silverware drawer in 20 minutes—the divider depth trick that keeps forks and spoons from jumbling every time you open it....

Home Improvement

16 October 2026

Post

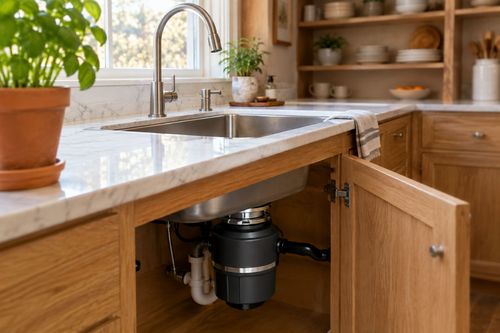
Leaky Garbage Disposal Fix: The Flange Seal Nobody Checks

Stop that mystery puddle under your sink—the sink flange seal is the real culprit, not the disposal unit itself. Fixed in under 30 minutes....

Home Improvement

14 October 2026

Post

Seal Crawl Space Vents in 1 Hour for $30

Your crawl space is bleeding heat through open vents! Foam vent covers seal it up in an hour for about $30 before the cold digs in....

Home Improvement

11 October 2026

Post

Coffee Station Reset: The Container Swap That Stops Stick

Reset your sticky coffee bar in 20 minutes — swapping bags for airtight containers is what actually stops the spills and ants, not just wiping counters....

Home Improvement

10 October 2026

Post

Weatherstrip Your Windows in 1 Hour for $20

Stop paying to heat the outdoors! Foam weatherstripping seals window gaps in an hour for about $20 before the cold snap hits....

Home Improvement

09 October 2026

Post

Weak Bathroom Fan Fix: The Duct Kink That Blocks Airflow

Stop bathroom mold before it starts—the crushed duct bend is why your exhaust fan isn't actually venting moisture outside. Fixed in under an hour....

Home Improvement

06 October 2026

Post

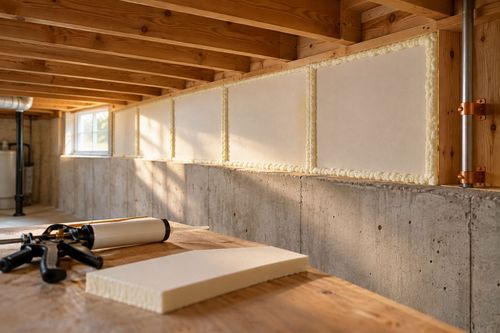
Seal Basement Rim Joists in 2 Hours for $40

Your basement is leaking heat through gaps you can't even see—seal rim joists this weekend before the cold really moves in....

Home Improvement

04 October 2026

Post

Laundry Shelf Reset: The Label Placement That Sticks

Reset your chaotic laundry shelf in 20 minutes—the label placement trick that actually stops everyone from restocking it wrong....

Home Improvement

02 October 2026

Post

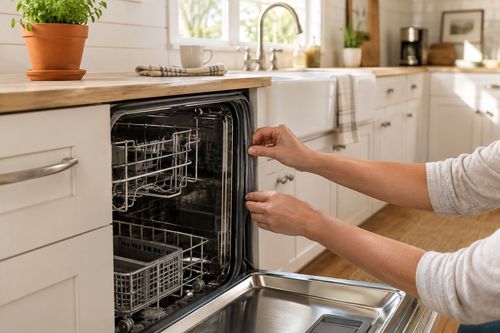
Leaky Dishwasher Fix: The Gasket Seat Line That Stops It

Stop dishwasher door leaks for good—the gasket seating line is the real fix, not just tightening the latch. Under 30 minutes, under $15....

Home Improvement

27 September 2026

Post

Install a Programmable Thermostat in 45 Minutes for $35

Stop guessing at your heat bill! Swap in a programmable thermostat this weekend and let smart scheduling do the saving for you....

Home Improvement

27 September 2026

Post

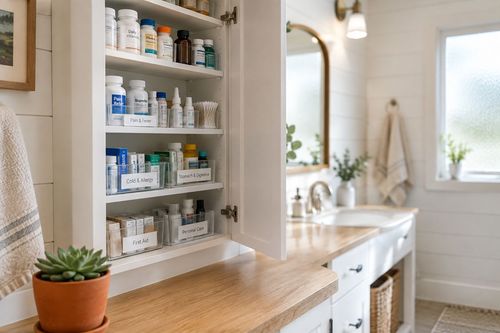
Medicine Cabinet Reset: The Expiration Check in 15 Minutes

Clear out expired meds and clutter fast—the expiration check that keeps your medicine cabinet safe, not just tidy. Done in 15 minutes flat....
Terms and ConditionsDo Not Sell or Share My Personal InformationPrivacy PolicyPrivacy NoticeAccessibility NoticeUnsubscribe
Copyright © 2026 DIY HomeBoost