Insulate Your Attic Hatch in 45 Minutes for $25
An uninsulated attic hatch is basically a hole in your ceiling, and whether your weatherstripping seal is continuous or gapped determines if you're keeping heat in or feeding it straight to the attic.
![[#~image_alt_1~#]](/_next/image?url=https%3A%2F%2Fd3klpa3rfwubzz.cloudfront.net%2Fmedia%2FAPI%20Uploads%2FDIY%2F2d5da1fee3644ecdae8a44908c9a7fe3_c7e13e79f7.jpg&w=1920&q=75)
Most homeowners weatherproof windows and doors every fall but completely ignore the attic access hatch sitting right above a hallway or closet—yet that thin panel of wood is often the single biggest air leak in the ceiling plane. The distinction between an attic hatch that stops drafts and one that keeps leaking heat comes down to whether the weatherstripping forms a continuous, compressed seal around the entire perimeter, not just a strip slapped on one edge. Warm air rises and escapes through any gap, no matter how small, so an interrupted seal defeats the purpose entirely. This project takes about 45 minutes and costs around $25 in foam weatherstripping, rigid foam board, and adhesive. Get this right before the first real cold snap and you'll notice a genuinely warmer upstairs hallway within days.
What You'll Need
- Materials (~$25 total):
- Self-adhesive high-density foam weatherstripping tape, 1/2-inch wide (~$8)
- 1-inch rigid foam insulation board, cut to hatch size (~$10)
- Construction adhesive suitable for foam board (~$4)
- Two spring-loaded hook-and-eye latches or a simple hatch clamp kit (~$3)
- Tools:
- Utility knife
- Tape measure
- Clean rag and rubbing alcohol for surface prep
How to Do It
- Measure the exact dimensions of your attic hatch opening and the lip it rests on, since an ill-fitted foam board will leave gaps that undo all your other work.
- Clean the wooden frame where the hatch meets the ceiling with rubbing alcohol, because dust and old paint film keep adhesive-backed weatherstripping from sticking permanently.
- Cut the rigid foam board to match the top surface of the hatch door, adding insulation value where none currently exists—most hatch panels are just thin plywood with an R-value near zero.
- Attach the foam board to the attic-side face of the hatch using construction adhesive, pressing firmly for a full minute so it bonds instead of sagging loose later.
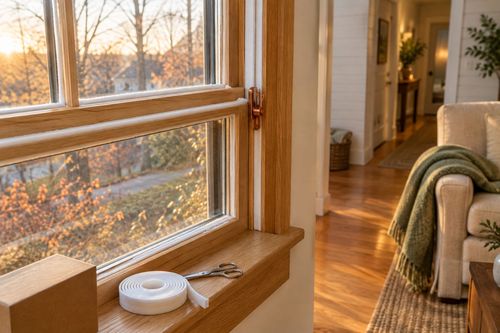
- Apply the foam weatherstripping tape in one continuous loop around the entire frame lip, overlapping the ends slightly rather than butting them, since any small break in the loop becomes an air leak point.
- Test the seal by closing the hatch and shining a flashlight around the perimeter from the attic side at night—any light leaking through from below marks a gap that needs more weatherstripping.
- Install a spring-loaded latch or clamp so the hatch closes with real compression against the new weatherstripping, since a hatch that just rests in place won't compress the seal enough to block airflow.
- Recheck the seal each fall, since foam weatherstripping compresses and degrades over a couple of heating seasons and loses its sealing power silently.
Energy auditors performing blower-door tests routinely flag attic hatches as a top-five leak source in older homes, often ranking above window frames. They recommend adding a secondary foam-board 'lid' that sits loosely on top of the hatch from the attic side, layered like a pot lid, for a second thermal break beyond the weatherstripped seal alone.