Insulate Your Garage Door Panels in 1 Hour for $30
The difference between a garage that stays livable all winter and one that turns into a walk-in freezer comes down to sealing every panel edge, not just filling the flat centers.
![[#~image_alt_1~#]](/_next/image?url=https%3A%2F%2Fd3klpa3rfwubzz.cloudfront.net%2Fmedia%2FAPI%20Uploads%2FDIY%2F9f82eaeef8cd2525c5ff853000653d8b_f72287abad.jpg&w=1920&q=75)
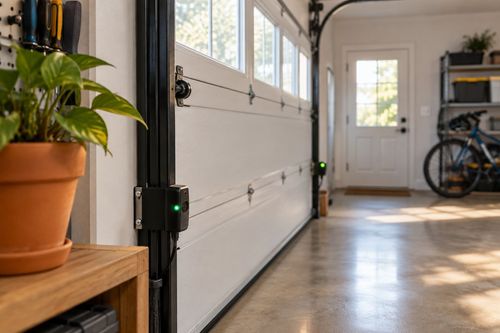
Most people picture their garage door as one solid barrier, but it's actually a grid of thin metal or fiberglass panels with almost no R-value on its own, which is why an unheated garage can run 15-20 degrees colder than outside once the panels act like a radiator pulling warmth out of the space. The real distinction between a garage that stays workable all winter and one that turns into a walk-in cooler isn't just adding foam board to the panel faces, it's making sure each cut piece is friction-fit tight against the panel ridges so there's no air gap sneaking heat past the insulation. Skip that fit and you've basically decorated your door instead of insulating it. This project takes about an hour and runs around $30 for a full double-car door kit, using pre-scored foam board panels and double-sided mounting tape. Once it's in, your garage stops acting like an open window to the cold and your attached rooms stop losing heat through that shared wall.
What You'll Need
- Materials (~$30 total):
- 1 reflective foam garage door insulation kit, pre-scored 8-panel set (~$22)
- 1 roll heavy-duty double-sided mounting tape, 1-inch wide (~$5)
- 1 roll aluminum foil tape for seam sealing (~$3)
- Tools (likely already on hand):
- Utility knife with fresh blade
- Tape measure
- Straightedge or metal ruler
- Clean rag and rubbing alcohol for surface prep
How to Do It
- Measure each individual panel on your garage door separately rather than assuming they're identical, since many residential doors have a slightly shorter top row that will make pre-scored kits fit wrong if you don't check first.
- Clean the inside face of every panel with a rag and rubbing alcohol, because dust and oily residue are the number one reason mounting tape fails within a few months instead of holding for years.
- Cut the foam board along the pre-scored lines with a fresh utility blade, replacing the blade halfway through if you have a double door, since a dull blade tears the reflective facing and weakens the panel's insulating layer.
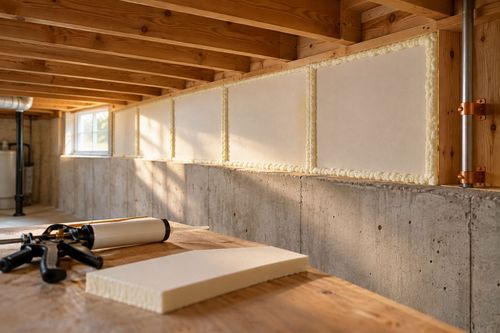
- Apply double-sided mounting tape around the full perimeter of each cut piece, not just the corners, so the panel stays flush against the door instead of sagging and creating an air gap over time.
- Press each foam piece firmly into its panel recess starting from one edge and working across, which prevents trapped air bubbles that would otherwise leave the tape only partially bonded.
- Seal every seam between adjacent foam pieces with aluminum foil tape, since gaps at the seams are exactly where warm garage air escapes even after the panel faces themselves are fully insulated.
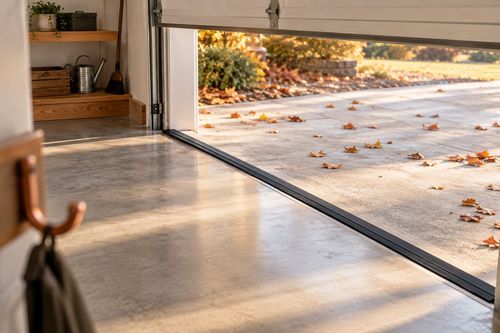
- Check the weatherstripping along the bottom of the door and sides while you're in there, because insulated panels can't compensate for a gap under the door that's letting cold air pour in directly.
- Test the door's balance by opening and closing it once fully after installation, confirming the added panel weight hasn't thrown off the spring tension enough to make it difficult to lift.
Energy auditors who do residential blower-door testing always check garage-to-house shared walls first, because that boundary is one of the most commonly overlooked leak points in a home. Their trick is running a lit incense stick along the seams between insulation panels after installation — if the smoke wavers or gets pulled sideways, that seam still needs another pass of foil tape before you call the job done.