
Mesh Produce Bags: The Seam That Determines If They Last
A raw exposed edge inside a bag frays a little more with every wash cycle until the seam eventually gives out — enclosing that edge completely inside the seam itself is the one construction choice that decides whether bags last a year or three months.
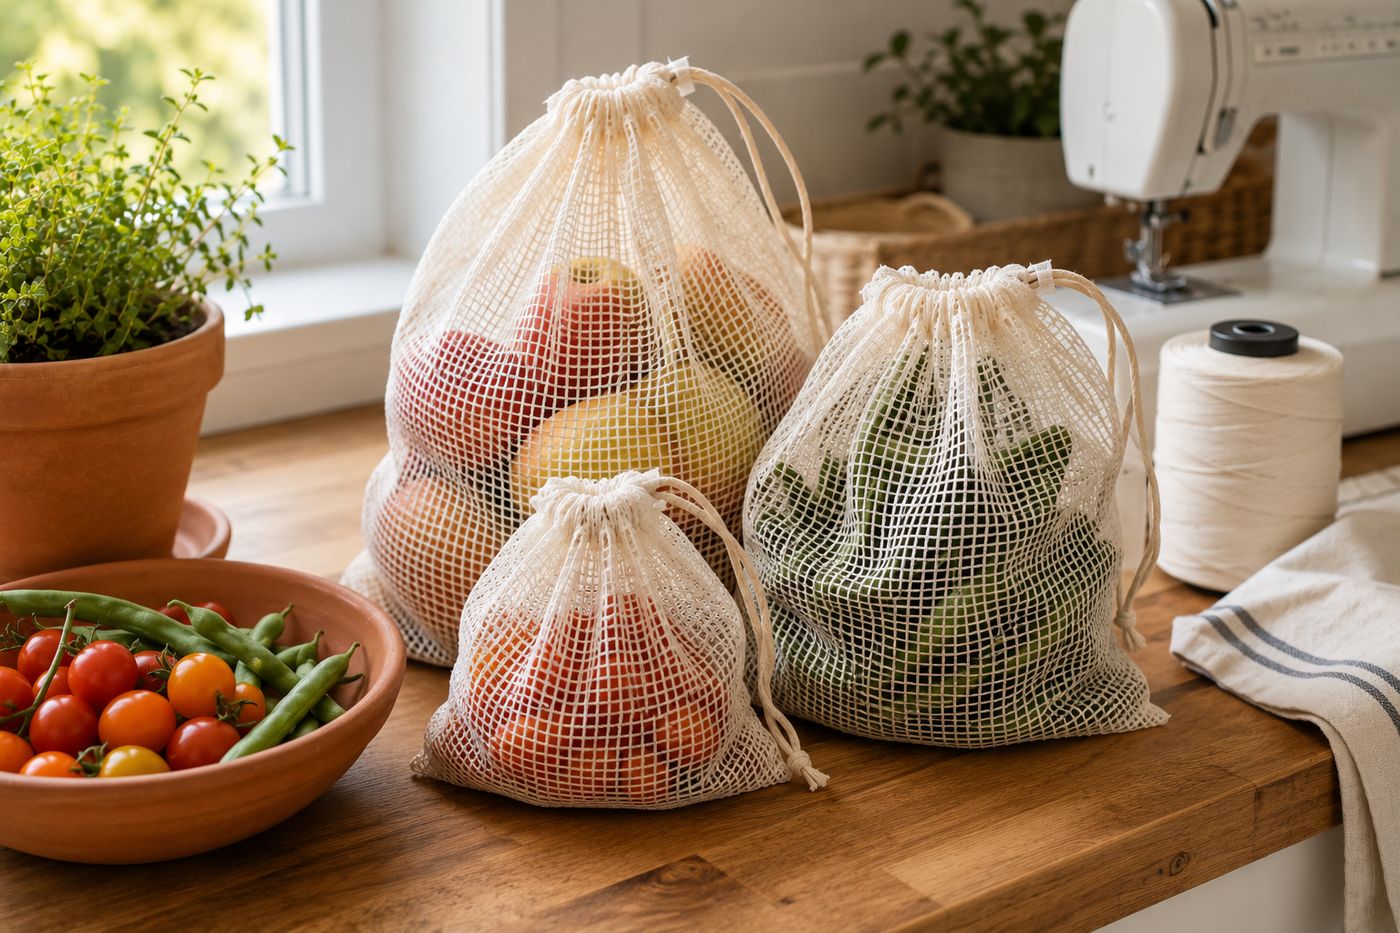
A standard seam leaves the fabric's raw edge exposed on the inside of the bag, and mesh fabric fringes easily along a cut edge, which means that exposed edge frays a little further with every wash cycle and every time produce shifts against it until the fraying eventually reaches the actual stitching line and the seam fails. That's the real reason commercial produce bags so often fall apart at exactly the seam, not from any single dramatic event but from cumulative fraying reaching a critical point. A French seam solves this structurally rather than just delaying it: sewing the seam once, trimming close, then folding and stitching a second time completely encloses the raw edge inside the finished seam where fraying has nowhere to spread and nothing left to catch on. That's the specific construction detail that separates bags that survive a full year of weekly grocery runs and regular washing from ones that fail within a few months, regardless of how sturdy the mesh fabric itself is. Once that seam technique is in place, the rest of the sewing is genuinely simple. A full batch of eight bags costs about $8 in fabric and cord and takes about an hour.
What You'll Need
- Lightweight mesh fabric, one yard — about $5
- Cotton drawstring cord — about $3 for a package
- Sewing machine
- Scissors or fabric shears
- Safety pin, for threading the drawstring cord
- Pins or fabric clips, for holding seams while sewing
- Ruler and fabric marker, for measuring rectangles
How to Do It
- Cut your mesh fabric into rectangles, four larger for bulky produce and four smaller for herbs and small items, sized to your preferred finished bag dimensions plus seam allowance.
- Fold a half-inch hem along the top edge of each rectangle, then fold again to fully enclose the raw edge, creating a casing for the drawstring.
- Stitch the casing closed along its length, leaving a small opening at each end for the drawstring cord to pass through.
- Fold the fabric in half with wrong sides facing (not right sides, since a French seam starts from the outside) and stitch the bottom and side with a small seam allowance, close to the raw edge.
- Trim the seam allowance close to the stitching, then turn the bag right sides together, enclosing that raw seam entirely inside.
- Stitch the same bottom and side seam a second time from this side, fully enclosing the raw edge inside a clean French seam — this second pass is what actually prevents the fraying that causes commercial bags to fail, so don't skip straight to a single seam even though it's faster.
- Turn the finished bag right side out, and thread drawstring cord through the top casing using a safety pin to guide it through.
- Knot the drawstring ends together securely, and repeat the full process for each remaining bag in the batch.
Home sewers who make produce bags to sell or gift regularly often use a contrasting thread color for the drawstring casing stitching specifically, since it makes that particular seam easy to visually inspect for wear at a glance over the bag's lifetime, without needing to flip the bag inside out or examine it closely to check whether it needs reinforcement before it actually fails.














