
Rolling Kitchen Cart: The Casters Change Everything
A stationary cart is just a smaller table taking up permanent floor space — locking casters are what actually turn a counter into something that appears exactly when you need it and disappears when you don't.
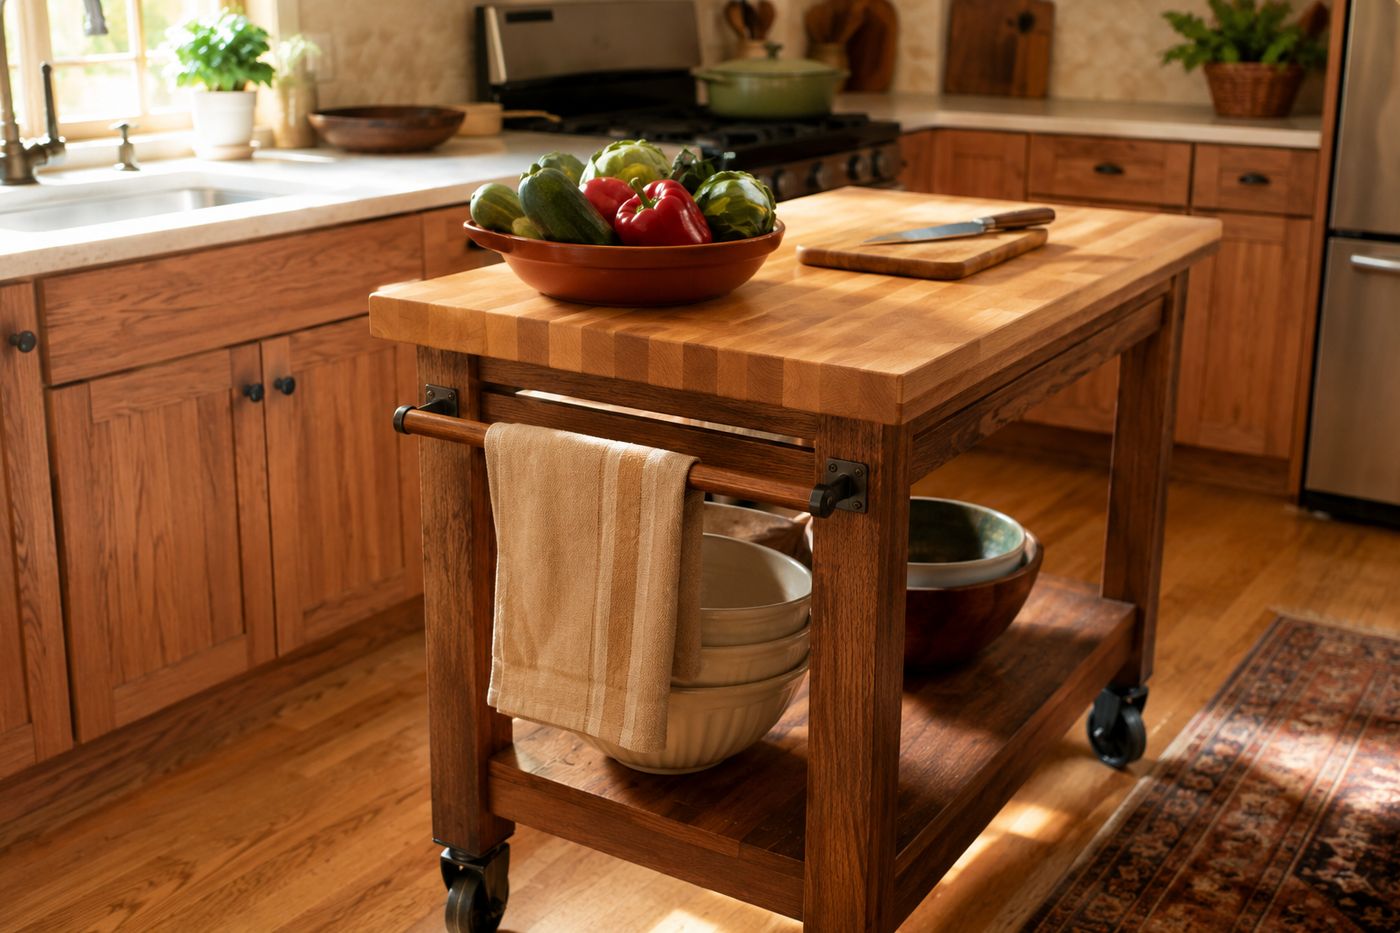
A butcher block surface on a fixed frame is really just a small table, and a small table in a tight kitchen either permanently blocks floor space or ends up shoved into a corner where it stops being useful counter space at all. Locking casters change what this piece actually is: instead of a fixed object competing for room, it becomes extra prep surface that exists exactly where and when it's needed, then rolls flush against a wall the moment it's not. The locking function specifically matters as much as the wheels themselves — without the ability to lock the casters in place, the cart would shift under the pressure of chopping or kneading, which defeats the purpose of using it as a stable work surface in the first place. That combination, mobile when you need to reposition it and rigid when you need to work on it, is what makes this genuinely more useful than a stationary cart of the same size. Build quality still matters underneath that mobility — a solid 2x4 frame keeps the whole structure from racking under weight and movement over years of rolling back and forth. The whole cart costs about $75 in butcher block, lumber, and hardware, and takes roughly four hours to build.
What You'll Need
- Butcher block panel, sized to your desired cart top — about $35
- 2x4 lumber, for the frame — about $15
- Plywood or additional lumber, for the lower shelf — about $8
- Four locking casters, rated for the cart's expected loaded weight — about $12
- Exterior wood screws
- Wood glue
- Food-safe mineral oil, for finishing the butcher block top — about $5
- Sandpaper
- Drill/driver, square, tape measure
How to Build It
- Cut your 2x4 lumber for the frame legs and horizontal supports, sized to fit beneath your butcher block top with room for the lower shelf.
- Assemble the frame with wood glue and screws, checking every joint with a square as you go — a frame that's out of square will rack under load no matter how sturdy the individual 2x4s are.
- Cut and install the lower shelf piece within the frame, securing it with screws for a stable second storage surface.
- Attach the locking casters to the bottom of each leg, choosing hardware rated for the cart's total expected weight once loaded with the butcher block top and stored items.
- Sand the butcher block top thoroughly if it isn't pre-finished, working through progressive grits for a smooth surface.
- Attach the butcher block top to the frame with screws driven up from underneath, so no hardware is visible on the working surface.
- Apply food-safe mineral oil to the butcher block top, letting it fully absorb and reapplying as needed for a rich, protected finish.
- Test the locking mechanism on all four casters before regular use, confirming the cart stays completely stationary when locked and rolls smoothly when unlocked.
Kitchen designers who work with small-footprint layouts often size a rolling cart to match the height of the existing counters exactly, rather than building it slightly shorter or taller for convenience, because a cart at matching counter height can be pushed flush against the main counter to functionally extend the workspace in one continuous surface, not just serve as separate standalone prep space nearby.














