Seal Crawl Space Vents in 1 Hour for $30
The difference between a warm floor and an icy one this winter comes down to whether those foundation vents stay open past first frost.
![[#~image_alt_1~#]](/_next/image?url=https%3A%2F%2Fd3klpa3rfwubzz.cloudfront.net%2Fmedia%2FAPI%20Uploads%2FDIY%2F5fca4cd8d49fea3355a562254d919dc3_926c8c5527.jpg&w=1920&q=75)
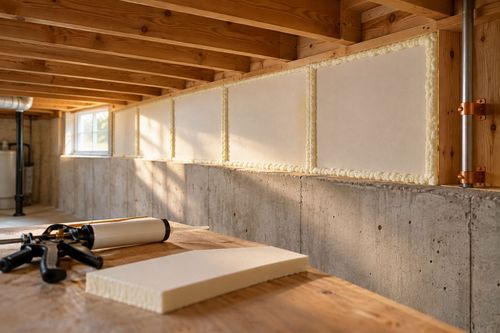
Most homes have foundation vents designed to keep summer moisture from pooling under the house, but once temperatures drop, those same open vents become a direct pipeline for cold air to reach your subfloor, pipes, and ductwork. The mechanism is simple: cold air sinks and pools in the crawl space, chilling everything it touches, including any water lines that aren't insulated, which is exactly how pipes freeze even in moderate climates. Sealing vents at the right moment, after your crawl space has finished drying out from summer humidity but before nighttime temps consistently dip below 40°F, is the variable that separates a cozy floor from a cold one. This project takes about an hour and costs around $30 in foam vent covers and foil tape.
What You'll Need
- Materials (~$30 total):
- 4-6 foam crawl space vent covers, sized to fit ($4-6 each)
- Roll of foil HVAC tape for sealing edges ($8)
- Weatherstripping foam tape as backup seal ($5)
- Optional: rigid foam board scraps for oversized vents ($6)
- Tools:
- Tape measure
- Utility knife
- Work gloves and a headlamp or flashlight
- Stiff brush for clearing debris from vent openings
How to Do It
- Inspect every foundation vent from the outside first, checking for cracked frames or gaps around the edges, since a poorly-fitting cover won't stop drafts no matter how tightly you press it in.
- Measure each vent opening individually, because foundation vents are rarely a uniform size across one house and a cover that's even a half-inch too small will let air whistle straight through.
- Clear debris, leaves, and old spider webs from each opening with a stiff brush so the foam cover seats flush against the frame instead of catching on grime.
- Cut foam covers to size with a utility knife if needed, trimming a hair large so the foam compresses slightly into the opening for a tighter friction fit.
- Press each cover firmly into its vent opening, checking from both inside and outside that no daylight is visible around the edges.
- Seal the perimeter of every cover with foil HVAC tape, which matters because foam alone can shrink slightly in cold weather and tape keeps the seal airtight through temperature swings.
- Wrap any exposed water pipes you can reach while you're down there with foam pipe insulation sleeves, since a sealed crawl space still gets cold, just slower.
- Mark your calendar for a spring reminder to pull the covers back out, because trapping humidity down there all summer invites mold and wood rot.
Home energy auditors always check crawl space vents with a smoke pencil before sealing, holding a thin stream of smoke near each opening to visually confirm airflow direction and strength rather than guessing by feel. If you don't have one, a lit incense stick works the same way and costs about a dollar.