
Tin Can Organizers: The Rim Check You Can't Skip
A standard can opener leaves a razor-sharp edge along the rim, hidden right where your hand reaches in for a pen every single day — checking and smoothing that edge matters more than any part of the actual makeover.
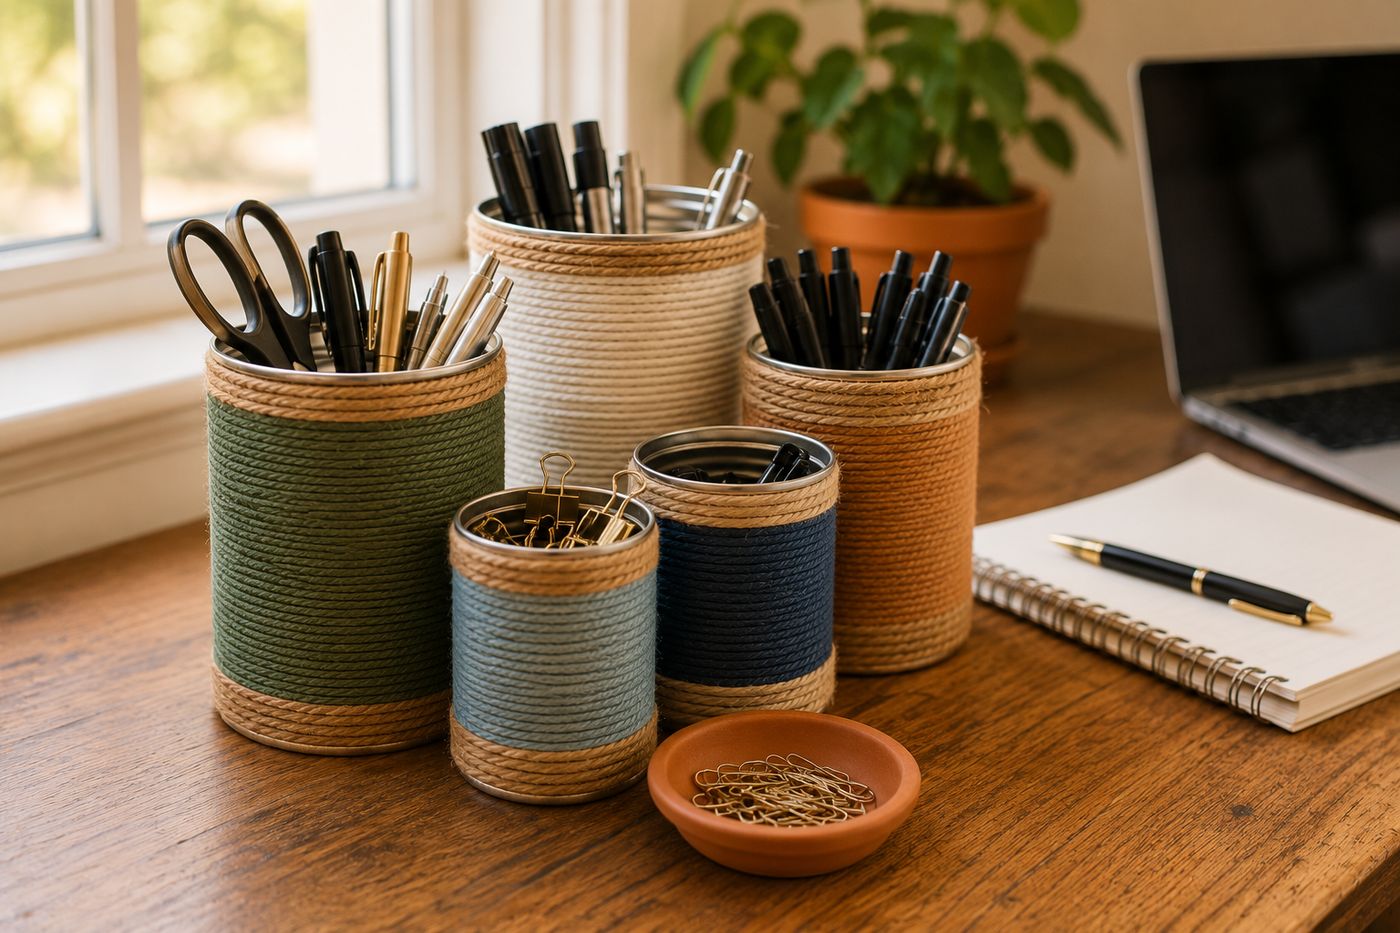
A standard can opener cuts through the lid by shearing the metal, which leaves a thin, genuinely sharp burr along the cut edge rather than a smooth finished rim — and that edge sits exactly where a hand reaches in dozens of times a day to grab a pen or a pair of scissors, which makes it a real cut hazard rather than a minor cosmetic issue. Filing or sanding that rim smooth, or using a safety can opener that cuts from the side and leaves a rounded edge instead of a sheared one, is the step that actually determines whether this project is safe to use daily or something that quietly nicks fingers for months until someone finally notices why. That safety check matters more than any decision about paint color, twine wrap, or which sizes to use for which supplies, since none of the visual styling choices matter if the finished piece isn't safe to reach into. Once the rims are checked and smoothed, the rest of this project is pure creative decoration, and it costs essentially nothing beyond the cans you'd otherwise recycle.
What You'll Need
- Empty tin cans, in a few sizes (soup, vegetable, coffee) — free, saved from regular use
- File or fine sandpaper, for smoothing rim edges — about $3, or already on hand
- Spray paint or acrylic paint, in coordinating colors — about $6-10
- Decorative paper, fabric, or jute/twine, for wrapping — about $5
- Craft glue or hot glue gun
- Ribbon trim or washi tape (optional), for embellishment
- A small tray (optional), for grouping the finished set
How to Do It
- Soak your saved cans in warm water to loosen labels, then scrub off any remaining glue residue.
- Check the rim of every single can for sharp edges by running a finger very carefully along the inside edge, and file or sand any sharp spots completely smooth before proceeding — this is the step that determines whether the finished organizer is genuinely safe to reach into daily, so don't skip it even on cans that look fine at a glance.
- Wash and dry the cans completely once rims are smoothed.
- Choose one cohesive look for the full set — coordinating paint colors, matching fabric or paper wraps, or twine wrapped bottom to top — so the finished collection reads as intentional rather than mismatched.
- Apply your chosen finish to each can, whether that's paint, wrapped paper or fabric secured with glue, or twine wound tightly from bottom to top.
- Let paint or glue dry and cure fully before handling the cans further.
- Add any embellishments like ribbon trim or washi tape stripes once the base finish is complete.
- Assign each can a function based on its size — tall cans for pens and rulers, medium cans for scissors and markers, short cans for paper clips and push pins — then group the finished set on a small tray or cluster them together on your desk.
Crafters who make these organizer sets to sell often line the smoothed interior rim with a thin strip of felt or washi tape as an extra layer of protection, even after filing the edge down, since it adds a soft buffer specifically at the point most likely to make repeated contact with fingers throughout the day. It's a small extra step beyond the essential safety filing that adds genuine peace of mind for daily use.














