Torn Upholstery: The Curve Reaches What Straight Can't
A split cushion seam usually sits somewhere your hand can't get behind, which is exactly the problem a straight needle can't solve — the curve lets you enter and exit the fabric from the same side in one motion.
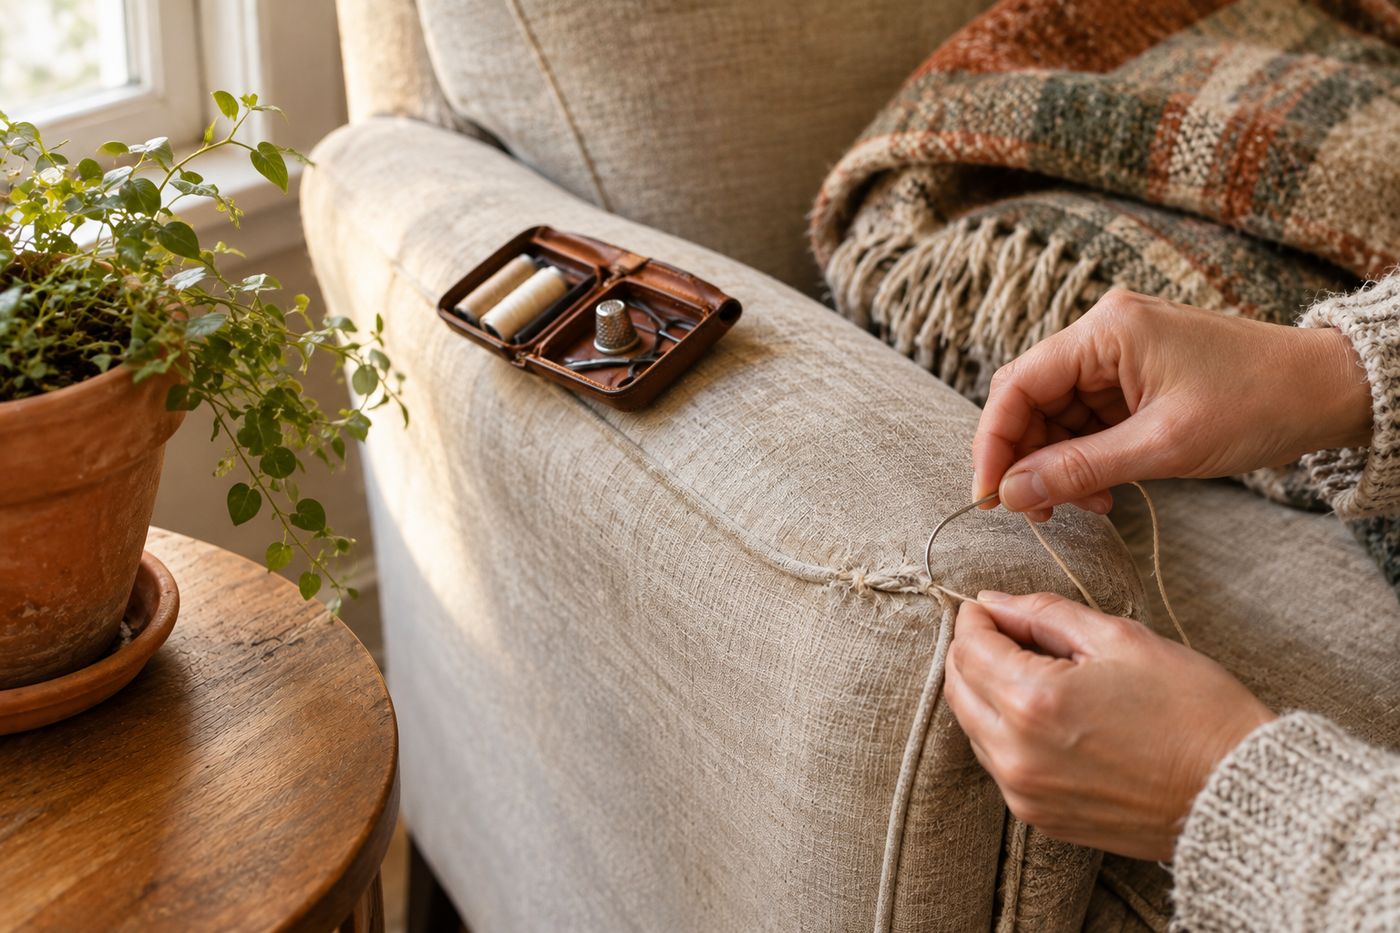
A torn seam on a cushion or chair back almost always sits in a spot where your hand can only reach one side of the fabric, since the other side is buried against foam padding, a cushion back, or an internal frame — and a straight needle needs a clear path in and out of the fabric that this kind of geometry simply doesn't allow. A curved needle solves that problem mechanically rather than requiring any special skill: the curve lets you push through both fabric layers and bring the tip back up to the surface on the same side you started, without ever needing to reach around or behind the piece. That single tool difference is what makes upholstery repair genuinely accessible to someone with no sewing background, since the technique itself, a ladder stitch alternating small horizontal stitches on each side of the gap, is straightforward once the needle can actually navigate the repair site. Waxed thread matters too, since it glides through upholstery-weight fabric without shredding and holds a knot securely under the tension a seam repair needs. Get the right needle and thread, and a $6 kit fixes a torn seam invisibly in about 20 minutes.
What You'll Need
- Curved upholstery needle — about $3 for a kit
- Waxed upholstery thread, matched to your fabric color — about $3
- Small scissors, for trimming thread
- Pins (optional), for holding the seam edges in position while you work
How to Do It
- Thread your curved needle with a length of waxed thread, doubling it if the original seam looks like it was sewn with heavier stitching.
- Pin the two edges of the torn seam together temporarily if it helps hold the fabric in position while you sew, aligning the edges so they'll meet flat once stitched.
- Insert the curved needle into the fabric just below the surface at one end of the tear, letting the curve guide it back up through the opposite side of the gap — this is exactly the motion a straight needle can't manage in a spot you can't reach behind.
- Stitch using a ladder stitch, alternating small horizontal stitches on each side of the gap rather than stitching straight across, which is what allows the seam to close invisibly rather than puckering.
- Pull the thread snug every few stitches, drawing the fabric edges together gradually so they meet flat rather than bunching from one strong pull at the end.
- Continue the ladder stitch pattern along the full length of the tear, checking periodically that the seam is closing evenly and flat.
- Knot the thread securely once you reach the end of the tear, trimming any excess close to the knot.
- Check the repair from a normal viewing distance rather than up close, since a properly done ladder stitch should be genuinely difficult to spot once you step back.
Professional upholsterers who repair client furniture regularly often stitch just slightly inside the original seam line rather than exactly along the existing stitch holes, since fabric right at the old stitch line has already been perforated repeatedly and tends to tear again under the same tension. Moving the new stitching a fraction of an inch into fresh, unperforated fabric gives the repair noticeably more holding strength over time.