Weatherstrip Your Windows in 1 Hour for $20
The difference between a window that stays warm all winter and one that bleeds heat comes down to compressing the gasket to the right thickness for your specific gap.
![[#~image_alt_1~#]](/_next/image?url=https%3A%2F%2Fd3klpa3rfwubzz.cloudfront.net%2Fmedia%2FAPI%20Uploads%2FDIY%2Fc511c88ec42b3df199e661073cb5633c_dd61116cb0.jpg&w=1920&q=75)
Every fall, homeowners crank the thermostat while cold air pours in through window gaps they never think to check. The single variable that determines whether weatherstripping actually works is matching foam thickness to your gap size — too thin and it won't seal, too thick and the window won't close flush, which creates new gaps at the corners. This project takes about 1 hour and costs around $20 for enough self-adhesive V-strip and foam tape to cover several windows. Once you press the strip into a cleaned, dry channel and test the compression with a folded dollar bill, you'll feel the draft disappear immediately. Skip this and you're literally paying your furnace to heat the driveway.
What You'll Need
- Materials (~$20 total):
- Self-adhesive V-strip weatherstripping, one 17-foot roll — $8
- Compression foam tape, 3/8-inch width, one 10-foot roll — $6
- Rubbing alcohol and a clean cloth for surface prep — $3
- Utility knife or sharp scissors for trimming strips to length — on hand
- Tools:
- Tape measure
- Dollar bill (for the compression test)
How to Do It
- Inspect each window sash and frame for visible gaps or drafts by running your hand along the edges on a windy day — you can't fix what you haven't located.
- Clean the window channel and sash edges with rubbing alcohol and let them dry fully, since adhesive strip won't bond to dust or old caulk residue.
- Measure each side of the sash and cut your V-strip or foam tape to length, mitering corners at 45 degrees so the seal wraps continuously without gaps.
- Choose the right product for the gap: V-strip for the sliding channels between sash and frame, compression foam for where the sash meets the top or bottom stop.
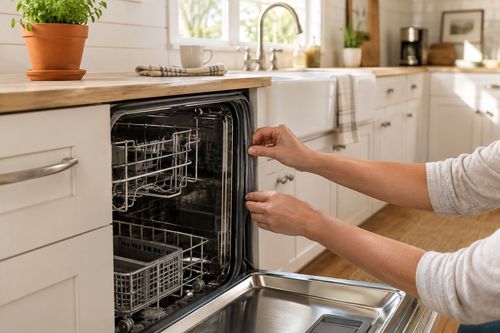
- Peel and press the adhesive backing and stick the strip firmly in place, working in short sections so it doesn't twist or bubble before you can smooth it down.
- Close the window slowly right after applying the strip so it compresses into its permanent shape while the adhesive is still curing, rather than springing back flat.
- Test the seal by closing a dollar bill in the window at several points — if it slides out easily, the gasket needs a thicker strip at that spot.
- Repeat across every drafty window in the house, prioritizing north- and west-facing rooms first since they typically lose the most heat.
Energy auditors doing blower-door testing always check corners first, since gaps compound where two strips meet at a miter — they recommend overlapping the corner seam by an extra half-inch of foam rather than butting the cuts edge to edge, which closes the tiny triangular gap that a clean 45-degree cut almost always leaves behind.