


Winter-Ready: Seal Your Home Like a Pro Before Cold Hits
Cut heating costs and boost comfort with this simple weekend weatherproofing project
Last winter I was shocked when my heating bill arrived – until I walked around my house with a candle and watched the flame flicker near every window and door frame! That's when I realized I was literally heating the great outdoors through all those tiny gaps and cracks I'd been ignoring. Spending one weekend caulking windows and doors cut my heating costs by nearly 20% that season, and the difference in comfort was immediate and dramatic. There's nothing quite like the satisfaction of knowing your warm air is staying exactly where it belongs – inside your cozy home. This is honestly one of the best return-on-investment projects you can tackle, and with cooler weather approaching, there's no better time to button up your house for the season ahead!
Caulking Supplies
- Quality Caulk: Exterior-grade silicone or acrylic latex, paintable formula ($5-8 per tube)
- Caulk Gun: Smooth-operating gun with pressure release for clean application ($12-20)
- Prep Tools: Utility knife, caulk removal tool, scraper for old material ($10-15)
- Cleaning Supplies: Denatured alcohol, clean rags, vacuum for debris removal ($8-12)
- Smoothing Tools: Caulk smoothing tool or your finger with soapy water ($5-10)
- Weather Stripping: Self-adhesive foam strips for larger gaps ($10-20)
- Total Investment: Under $75 for supplies that weatherproof entire house
Sealing Process
- Inspect all windows and doors systematically, marking areas that need attention
- Remove old, cracked caulk completely using utility knife and scraper tools
- Clean gaps thoroughly with vacuum and alcohol to ensure proper adhesion
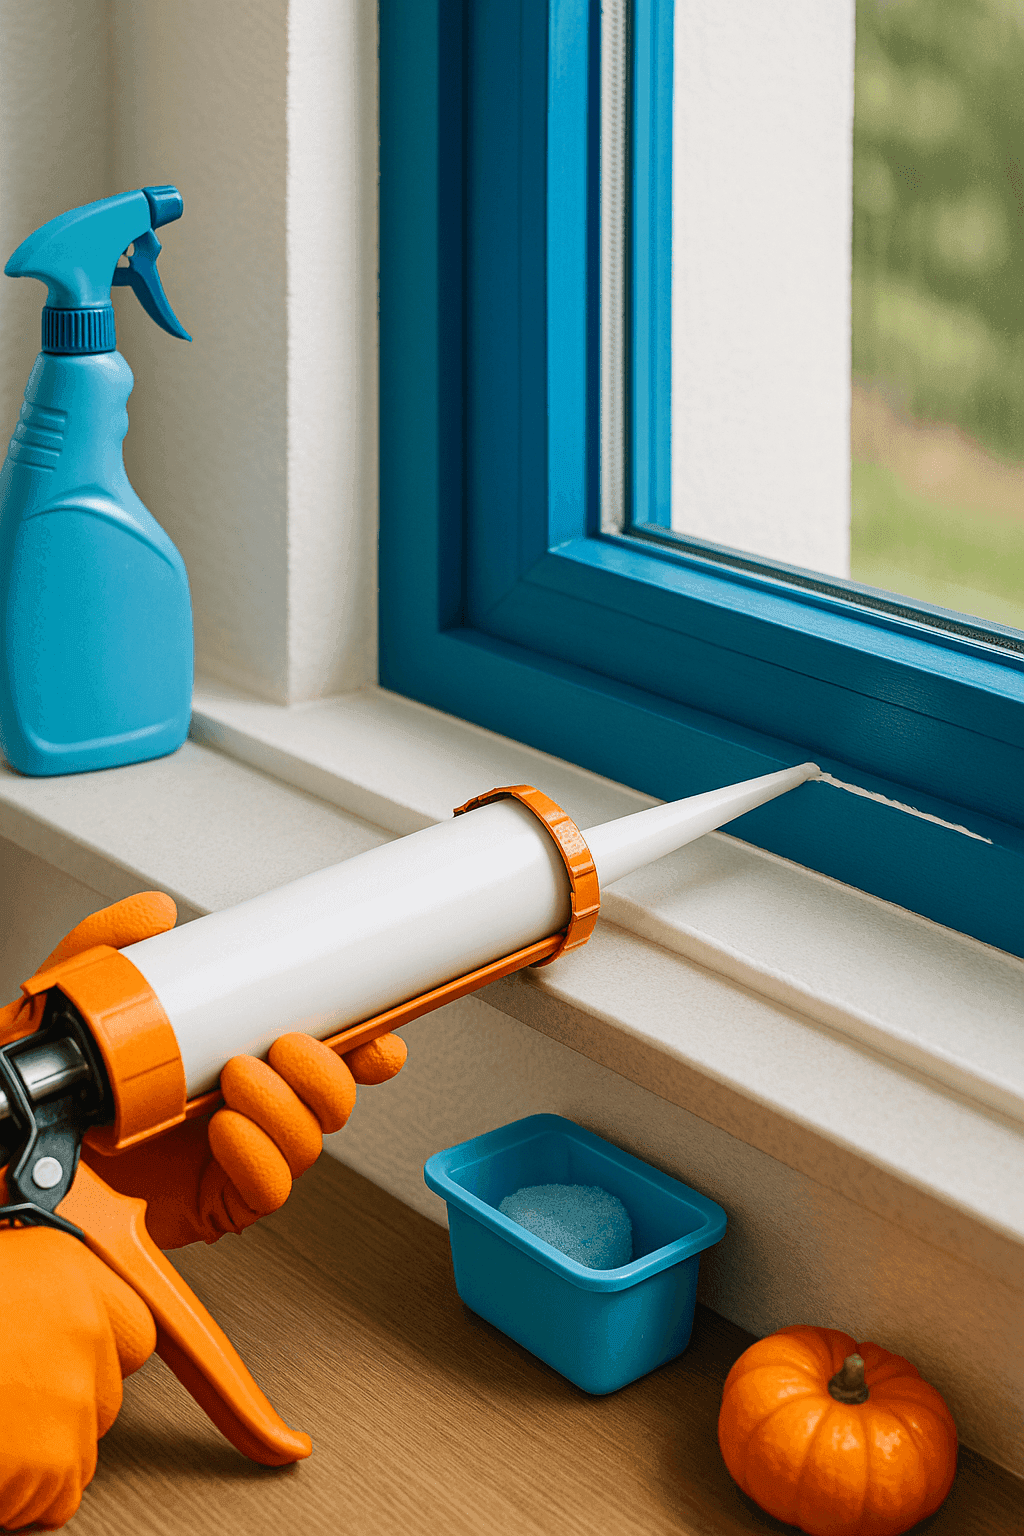
- Cut caulk tube tip at 45-degree angle, matching gap width for optimal flow
- Apply steady, continuous bead while pulling gun toward you for smooth lines
- Smooth immediately with tool or damp finger, removing excess before it sets
- Check cure time and weather requirements before painting if using paintable caulk
- Test your work with the candle trick to ensure all air leaks are sealed
Professional contractors know that timing is everything with caulking – work in temperatures between 40-80°F and low humidity for best results. Here's the secret to professional-looking caulk lines: keep a damp rag handy and clean your smoothing finger every few feet to prevent dragging dried caulk. My game-changing technique? Mix a drop of liquid soap in a small cup of water and dip your finger in it before smoothing – the soap acts as a lubricant and prevents the caulk from sticking to your skin. Also, tackle this project room by room rather than all at once. Your attention to detail stays sharper, and you'll get consistently better results when you're not rushed!


