DIY Projects

Recent Content

Wooden Wall Shelf: Why Pilot Holes Stop Splits

Wooden Wall Shelf: Why Pilot Holes Stop Splits

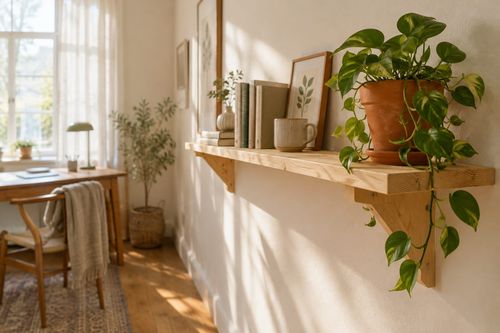
Build a simple pine wall shelf in an afternoon for about $20. Drilling pilot holes first is what keeps the wood from splitting and the shelf solid.

Make Cedar Fire Starter Bundles in 45 Minutes for $14

Make Cedar Fire Starter Bundles in 45 Minutes for $14

Light your first fire in seconds, not frustration! Make cedar-and-wax fire starter bundles in 45 minutes for $14 and be ready for cold November nights.

Peel-Off Stair-Step Shelf Trick for Tiny Desks

Peel-Off Stair-Step Shelf Trick for Tiny Desks

Free up desk space with a freestanding monitor riser shelf. No drilling, no glue, zero deposit risk. A small-space win you can set up in 10 minutes!

Dollar Store Tray Shelf: The Anchor That Holds $5

Dollar Store Tray Shelf: The Anchor That Holds $5

Turn two $1 dollar-store trays into a wall-hung bathroom shelf for under $5. Hanging it from a sturdy hook, not tape, keeps it from crashing down.

Build a Glove and Hat Drying Rack in 1 Hour for $18

Build a Glove and Hat Drying Rack in 1 Hour for $18

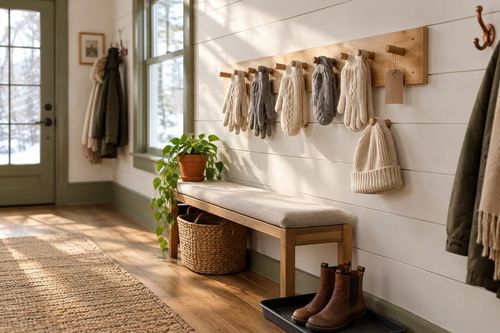
Soggy mittens by the door? Build a slim dowel drying rack in an hour for $18 and wake up to warm, dry gloves and hats all winter long.

logo
  • Home Improvement
  • DIY Projects
  • Interior Design
  • Gardening & Outdoor
  • Real Estate
  • Home Improvement
  • DIY Projects
  • Interior Design
  • Gardening & Outdoor
  • Real Estate
  • ​

Wreath Welcome: Create the Perfect Summer Door Statement

Transform your front door into a summer celebration with a gorgeous wreath that greets every visitor with seasonal joy

Beautiful summer wreath with greenery, seashells, and colorful flowers hanging on front door creating welcoming entrance
DIY Projects

There's something absolutely transformative about hanging a beautiful summer wreath that makes your entire home feel like it's been touched by the season's magic – it's like giving your front door a personality makeover that welcomes guests before they even ring the bell. I created my first summer wreath four years ago when I realized my tired winter greenery was still hanging there in July, sending completely the wrong message about the vibrant, welcoming home that lay beyond that entrance. The beauty of a summer wreath lies in its ability to instantly communicate joy, warmth, and seasonal awareness; it's a simple gesture that shows you care about creating beautiful moments for everyone who visits your home. Whether you choose to craft your own masterpiece using natural elements and personal touches, or select a ready-made beauty that speaks to your style, the right wreath becomes more than decoration – it becomes a daily reminder that summer is meant to be celebrated. Once you see how much a gorgeous wreath elevates your home's curb appeal and makes every homecoming feel special, you'll understand why this simple tradition has been marking seasons and welcoming guests for generations.

Wreath Materials

  • Base Options: Grapevine, wire frame, or foam wreath base ($8-25)
  • Summer Greenery: Eucalyptus, ferns, or artificial tropical foliage ($15-40)
  • Coastal Elements: Natural seashells, starfish, or driftwood pieces ($10-30)
  • Vibrant Flowers: Weather-resistant silk blooms in summer colors ($20-60)
  • Seasonal Accents: Lemons, limes, or tropical fruit elements ($8-25)
  • Attachment Supplies: Floral wire, hot glue gun, cable ties ($10-20)
  • Weather Protection: UV-resistant spray or outdoor-safe materials ($5-15)
  • Hanging Hardware: Wreath hanger or ribbon for door mounting ($5-20)

Creation Steps

  1. Select your wreath base size appropriate for your door scale
  2. Plan your design by laying out all elements before attaching
  3. Attach greenery first as the foundation layer using floral wire
  4. Add larger focal elements like flowers or coastal pieces strategically
  5. Fill gaps with smaller accent pieces and textural elements
  6. Secure all elements firmly with appropriate adhesive or wire
  7. Test the balance and adjust placement for visual harmony
  8. Hang using appropriate door hardware and step back to admire
DESIGNER TIP

Professional wreath designers create visual interest using the "focal point triangle" method – choose three main elements and position them in a triangular pattern around the wreath rather than clustering everything in one area. For summer wreaths, this might be a large shell at the bottom, bright flowers on one side, and tropical leaves on the other. The key to outdoor durability is choosing the right materials: silk flowers over fresh (they won't wilt in heat), sealed wood elements, and UV-resistant sprays to prevent fading. Also, size your wreath proportionally – it should cover about one-third of your door's width for the most pleasing visual balance. Remember that less expensive elements like shells and greenery often create more impact than expensive artificial flowers when arranged thoughtfully.

Related Content

DIY Projects

11 November 2026

Post

Wooden Wall Shelf: Why Pilot Holes Stop Splits

Build a simple pine wall shelf in an afternoon for about $20. Drilling pilot holes first is what keeps the wood from splitting and the shelf solid....

DIY Projects

11 November 2026

Post

Make Cedar Fire Starter Bundles in 45 Minutes for $14

Light your first fire in seconds, not frustration! Make cedar-and-wax fire starter bundles in 45 minutes for $14 and be ready for cold November nights....

DIY Projects

10 November 2026

Post

Build a Glove and Hat Drying Rack in 1 Hour for $18

Soggy mittens by the door? Build a slim dowel drying rack in an hour for $18 and wake up to warm, dry gloves and hats all winter long....

DIY Projects

09 November 2026

Post

Build a Wooden Seed Storage Box in 2 Hours for $25

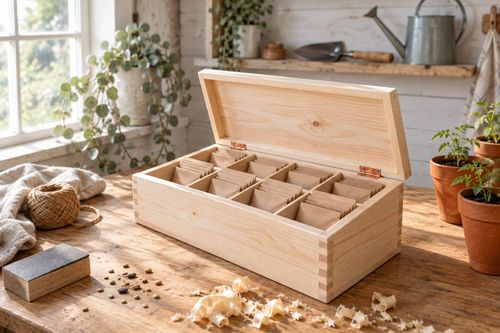
Spring-you will thank November-you! Build a divided wooden seed box in 2 hours for $25 and keep saved seeds dry, sorted, and viable until planting time....

DIY Projects

08 November 2026

Post

Make a Wax-Dipped Gift Tag Set in 45 Minutes for $12

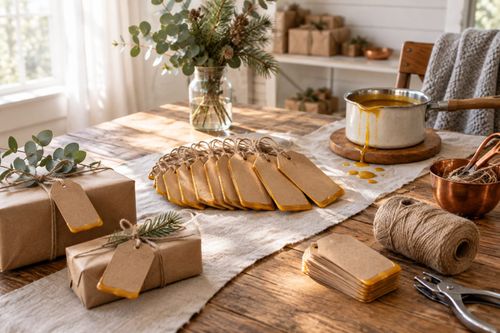
Skip the flimsy store tags! Dip kraft tags in beeswax for sturdy, gorgeous holiday gift labels that survive wrapping, shipping, and curious toddlers....

DIY Projects

07 November 2026

Post

Build a Wooden Mitten and Boot Tray Bench in 2 Hours for $30

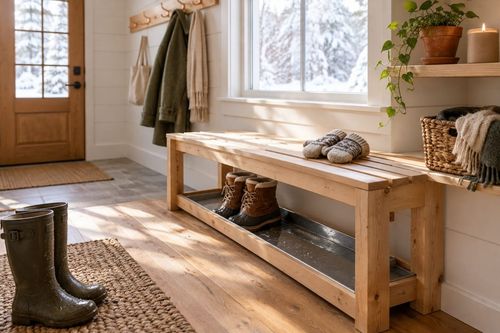
Wet boots wrecking your floors? Build a slatted-top boot tray with a gravel-free drip basin in 2 hours for $30 and keep winter slush off your entry floor....

DIY Projects

07 November 2026

Post

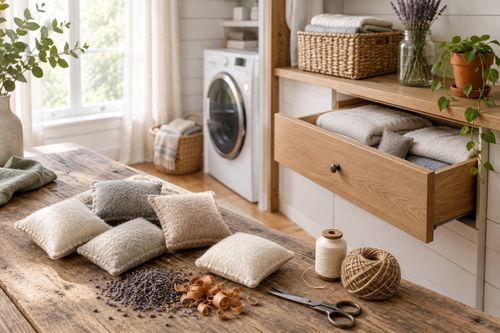
Make Wool Dryer Sachets in 30 Minutes for $10

Ditch the pricey dryer sheets! Sew cedar-and-lavender sachets for your drawers and closets in 30 minutes, just in time for wool sweater season....

DIY Projects

06 November 2026

Post

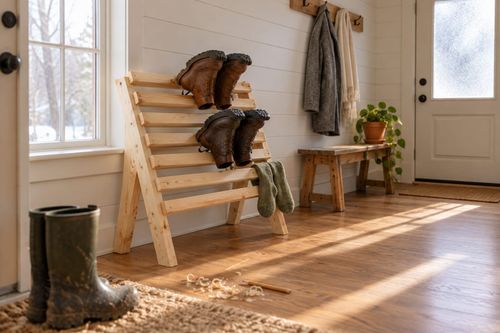
Build a Wooden Boot Drying Rack in 2 Hours for $25

Soggy boots by the door? Build a slatted wooden boot drying rack in 2 hours for $25 and wake up to dry, warm, odor-free footwear all winter long....

DIY Projects

05 November 2026

Post

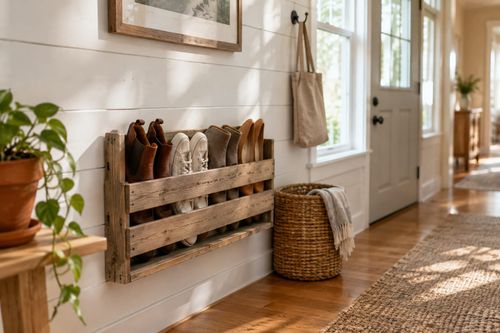
Wine Crate Shoe Rack: The Slat Gap That Holds Pairs

Turn a thrifted wine crate into a wall-hung shoe rack. The slat gap is what keeps heels from slipping through and pairs standing neat. Under $20....

DIY Projects

05 November 2026

Post

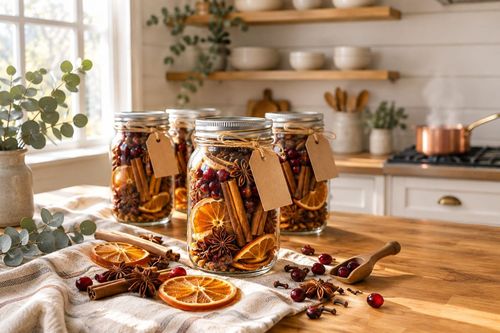
Make Stovetop Simmer Pot Jars in 30 Minutes for $15

Skip the $25 candle! Layer dried citrus, spices, and cranberries into gift-ready jars in 30 minutes for $15 and make your home smell like the holidays....

DIY Projects

04 November 2026

Post

Shoe Bench Build: The Cubby Depth That Keeps Pairs Upright

Build a wooden entryway shoe bench for $35—the cubby depth is what keeps boots standing instead of toppling into a pile every morning....

DIY Projects

03 November 2026

Post

Tension Rod Shelf: The Rod Width That Won't Slip

Build a hidden double-decker shelf under your sink for $6—the rod tension width is what keeps it from crashing down on cleaning day....

DIY Projects

01 November 2026

Post

Sew Flannel Pajama Pants in 3 Hours for $25

Ditch store PJs! Sew cozy flannel pajama pants with an elastic waist in 3 hours for about $25 — perfect for chilly November nights....

DIY Projects

31 October 2026

Post

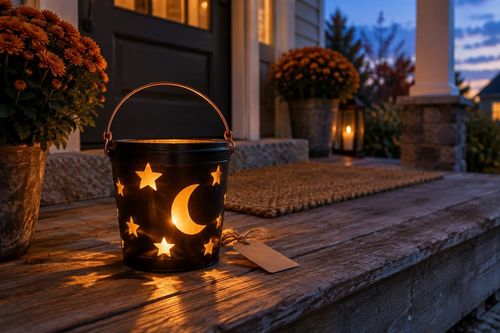
Build a Trick-or-Treat Bucket Lantern in 1 Hour for $15

Light up Halloween night with a glowing trick-or-treat bucket lantern—1 hour, $15, and way safer than a candle in a pumpkin....

DIY Projects

30 October 2026

Post

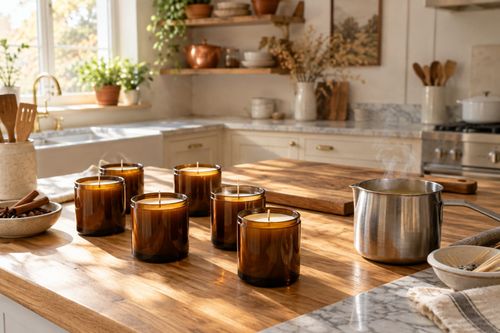
Pour Pumpkin Spice Candles in 1 Hour for $15

Ditch the $28 mall candle—pour your own pumpkin spice soy candles at home for $15 and fill your house with fall in an hour....
Terms and ConditionsDo Not Sell or Share My Personal InformationPrivacy PolicyPrivacy NoticeAccessibility NoticeUnsubscribe
Copyright © 2026 DIY HomeBoost