


Autumn Treasures: Pressed Leaf Bookmarks That Last Forever
Transform colorful fall leaves into stunning keepsake bookmarks using simple laminating sheets
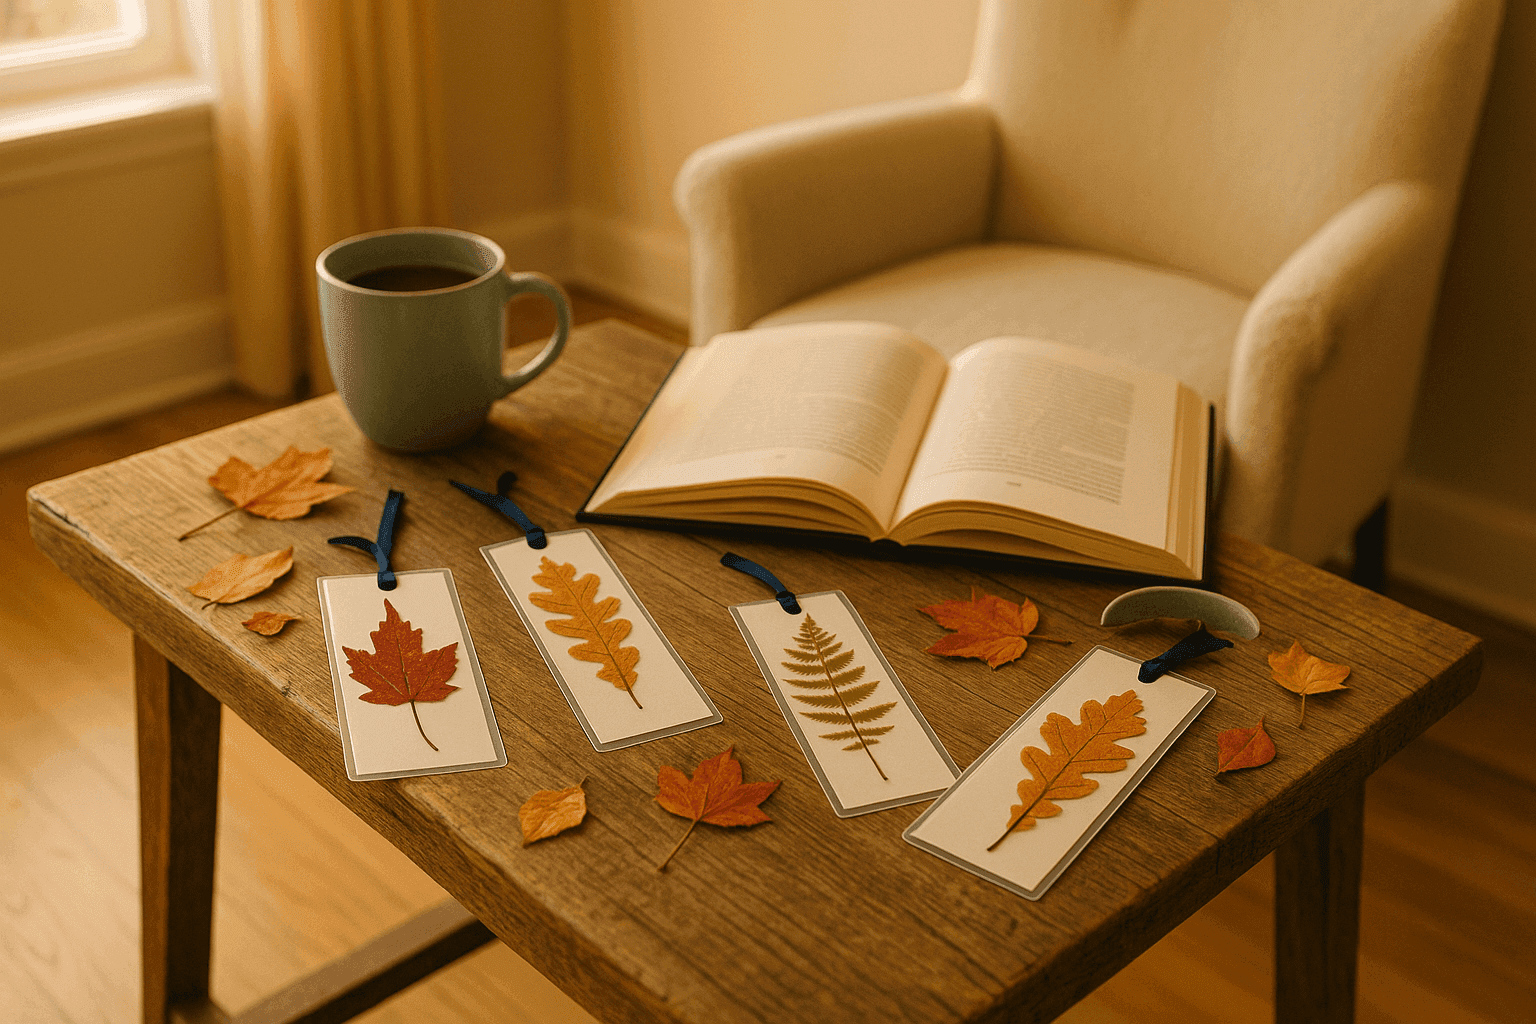
Every autumn I find myself collecting the most beautiful leaves on my walks, and for years they just ended up crumbling in my coat pockets until I discovered this brilliantly simple way to preserve them as functional art. Pressed leaf bookmarks capture fall's fleeting beauty in a form that lasts for years, and they make incredibly thoughtful gifts that feel personal and handmade without requiring advanced crafting skills. I've given these to teachers, book club members, and fellow readers, and the response is always the same delighted surprise that something so beautiful could be so simple to create. At less than 50 cents per bookmark in materials, you can make a dozen in an afternoon while watching a movie, creating a stash of go-to gifts for any occasion. The laminating process preserves the leaves' colors remarkably well—I have bookmarks from three years ago that still show vibrant reds and golds—and there's something wonderfully satisfying about turning ephemeral natural beauty into something permanent and useful.
What You'll Need
- Natural Materials:
- Fresh fall leaves in various colors and sizes
- Look for leaves that are colorful but not brittle
- Smaller leaves (2-6 inches) work best for bookmarks
- Collect extras to account for pressing mishaps
- Pressing Supplies:
- Heavy books (phone books, dictionaries, or encyclopedias)
- Parchment paper or newspaper for protecting book pages
- Additional weight if needed (more books or bricks)
- Allow 5-7 days for proper pressing
- Laminating Materials:
- Self-seal laminating sheets or pouches (letter or bookmark size)
- Scissors or craft knife for trimming
- Ruler for measuring
- Optional: hole punch and ribbon for hanging loops
- Total Cost: $5-8 for 12-15 bookmarks
Creation Steps
- Collect your leaves on a dry day, selecting specimens with vibrant colors and interesting shapes while avoiding any that are wet, torn, or starting to curl. The best leaves are freshly fallen but not yet brittle—they should still have some flexibility when you bend them gently.
- Press immediately by arranging leaves between sheets of parchment paper or newspaper, spacing them so they don't touch or overlap. Place inside a heavy book, then stack additional books or weights on top to apply even pressure across all leaves.
- Wait patiently for 5-7 days without peeking, as opening the book releases moisture that's trying to escape and can cause leaves to mold or discolor. Patience during this step makes the difference between beautiful bookmarks and disappointing brown smudges.
- Check for dryness after a week by carefully lifting one leaf—it should feel papery and completely flat with no remaining moisture or flexibility. If leaves still feel slightly pliable, press for another 2-3 days until they're crisp and completely dry.
- Arrange on laminating sheet by peeling apart self-seal pouches and positioning pressed leaves on the sticky side, leaving at least half an inch of space around each leaf for proper sealing. Think about the final bookmark dimensions and orient leaves attractively within that space.
- Seal carefully by lowering the top laminating sheet slowly from one edge to the other, using your hand to smooth out any air bubbles as you go. Work methodically because once the adhesive touches, repositioning creates wrinkles that permanently mar the finished bookmark.
- Trim to size using sharp scissors or a craft knife and ruler, cutting bookmarks to approximately 2 inches wide by 6-7 inches long while leaving that quarter-inch sealed border around the leaf. Clean edges make the difference between handmade-charming and sloppy-looking.
- Add finishing touches by punching a hole at the top and threading with coordinating ribbon if desired, or leaving them simple and elegant. Round the corners slightly with scissors to prevent dog-earing and catching on book pages during use.
Professional botanical artists enhance pressed leaf bookmarks by layering multiple small leaves or adding delicate ferns and wildflower petals to create miniature compositions rather than featuring single leaves alone. Try arranging a small maple leaf with a sprig of dried lavender, or layer translucent leaves over more opaque ones for depth and visual interest. You can also experiment with unconventional pressing materials—ferns, herbs like rosemary and thyme, and even flower petals work beautifully and add variety to your bookmark collection. For truly elevated gifts, create sets of coordinating bookmarks in small gift boxes lined with tissue paper, perhaps grouped by color (all reds and oranges) or theme (all oak varieties). This curated presentation transforms a simple craft into a thoughtful, giftable collection that rivals anything from boutique stationery shops.


