Build a Root Vegetable Storage Bin in 2 Hours for $35
The difference between root vegetables that stay crisp until January and ones that shrivel by November comes down to humidity control, not just cool temperatures.
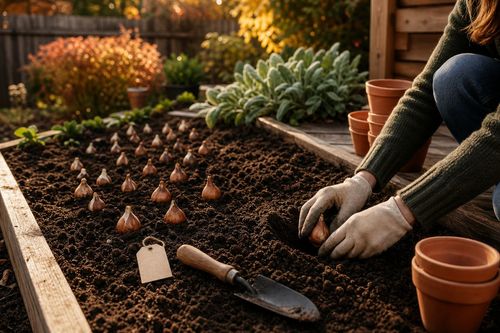
![[#~image_alt_1~#]](/_next/image?url=https%3A%2F%2Fd3klpa3rfwubzz.cloudfront.net%2Fmedia%2FAPI%20Uploads%2FDIY%2F2de6c99e1c2aecb9bcd3a8c1b14a3bfd_f854100541.jpg&w=1920&q=75)
Every September I used to pull my carrots and beets, toss them in the crisper drawer, and watch half of them go rubbery within two weeks. Turns out the fridge is too dry for root storage — it pulls moisture out of the vegetables fast. The fix is a layered sand-and-sawdust storage bin that mimics a root cellar's humid, dark, cool environment, keeping produce hydrated from the outside in instead of letting it dehydrate. This is the exact window to build one: harvest is wrapping up, and whatever you pull from the ground this week needs somewhere to live through winter. The whole build takes about 2 hours and runs around $35 in materials, most of which you'll reuse every fall after this.
What You'll Need
- Materials (~$35 total):
- 1 plastic storage tote with lid, 18-gallon size (~$12)
- 2 cubic feet of coarse construction sand (~$8)
- 1 bag of untreated wood shavings or sawdust, 1 cubic foot (~$7)
- 1 roll of window screen mesh for ventilation holes (~$5)
- Duct tape or screen adhesive (~$3)
- Tools:
- Drill with 1-inch spade bit
- Utility knife
- Work gloves
How to Do It
- Drill a dozen 1-inch ventilation holes around the upper sides of the tote — trapped moisture without airflow breeds mold, so airflow is non-negotiable even in a humid storage setup.
- Cover each drilled hole from the inside with a small square of window screen mesh taped down, keeping out pests while still letting air move through.
- Pour a 2-inch base layer of damp sand into the bottom of the tote — this layer wicks excess moisture away from the vegetables sitting above it so they don't rot from sitting in standing wet.
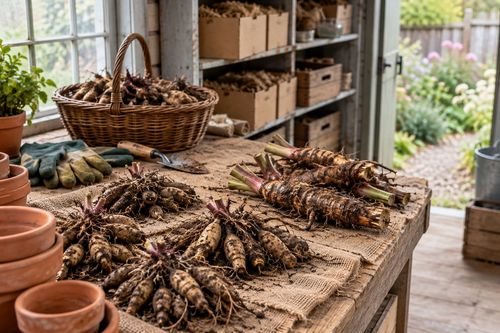
- Harvest your root vegetables on a dry day and brush off (don't wash) the soil — residual moisture from washing invites rot spores that ruined more of my carrots than actual cold ever did.
- Layer vegetables in a single layer over the sand, spacing them so they don't touch — direct contact is how one soft spot spreads to its neighbors.
- Cover that layer with 2 inches of damp sawdust or sand, then repeat layering vegetables and medium until the bin is nearly full, finishing with a top layer of medium.
- Store the closed bin somewhere consistently 32-40°F, like an unheated garage corner or basement — temperature swings above 40°F wake the vegetables back into active growth mode, which drains their stored sugars and softens them.
- Check the bin every few weeks and pull anything showing soft spots immediately — one rotting vegetable releases ethylene gas that speeds up decay in everything around it.
Market gardeners who sell at winter farmers markets swear by keeping potatoes and onions in separate bins from everything else — onions release moisture and gases that make neighboring root vegetables sprout early. Sort by type before you layer, not just by size.