


Glam on a Budget: Create $5 Jewelry Displays That Look Expensive
Transform dollar store dishes into elegant tiered organizers
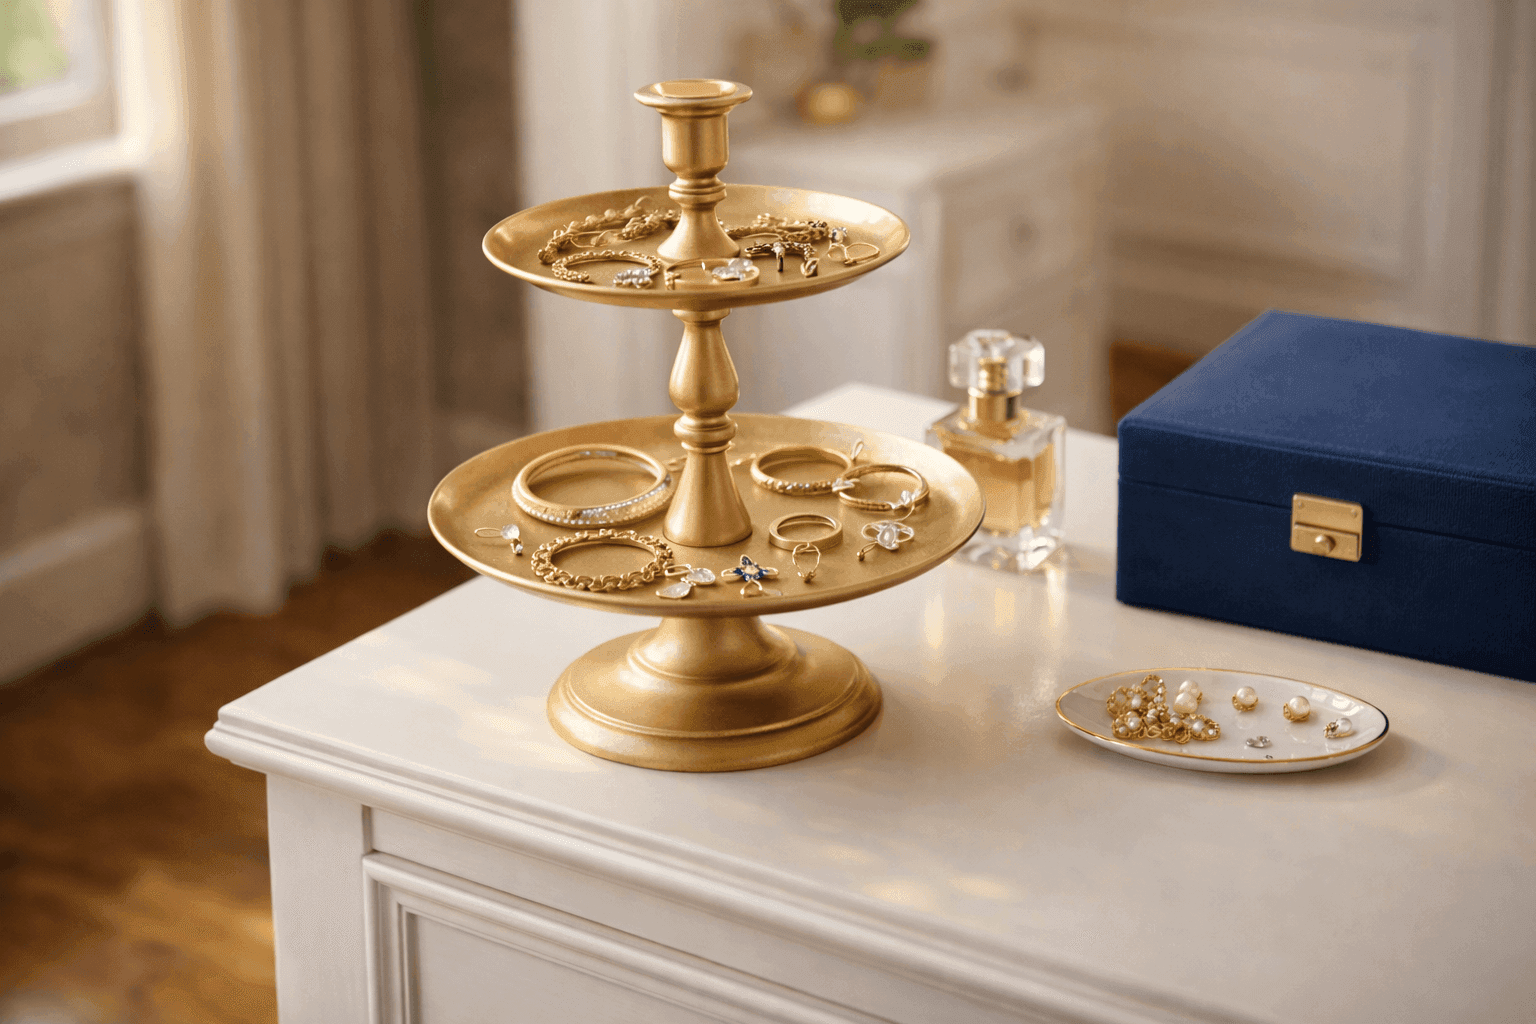
Jewelry tangled in drawers or piled in dishes where you can't see what you own creates daily frustration when you're trying to accessorize quickly, while boutique jewelry organizers cost $30-40 for what's essentially plates stacked on pedestals. Dollar store dessert plates and candlesticks become elegant tiered jewelry displays for under $5 using strong adhesive and optional spray paint, creating sophisticated organization that keeps rings, earrings, bracelets, and watches visible and untangled. The tiered design maximizes vertical space on dressers or bathroom counters while displaying jewelry like the beautiful pieces they are rather than hiding them away where they're forgotten and never worn. This isn't obvious dollar store craft—when assembled thoughtfully with coordinating pieces and optional metallic spray paint, these organizers genuinely pass for expensive boutique purchases that cost ten times what you'll invest. The shallow dish shape works perfectly for jewelry storage, preventing items from falling into deep containers while creating elegant presentation that makes getting ready feel more luxurious than digging through tangled piles. Beyond the practical organization benefits, these displays encourage actually wearing your jewelry by making everything visible and accessible, transforming collections from forgotten drawer contents into curated accessories you reach for daily because you can actually see your options.
What You'll Need
- Dollar Store Supplies ($3-5 total):
- 2-3 small dessert or appetizer plates (6-8 inches)
- 1-2 small candlesticks for height (3-6 inches tall)
- Alternative pedestals: decorative glasses or cups
- Choose coordinating colors or complementary patterns
- Assembly Supplies ($5-8):
- Strong adhesive (E6000 or Gorilla Glue)
- Paper towels for excess glue cleanup
- Rubbing alcohol for surface prep
- Heavy books or weights for curing pressure
- Optional Finishing (adds $4-6):
- Metallic spray paint (gold, rose gold, or silver)
- Primer for better paint adhesion
- Clear sealer for protection
- Painter's tape for masking areas
- Design Considerations:
- Graduated sizes work best for tiered look
- Varying pedestal heights create visual interest
- White or neutral pieces take paint beautifully
Build Your Stand
- Select plates and pedestals at the dollar store by visualizing how pieces will stack—hold them together to test proportions and ensure candlestick bases are smaller than plate bottoms for stable attachment points.
- Paint all pieces if desired before assembly, using metallic gold, rose gold, or silver spray paint in well-ventilated areas with light coats that prevent drips—painting transforms mismatched dollar store items into cohesive high-end looking sets.
- Clean all surfaces thoroughly with rubbing alcohol once paint is completely dry, removing any oils, dust, or residue that prevent adhesive from bonding properly—proper prep determines whether your organizer lasts years or falls apart within weeks.
- Apply strong adhesive like E6000 or Gorilla Glue to the top of your candlestick or pedestal base, using enough to create solid bond but not so much that excess oozes out when pressed—less is often more with powerful adhesives.
- Center the candlestick on the bottom center of your first plate, pressing firmly and holding for 30-60 seconds to allow initial bond formation—precise centering prevents wobbly organizers that tip when jewelry is added or removed.
- Weight the assembly with heavy books or other weights while adhesive cures completely according to package directions, typically 24 hours—rushing this step by using organizers before they're fully bonded leads to frustrating separations and wasted effort.
- Add additional tiers if desired by repeating the process with shorter pedestals or decorative cups, creating graduated heights that maximize display space while maintaining stability—two or three tiers work best without becoming top-heavy.
- Arrange jewelry on your finished organizer by type—rings on one tier, bracelets on another, earrings organized together—creating visual appeal while making everything easy to find during rushed morning routines when you need accessories quickly.
Professional organizers create the most functional jewelry displays by matching tier sizes to actual jewelry types—use smaller plates for rings and earrings, larger shallow bowls for bracelets and watches, creating specialized storage that prevents items from sliding around or getting lost in oversized dishes. For cohesive aesthetics, spray paint everything the same metallic color before assembly rather than leaving mismatched dollar store pieces showing—uniform finishes transform obvious budget materials into sophisticated organization that looks intentionally curated. Consider making multiple organizers for different jewelry categories rather than one overcrowded stand—one for everyday essentials on your dresser, another for special occasion pieces in your closet, maintaining organization that actually serves how you use jewelry. The shallow dish design is specifically better than deep bowls or boxes because you can see everything at once rather than digging through layers, but ensure plates have slight lips or raised edges to prevent jewelry from sliding off when you're selecting pieces. For extra security, line plate surfaces with felt or velvet contact paper, which prevents metal jewelry from sliding while adding luxury feel that elevates the entire display beyond its dollar store origins into something genuinely special.


