DIY Projects

Recent Content

Sew Reusable Fabric Gift Bags in 90 Minutes for $15

Sew Reusable Fabric Gift Bags in 90 Minutes for $15

Ditch the wrapping paper landfill! Sew drawstring fabric gift bags with French-folded hems in 90 minutes for $15 and reuse them every holiday for years.

Wooden Tool Wall: The Pilot Hole Depth That Holds

Wooden Tool Wall: The Pilot Hole Depth That Holds

Build a pine wall-mounted tool rack for about $22. Pre-drilling pilot holes to the right depth keeps the wood from splitting and the pegs holding.

Build a Wooden Cookie Cutter Display Rack in 2 Hours for $22

Build a Wooden Cookie Cutter Display Rack in 2 Hours for $22

Holiday baking is coming! Build a slim wooden cutter rack in 2 hours for $22 and stop digging through the tangled drawer of tin cutters for the star.

Pot Lid Organizer Trick for Renter Kitchens

Pot Lid Organizer Trick for Renter Kitchens

Tame chaotic pot lids with a freestanding, no-drill organizer trick. Zero holes, zero residue, deposit safe. Your tiny kitchen just got calmer!

Thrifty Tuesday: Tension Rod Curtain Closet for $8

Thrifty Tuesday: Tension Rod Curtain Closet for $8

Turn a doorless closet into a clean, hidden space for about $8. The rod placement is what keeps your dollar-store curtain from sagging or popping down.

logo
  • Home Improvement
  • DIY Projects
  • Interior Design
  • Gardening & Outdoor
  • Real Estate
  • Home Improvement
  • DIY Projects
  • Interior Design
  • Gardening & Outdoor
  • Real Estate
  • ​

Make a Wooden Spoon Rest and Utensil Crock in 1 Hour for $15

Make a Wooden Spoon Rest and Utensil Crock in 1 Hour for $15

A food-safe mineral oil finish is what keeps a wooden spoon rest from cracking, staining, and going sour within a few weeks of holiday cooking.

[#~image_alt_1~#]
DIY projects

Every holiday cook has watched a sticky spoon leave a puddle on the counter. A handmade wooden spoon rest fixes that, but the difference between one that lasts for years and one that cracks, stains, and smells sour within weeks comes down to the finish. Raw wood is porous and soaks up oil, sauce, and water, which swells the fibers and then splits them as they dry. Sanding the board smooth and saturating it with food-safe mineral oil and beeswax fills those pores so liquid beads up instead of soaking in. This project takes about 1 hour of hands-on time and costs $15 in total, with the finish needing an overnight cure before its first real use.

What You'll Need

  • Materials (~$15 total):
  • One 1x4 hardwood board, 3 feet long, maple or cherry (~$9)
  • Food-grade mineral oil, 8 oz bottle (~$4)
  • Beeswax pellets, 1 oz, or a small beeswax block (~$2, optional)
  • Sandpaper in 80, 120, and 220 grit (use what you have or ~$3 for a multipack)
  • Tools:
  • Handsaw or miter box saw
  • Pencil and ruler
  • Clamp or a non-slip mat to hold the wood
  • Clean lint-free cotton cloth
  • Small bowl and a pot of simmering water for melting the beeswax (optional)

How to Do It

  1. Choose a dense hardwood such as maple, cherry, or walnut. Tight-grained woods resist absorbing moisture, so your spoon rest stays sturdy and hygienic. Avoid pine, which is soft and sappy.
  2. Mark a 7-inch piece with a pencil and ruler, then draw a gentle curve along one long edge if you want a shaped rest. A planned shape keeps your saw cut clean and prevents wasted wood.
  3. Cut along your line with a handsaw, holding the board firmly in a clamp or against a stable surface. Slow, steady strokes prevent splintering and give you a straighter edge that needs less sanding.
  4. Sand the piece with 80-grit paper to remove saw marks, then move to 120 and finally 220. Each finer grit erases the scratches left by the last, and a silky surface keeps food from catching in rough fibers.
  5. Round every edge and corner with 120-grit paper until they feel soft in your hand. Sharp edges chip easily and snag towels, while rounded ones hold up through years of washing.
  6. Wipe away all dust with a slightly damp cloth, then let the wood dry for 10 minutes. Leftover dust turns to gummy paste when oil goes on, leaving a blotchy finish.
  7. Oil the whole piece generously with food-grade mineral oil, rubbing it in with a cotton cloth. Let it soak 20 minutes, then reapply until the wood stops drinking it. Saturated pores are what block stains and water.
  8. Seal with melted beeswax if you like: warm 1 part beeswax with 4 parts mineral oil, rub it in, and buff with a clean cloth. Let the rest cure overnight before use so the finish fully sets and gives a water-resistant surface.
DESIGNER TIP

Professional woodturners and cutting board makers raise the grain before the final finish: wipe the sanded wood with a damp cloth, let it dry, and sand lightly with 220 grit again. This knocks down the fibers that would otherwise swell the first time the rest gets wet, leaving a surface that stays smooth after washing. Re-oil monthly to keep it that way.
Related Content

DIY Projects

11 November 2026

Post

Wooden Wall Shelf: Why Pilot Holes Stop Splits

Build a simple pine wall shelf in an afternoon for about $20. Drilling pilot holes first is what keeps the wood from splitting and the shelf solid....

DIY Projects

11 November 2026

Post

Make Cedar Fire Starter Bundles in 45 Minutes for $14

Light your first fire in seconds, not frustration! Make cedar-and-wax fire starter bundles in 45 minutes for $14 and be ready for cold November nights....

DIY Projects

10 November 2026

Post

Build a Glove and Hat Drying Rack in 1 Hour for $18

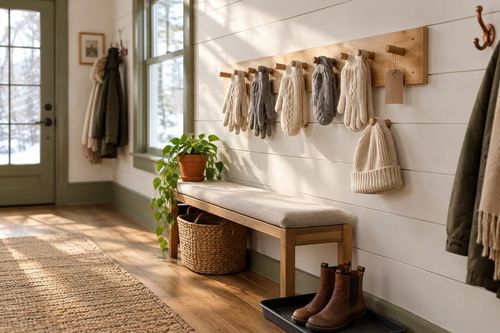
Soggy mittens by the door? Build a slim dowel drying rack in an hour for $18 and wake up to warm, dry gloves and hats all winter long....

DIY Projects

09 November 2026

Post

Build a Wooden Seed Storage Box in 2 Hours for $25

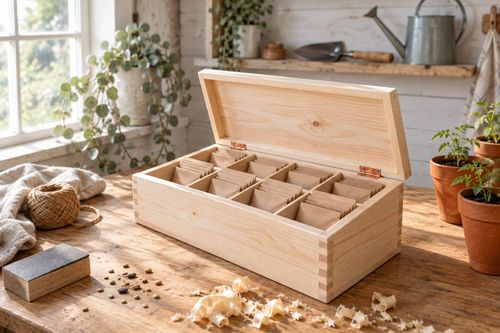
Spring-you will thank November-you! Build a divided wooden seed box in 2 hours for $25 and keep saved seeds dry, sorted, and viable until planting time....

DIY Projects

08 November 2026

Post

Make a Wax-Dipped Gift Tag Set in 45 Minutes for $12

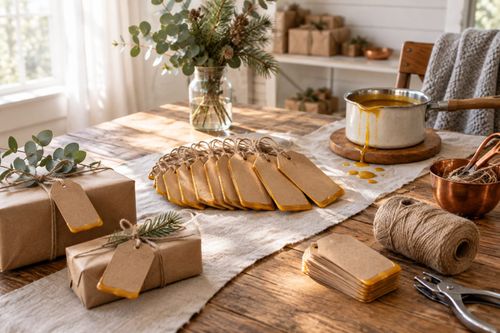
Skip the flimsy store tags! Dip kraft tags in beeswax for sturdy, gorgeous holiday gift labels that survive wrapping, shipping, and curious toddlers....

DIY Projects

07 November 2026

Post

Build a Wooden Mitten and Boot Tray Bench in 2 Hours for $30

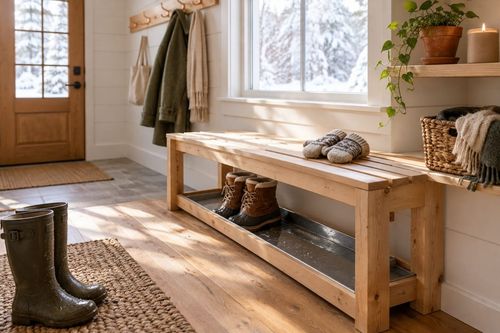
Wet boots wrecking your floors? Build a slatted-top boot tray with a gravel-free drip basin in 2 hours for $30 and keep winter slush off your entry floor....

DIY Projects

07 November 2026

Post

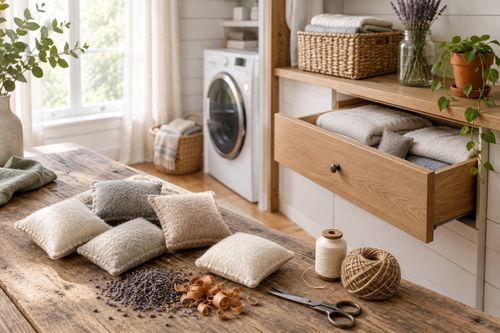
Make Wool Dryer Sachets in 30 Minutes for $10

Ditch the pricey dryer sheets! Sew cedar-and-lavender sachets for your drawers and closets in 30 minutes, just in time for wool sweater season....

DIY Projects

06 November 2026

Post

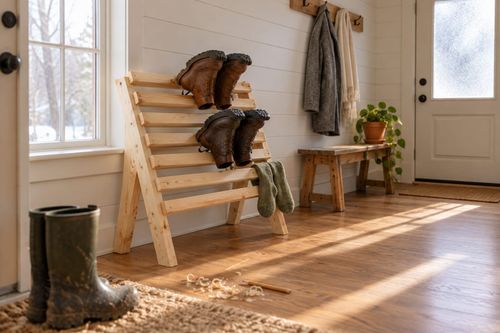
Build a Wooden Boot Drying Rack in 2 Hours for $25

Soggy boots by the door? Build a slatted wooden boot drying rack in 2 hours for $25 and wake up to dry, warm, odor-free footwear all winter long....

DIY Projects

05 November 2026

Post

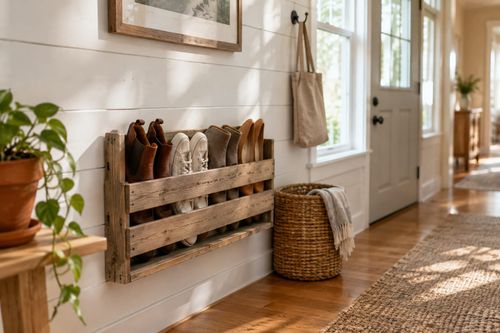
Wine Crate Shoe Rack: The Slat Gap That Holds Pairs

Turn a thrifted wine crate into a wall-hung shoe rack. The slat gap is what keeps heels from slipping through and pairs standing neat. Under $20....

DIY Projects

05 November 2026

Post

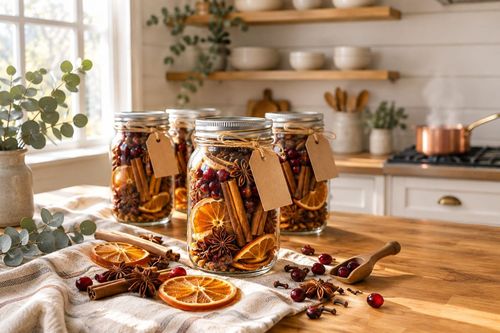
Make Stovetop Simmer Pot Jars in 30 Minutes for $15

Skip the $25 candle! Layer dried citrus, spices, and cranberries into gift-ready jars in 30 minutes for $15 and make your home smell like the holidays....

DIY Projects

04 November 2026

Post

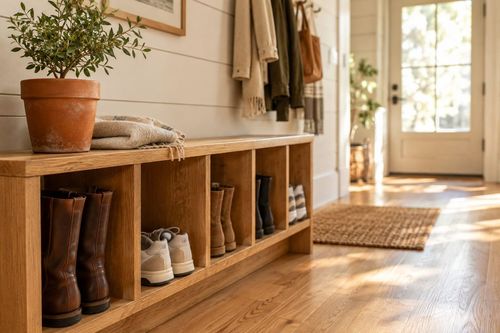
Shoe Bench Build: The Cubby Depth That Keeps Pairs Upright

Build a wooden entryway shoe bench for $35—the cubby depth is what keeps boots standing instead of toppling into a pile every morning....

DIY Projects

03 November 2026

Post

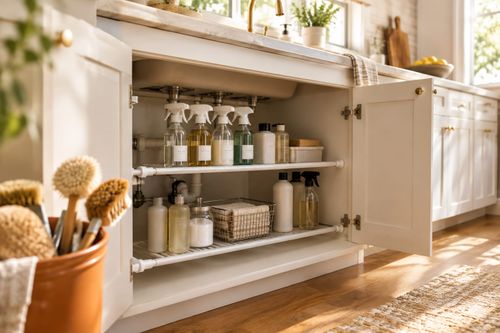
Tension Rod Shelf: The Rod Width That Won't Slip

Build a hidden double-decker shelf under your sink for $6—the rod tension width is what keeps it from crashing down on cleaning day....

DIY Projects

01 November 2026

Post

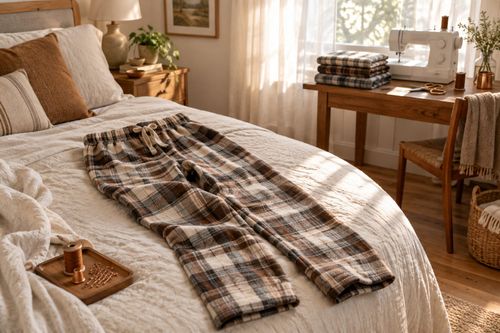
Sew Flannel Pajama Pants in 3 Hours for $25

Ditch store PJs! Sew cozy flannel pajama pants with an elastic waist in 3 hours for about $25 — perfect for chilly November nights....

DIY Projects

31 October 2026

Post

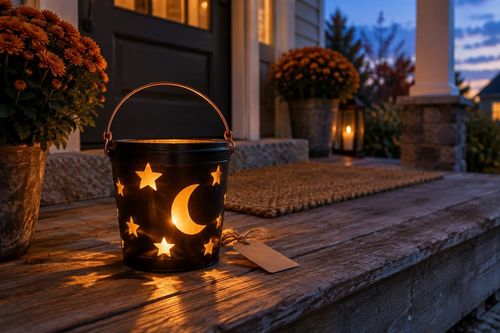
Build a Trick-or-Treat Bucket Lantern in 1 Hour for $15

Light up Halloween night with a glowing trick-or-treat bucket lantern—1 hour, $15, and way safer than a candle in a pumpkin....

DIY Projects

30 October 2026

Post

Pour Pumpkin Spice Candles in 1 Hour for $15

Ditch the $28 mall candle—pour your own pumpkin spice soy candles at home for $15 and fill your house with fall in an hour....
Terms and ConditionsDo Not Sell or Share My Personal InformationPrivacy PolicyPrivacy NoticeAccessibility NoticeUnsubscribe
Copyright © 2026 DIY HomeBoost