Wooden Tool Wall: The Pilot Hole Depth That Holds
The depth of your peg pilot holes decides whether the pegs grip tight for years or spin loose the first time you hang a heavy hammer.

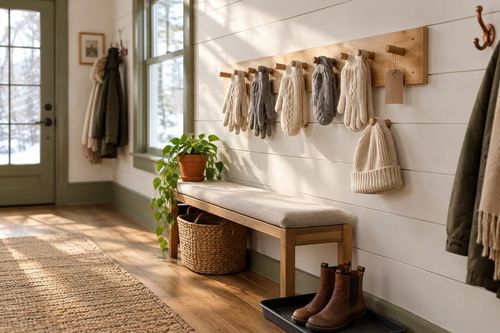
Wednesday is for sawing, so here's a pegboard-style tool rack made from one pine board and a few dowels. Every peg lives or dies by one variable: how deep you drill the holes. Too shallow and the dowel only grips a sliver of wood, so it levers out under the weight of a hammer. Too deep and you punch through the face of the board, or leave a loose pocket where the glue has nothing to bite. Drill to about two-thirds of the board's thickness at a slight upward angle, and the glued dowel locks in like a tight wedge. Get that right and this rack will hold pliers, hammers, and clamps without sagging. It takes about two hours and costs around $22.
What You'll Need
- 1x6 pine board, 36 inches, the backer, about $9
- 3/8-inch hardwood dowel, 36 inches, cut into pegs, about $3
- Wood glue, about $4 if you don't own it
- Drill with 3/8-inch bit, plus a piece of tape as a depth flag
- Hand saw or miter saw, for the board and dowels
- Sandpaper, 120 and 220 grit, about $3
- 2.5-inch wood screws and wall anchors, 4 each, about $3
How to Build It
- Cut the pine board to 36 inches and the dowel into six pegs, each 3 inches long. Square the cuts as best you can.
- Sand the board with 120 grit, then 220. Round the edges slightly and chamfer each peg end so it slides into its hole easily.
- Mark six peg spots in a staggered row, 5 inches apart, centered on the board's width. Use a pencil and a ruler.
- Wrap tape around the drill bit 1/2 inch from the tip so it works as a depth stop. A 3/4-inch board needs holes about 1/2 inch deep, which keeps them from going through the face.
- Drill each hole at a slight upward tilt of about 10 degrees, stopping when the tape touches the wood. Tilting stops tools from sliding off.
- Glue each peg into its hole with a small dab of wood glue. Wipe off any squeeze-out and let it cure for at least an hour.
- Mount the board into wall studs with 2.5-inch screws, or use heavy-duty anchors if no studs line up. Check that it's level before the last screw goes in.
- Load the pegs gradually, starting with lighter tools, and check that nothing shifts before you add the heavy ones.
Stain the board a dark walnut and leave the dowel pegs natural. The two-tone contrast makes the rack look like a custom piece, and you can outline each tool's spot with a paint pen so everything has an obvious home.