Interior Design

Recent Content

Wooden Dish Rack: The Dowel Angle That Drains Right

Wooden Dish Rack: The Dowel Angle That Drains Right

Build a slatted wood dish rack for $18—the dowel tilt angle is what actually drains water into the tray instead of pooling on your counter.

Install a Fireplace Draft Stopper in 20 Minutes for $25

Install a Fireplace Draft Stopper in 20 Minutes for $25

Stop your chimney from sucking heat right out of the house—an inflatable draft stopper seals it in 20 minutes for about $25.

The Shower Rod Trick That Fakes a Walk-In Closet

The Shower Rod Trick That Fakes a Walk-In Closet

Steal spare closet space with a second shower-curtain rod—zero holes, zero fuss, and your full deposit stays safe.

Pool Noodle Knife Block: The Slice Depth That Stops Wobble

Pool Noodle Knife Block: The Slice Depth That Stops Wobble

Turn a $1 pool noodle into a safe knife block—the slice depth is what keeps blades from wobbling loose or slicing through the foam.

Build a Wooden Pie Carrier in 2 Hours for $25

Build a Wooden Pie Carrier in 2 Hours for $25

Never smash a pie in the car again! Build a snug wooden pie carrier in 2 hours for $25—perfect timing for fall potlucks.

logo
  • Home Improvement
  • DIY Projects
  • Interior Design
  • Gardening & Outdoor
  • Real Estate
  • Home Improvement
  • DIY Projects
  • Interior Design
  • Gardening & Outdoor
  • Real Estate
  • ​

Neon Ombré File Cabinet: The Tape Order That Prevents Bleed

Neon Ombré File Cabinet: The Tape Order That Prevents Bleed

Four bold colors, one metal cabinet, and the layering sequence that keeps every gradient line razor-sharp instead of muddy.

[#~image_alt_1~#]
Interior design

That drab metal file cabinet in the corner of your home office doesn't have to stay beige forever, but a lazy paint job will just look like a mistake instead of a statement. The mechanism that makes an ombré paint job actually read as intentional is the taping order: you paint darkest to lightest, letting each dry color's edge become the next section's tape line, so the transitions stay crisp instead of bleeding into a muddy blend. Skip that sequence — paint light to dark, or tape all sections at once before any paint dries — and you get soft, blurry lines that look like a mistake instead of a deliberate gradient. Get the order right, and a $15 can of spray paint turns a boring beige box into the loudest, best thing in the room.

What You'll Need

  • Metal file cabinet, thrifted or one you already own
  • Spray paint, 4 neon colors, around $6-7 each, roughly $26 total
  • Painter's tape, about $4 a roll
  • 220-grit sandpaper, under $3
  • Degreasing cleaner or rubbing alcohol, around $4
  • Metal primer spray, about $6
  • Drop cloth or cardboard, free if reused
  • Clear matte or satin sealant spray, around $7

How to Build It

  1. Clean the entire cabinet with degreaser or rubbing alcohol to strip off oils and dust so paint actually grips the metal.
  2. Sand the surface lightly with 220-grit paper, just enough to scuff the factory finish, then wipe away the dust.
  3. Mark four horizontal sections down the cabinet's height using a level and pencil so your gradient bands are even.
  4. Prime the whole cabinet with metal primer and let it dry fully, at least an hour, so your neon colors go on true instead of dulled.
  5. Tape off every section except the bottom band, then spray your darkest neon color there first and let it dry to the touch before moving the tape line up.
  6. Move the tape line up to the next section using the dried edge of the previous color as your new boundary, then spray the second-darkest shade.
  7. Repeat this same up-the-cabinet tape order for the remaining two bands, always waiting for the previous color to dry before shifting tape.
  8. Seal the entire cabinet with two light coats of clear sealant once everything's fully cured, at least 24 hours, to protect against scuffs and fading.
DESIGNER TIP

Pick colors that sit next to each other on the color wheel, like pink into orange into yellow, instead of random neons, because adjacent hues blend visually even where the tape lines are perfectly crisp, making the whole gradient feel cohesive instead of like four unrelated stripes.
Related Content

Interior Design

26 October 2026

Post

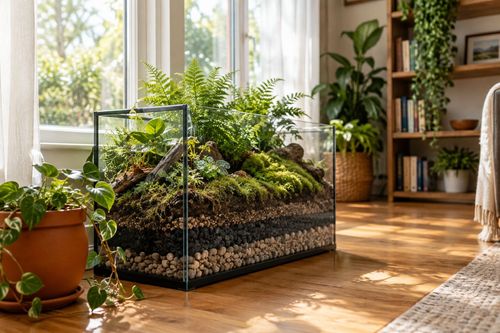
Fish Tank Terrarium: The Drainage Layer That Saves It

Turn a leaky old fish tank into a stunning terrarium—the gravel drainage layer is what stops root rot before your plants ever get a chance....

Interior Design

24 October 2026

Post

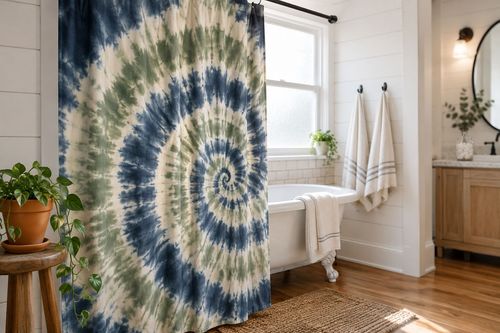
Tie-Dye Shower Curtain: The Fold That Makes Spirals

Turn a plain $8 shower curtain into a wild tie-dye spiral—the fold-and-twist technique is what makes the pattern radiate instead of blotch....

Interior Design

21 October 2026

Post

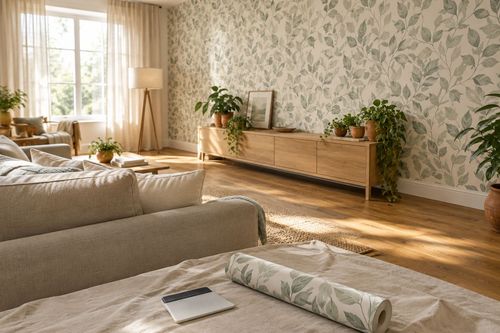
Peel-and-Stick Wallpaper Accent Wall in 3 Hours for $60

Turn one blank wall into a showstopper with peel-and-stick wallpaper—no wet paste, no mess, just a sharp accent wall by dinnertime....

Interior Design

19 October 2026

Post

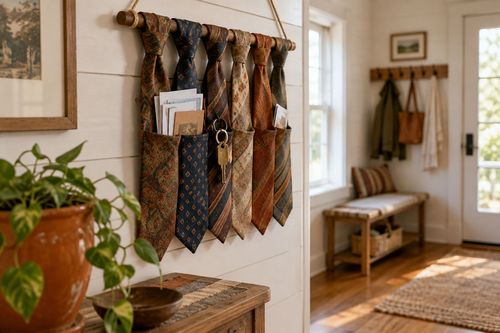
Necktie Wall Organizer: The Knot Spacing That Holds

Turn old neckties into a boho wall organizer for keys and mail—even knot spacing is what keeps the pockets from sagging open. Under $10....

Interior Design

15 October 2026

Post

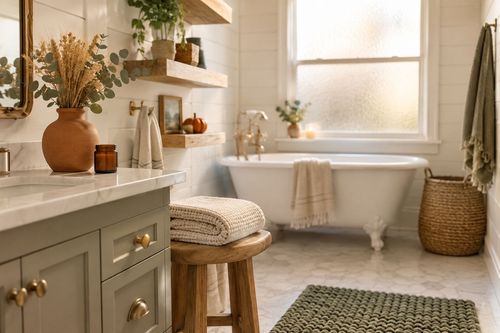
Style a Cozy Fall Guest Bathroom Refresh in 2 Hours for $35

Turn a sterile guest bath into a warm fall retreat with layered textiles and scent—2 hours, $35, zero renovation required....

Interior Design

13 October 2026

Post

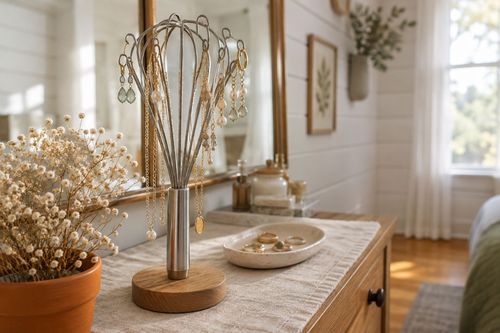
Whisk Jewelry Holder: The Bend That Stops Sagging

Turn a $1 dollar-store whisk into a boutique earring holder—the wire bend angle is what stops it from drooping under real jewelry weight....

Interior Design

12 October 2026

Post

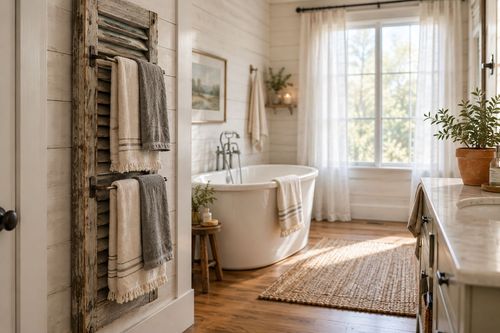
Shutter Towel Rack: The Anchor Screw That Won't Rip Out

Turn a salvaged wood shutter into a bathroom towel rack—the stud anchor is what stops it ripping out under soaked towels....

Interior Design

11 October 2026

Post

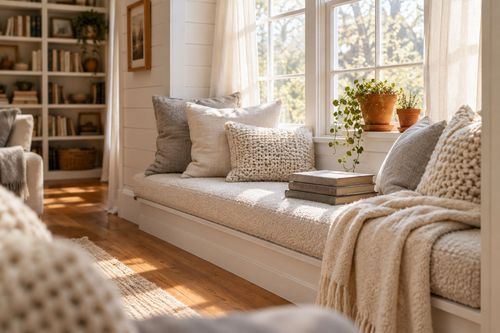
Style a Cozy Window Seat Nook in 2 Hours for $45

Turn a bare window seat into a cozy fall reading nook with the right cushion layering trick—2 hours, $45, instant curl-up energy....

Interior Design

10 October 2026

Post

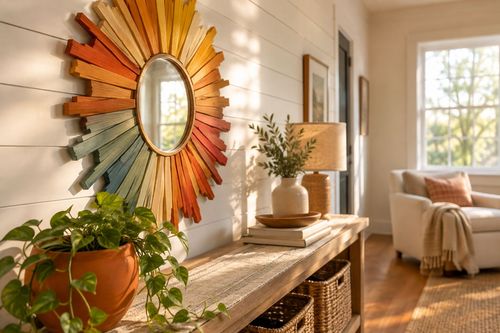
Sunburst Mirror: The Ray Overlap That Hides Gaps

Paint a bold rainbow sunburst mirror for $25—overlapping each ray's base is the trick that hides gaps and makes it look store-bought....

Interior Design

07 October 2026

Post

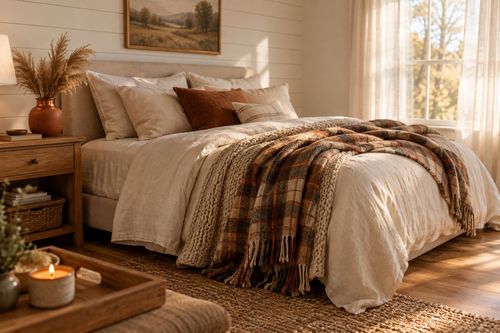
Style a Cozy Fall Bedroom Refresh in 2 Hours for $50

Layer flannel, wool, and warm light the right way and your bedroom finally feels like fall — 2 hours, $50, zero renovation....

Interior Design

03 October 2026

Post

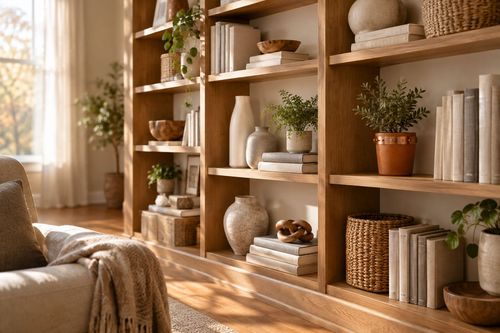
Style a Fall Bookshelf Refresh in 2 Hours for $40

Turn a cluttered bookshelf into a magazine-worthy fall vignette using the triangle rule and warm accents—2 hours, $40, zero carpentry....

Interior Design

03 October 2026

Post

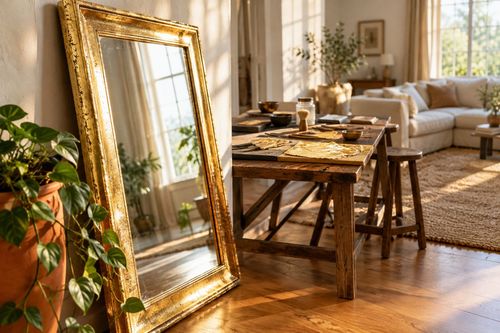
Gold Leaf Frame: The Size Overlap That Prevents Cracks

Turn a plain thrift mirror into a bold gold-leaf statement piece—overlapping each sheet correctly is what stops the finish from cracking and flaking later....

Interior Design

29 September 2026

Post

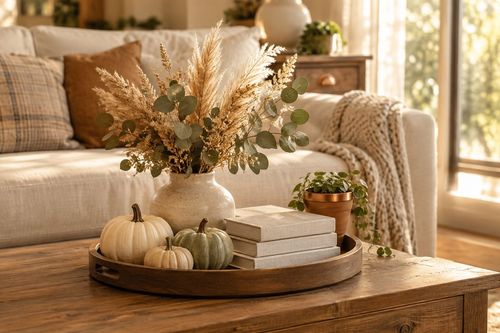
Style a Fall Coffee Table Tray Vignette for $30

Turn a plain coffee table into a cozy fall focal point with a layered tray vignette—45 minutes, $30, zero design degree required....

Interior Design

28 September 2026

Post

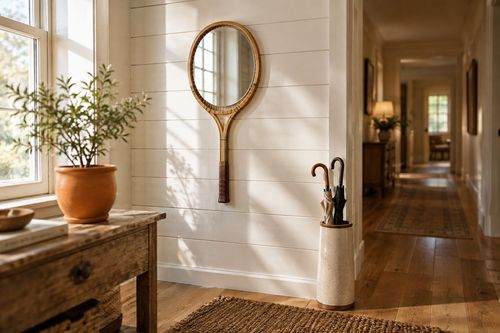
Tennis Racket Mirror: The Backing Trick That Locks It Flat

Turn a thrifted tennis racket into a quirky wall mirror—the plywood backing is what keeps the round mirror from popping loose over time....

Interior Design

26 September 2026

Post

Cabinet Interior Pop: The Paint Line That Sells It

Paint the inside of your open cabinets a jaw-dropping color—the tape line where it meets the face frame is what makes it look designer, not sloppy....
Terms and ConditionsDo Not Sell or Share My Personal InformationPrivacy PolicyPrivacy NoticeAccessibility NoticeUnsubscribe
Copyright © 2026 DIY HomeBoost