Ombré Wall: The Wet Blending Window Is Everything
A seamless color gradient only happens while both paint sections are still wet — the moment either one starts to dry, you're no longer blending colors, you're just streaking dry paint over wet.
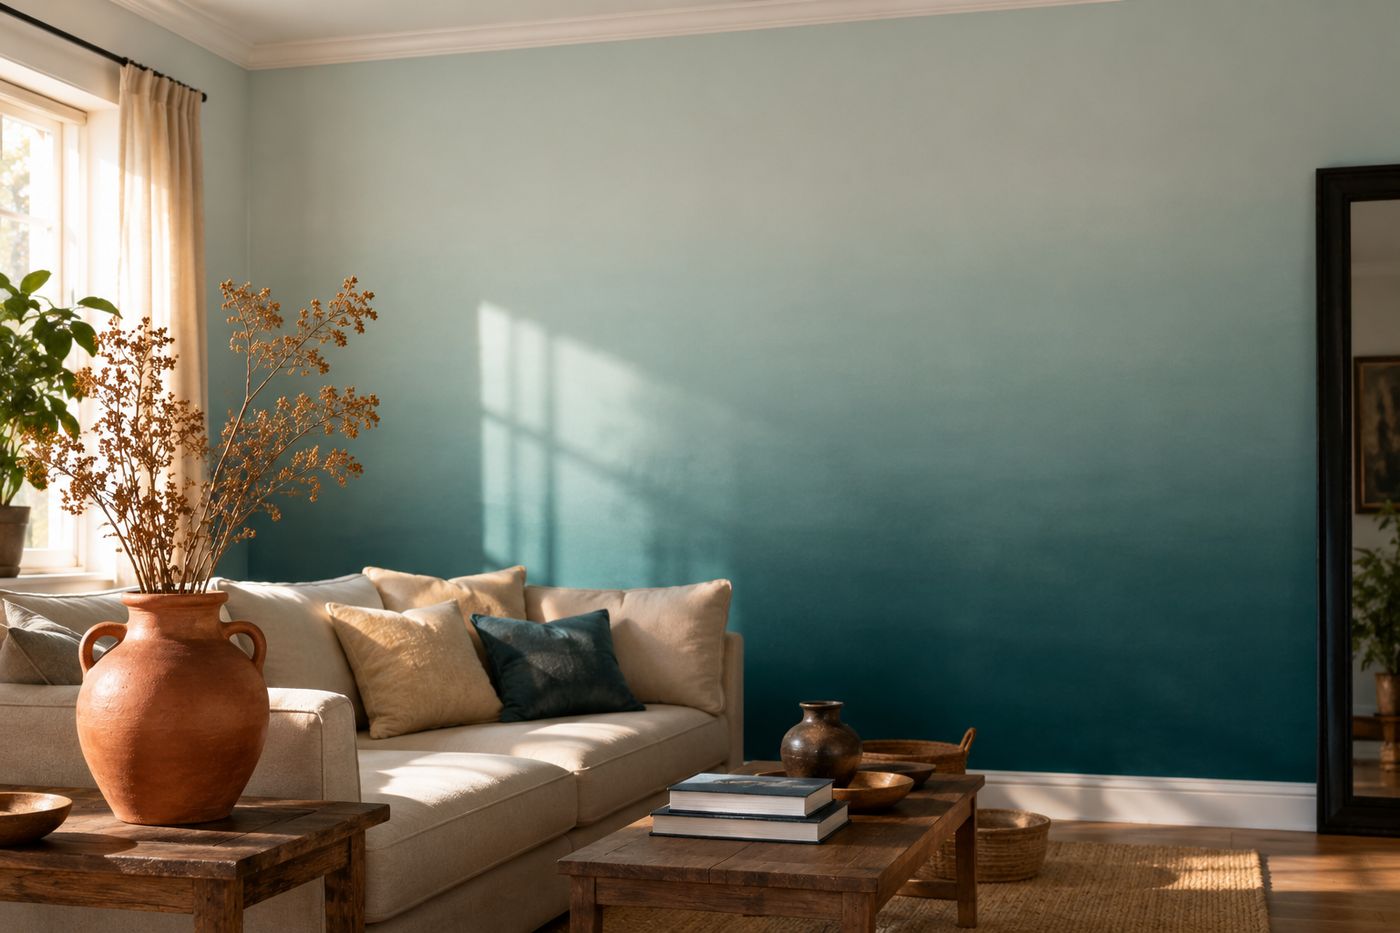
Two paint colors only blend into a smooth gradient while they're both still wet, since wet paint can physically mix and feather into its neighbor at the molecular level in a way dried paint simply can't — once either the dark or light section starts to set, any further brushwork in that transition zone just drags streaks of one color across the surface of the other instead of actually merging them. That's the real reason ombré walls come out looking professionally seamless in some attempts and visibly banded or streaky in others: it's almost never the color choice or the brush quality, it's whether the blending happened inside that wet window or after it had already closed. Working with a large dry blending brush and broad horizontal feathering strokes in that middle transition zone, while both the dark and light sections are still fully wet, is what actually softens every individual brushstroke into the seamless gradient effect. Speed matters here more than in almost any other paint technique, since you're working against the paint's own dry time rather than your own patience. Get that timing right, and about $35 in paint and roughly three hours produces a wall that reads as a completely different room.
What You'll Need
- One quart of your base (darkest) paint color — about $25
- One sample pot of a lighter tint in the same hue — about $10
- Painter's tape, for edges
- Standard paint rollers, for the main color blocks
- A large dry blending brush, for feathering the transition zone
- Drop cloths
- Pencil and tape measure, for marking your three zones
How to Do It
- Mark your wall into three rough horizontal zones with a pencil — bottom third for the darkest value, top third for the lightest, and a middle transition zone where blending will happen.
- Tape off all edges and trim before starting to paint.
- Roll the darkest color into the bottom third, extending slightly into the middle transition zone rather than stopping exactly at your marked line.
- Roll the lightest color into the top third immediately after, also extending down slightly into the transition zone, working quickly since both sections need to still be wet for the next step.
- Blend the middle transition zone immediately while both colors are still fully wet, using a large dry brush and broad horizontal feathering strokes, pulling color upward from the dark section and downward from the light one — this timing is the single most important factor in the whole project, so don't pause for breaks or step back to admire progress until this step is complete.
- Continue feathering across the full width of the wall until no individual brushstroke is visible and the transition reads as one continuous gradient.
- Step back once the blending is done and check for any visible banding or streaks while the paint is still workable, touching up immediately if needed.
- Let the entire wall cure fully before removing tape and returning furniture to the room.
Muralists and decorative painters who work with color gradients professionally often work in smaller sections of the wall at a time — roughly three to four feet wide — rather than attempting to roll the entire wall's dark and light zones before blending any of it, because paint dry time varies with room temperature and humidity, and a smaller section guarantees the wet blending window is still fully open by the time the feathering brush gets to it.