Overwinter Tender Bulbs Indoors in 1 Hour for $20
The difference between dahlia tubers that sprout again in May and ones that rot into mush comes down to one thing: how much moisture is trapped against them when you pack them away.
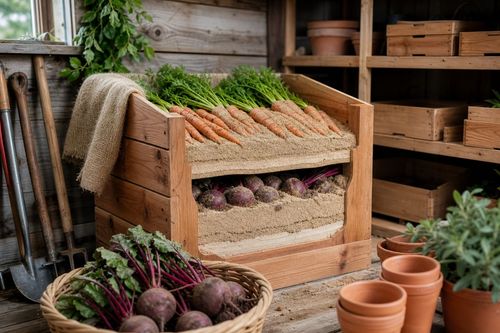
![[#~image_alt_1~#]](/_next/image?url=https%3A%2F%2Fd3klpa3rfwubzz.cloudfront.net%2Fmedia%2FAPI%20Uploads%2FDIY%2Fe8053535b0812350ba2693ae15f85ed3_6c5de30453.jpg&w=1920&q=75)
Once that first light frost blackens the foliage on your dahlias, cannas, or gladiolus, you've got a short window to save those tubers and corms before the ground freezes solid around them. The single variable separating tubers that come back strong in spring from ones you'll toss in March is curing time before storage — skip the few days of air-drying and you seal in surface moisture that turns to rot inside your storage box by January. This whole project takes about an hour of active digging and packing, spread over a few days to let things cure, and runs around $20 for a storage bin and packing medium. Get the moisture balance right and you're basically buying next year's flower bed for free.
What You'll Need
- Materials (~$20 total):
- 1 plastic storage bin with a loose-fitting lid (not airtight) — around $8
- 1 bag of peat moss or vermiculite for packing — around $7
- Newspaper or paper grocery bags for labeling and cushioning — free
- Garden twist ties or a permanent marker for labeling varieties — around $2
- Tools:
- A garden fork or spade for lifting tubers without slicing them
- A soft-bristle brush for knocking off dry soil
- Sharp pruning shears for trimming stems
How to Do It
- Wait for the first light frost to blacken the foliage — this signals the plant has pulled its remaining energy down into the tuber, which is exactly what you want stored for next year.
- Cut the stems back to about 3 inches above the soil line so you have a sturdy handle to lift by without stabbing into the tuber clump itself.
- Lift the clump gently with a garden fork positioned well outside the root spread, working slowly to avoid snapping off the eyes where next year's growth will emerge.
- Shake off loose soil by hand rather than rinsing with water, since added moisture at this stage is exactly what invites rot during storage.
- Cure the tubers by laying them out in a single layer in a dry, shaded spot for 3-7 days — this dries the cut surfaces and outer skin so they seal themselves against rot before they ever go in a box.
- Label each variety on a strip of masking tape or paper tag now, while you can still tell them apart, since bare tubers all look alike once they're in storage.
- Pack the cured tubers in the storage bin, nestled in barely-damp peat moss or vermiculite so they're separated and cushioned but not sitting in wet material.
- Store the bin somewhere cool and dark, between 40-50°F, like an unheated basement corner or attached garage, and check monthly for any that feel soft and need to be pulled before they spread rot to the rest.
Commercial dahlia growers swear by dusting cut or damaged tubers with plain garden sulfur before curing — it's an old-school fungicide trick that seals nicks against rot without any harsh chemicals. They also crack the storage bin lid slightly with a wedge of cardboard, since airtight containers trap the small amount of moisture tubers release over winter and that's often what kills them, not the cold.