DIY Projects

Recent Content

Space Savers: Make Your Own Seed Tape for $5

Space Savers: Make Your Own Seed Tape for $5

Flour paste + toilet paper + tiny seeds = perfectly spaced rows with zero thinning. Make a full season of seed tape in 30 minutes for under $5.

Rise Up: Build a Garden Trellis Arch This Weekend

Rise Up: Build a Garden Trellis Arch This Weekend

Stop growing flat when you could grow up. A handbuilt trellis arch doubles your garden space, supports serious vine crops, and looks stunning all season.

Stand Tall: Build a Wooden Plant Stand for $10

Stand Tall: Build a Wooden Plant Stand for $10

Four legs + a few cross braces + 90 minutes = a minimalist plant stand that looks $60 and costs $10 to build. Make three at different heights and go.

Steeped in Green: Succulents in a Vintage Teacup

Steeped in Green: Succulents in a Vintage Teacup

A thrifted teacup, a handful of gravel, and one tiny succulent — the desk décor that looks precious, costs under $15, and barely needs watering.

Counter Culture: Turn a Dresser into a Kitchen Island

Counter Culture: Turn a Dresser into a Kitchen Island

A thrifted dresser + butcher block top + locking casters = a custom kitchen island for $60–$100. Skip the $400 store version and build character instead.

Personal Style: Embroider Custom Lunch Bags Kids Will Love

Transform basic lunch totes into treasured personal accessories with beautiful hand embroidery

Collection of insulated lunch bags with beautifully embroidered monograms in colorful thread, showing personalized school accessories
DIY PROJECTS

There's something magical about seeing your child's face light up when they spot their very own monogrammed lunch bag in a sea of generic school accessories. Hand-embroidered initials transform ordinary insulated totes into treasured personal items that kids actually want to carry and take care of. Beyond the practical benefits of easy identification in busy cafeterias and lost-and-found bins, these personalized touches create a sense of ownership and pride that makes everyday school routines feel more special. The best part is that basic embroidery techniques are surprisingly approachable – even beginners can create beautiful results with just a few simple stitches and some colorful thread. In an evening or two, you'll have custom lunch bags that combine functionality with heartfelt handmade charm.

Embroidery Essentials (Under $35)

  • Plain insulated lunch bags - Canvas or nylon material works best ($12-18 each)
  • Embroidery floss - Cotton thread in 3-4 favorite colors ($8-12)
  • Embroidery needles - Size 7-9 for medium-weight fabric ($3-5)
  • Small embroidery hoop - 4-6 inch diameter ($5-8)
  • Transfer paper - For tracing letter patterns ($3-5)
  • Fabric marker - Water-soluble for temporary guidelines
  • Small scissors - Sharp fabric scissors for precise cuts
  • Letter templates - Printed or traced alphabet patterns

Monogramming Method

  1. Position your letter template on the lunch bag's front panel, centered about 3 inches from the top
  2. Trace letters lightly with water-soluble marker, ensuring proper spacing between multiple initials
  3. Secure the fabric in your embroidery hoop, keeping it taut but not overstretched
  4. Thread your needle with 3 strands of embroidery floss, knotting the end securely
  5. Begin stitching with simple back stitch or satin stitch, following your traced letter outlines
  6. Fill letter interiors with closely spaced satin stitches for bold, readable monograms
  7. Finish each letter with small securing stitches on the back side of the fabric
  8. Remove hoop and gently wash away marker lines with damp cloth when complete
DESIGNER TIP

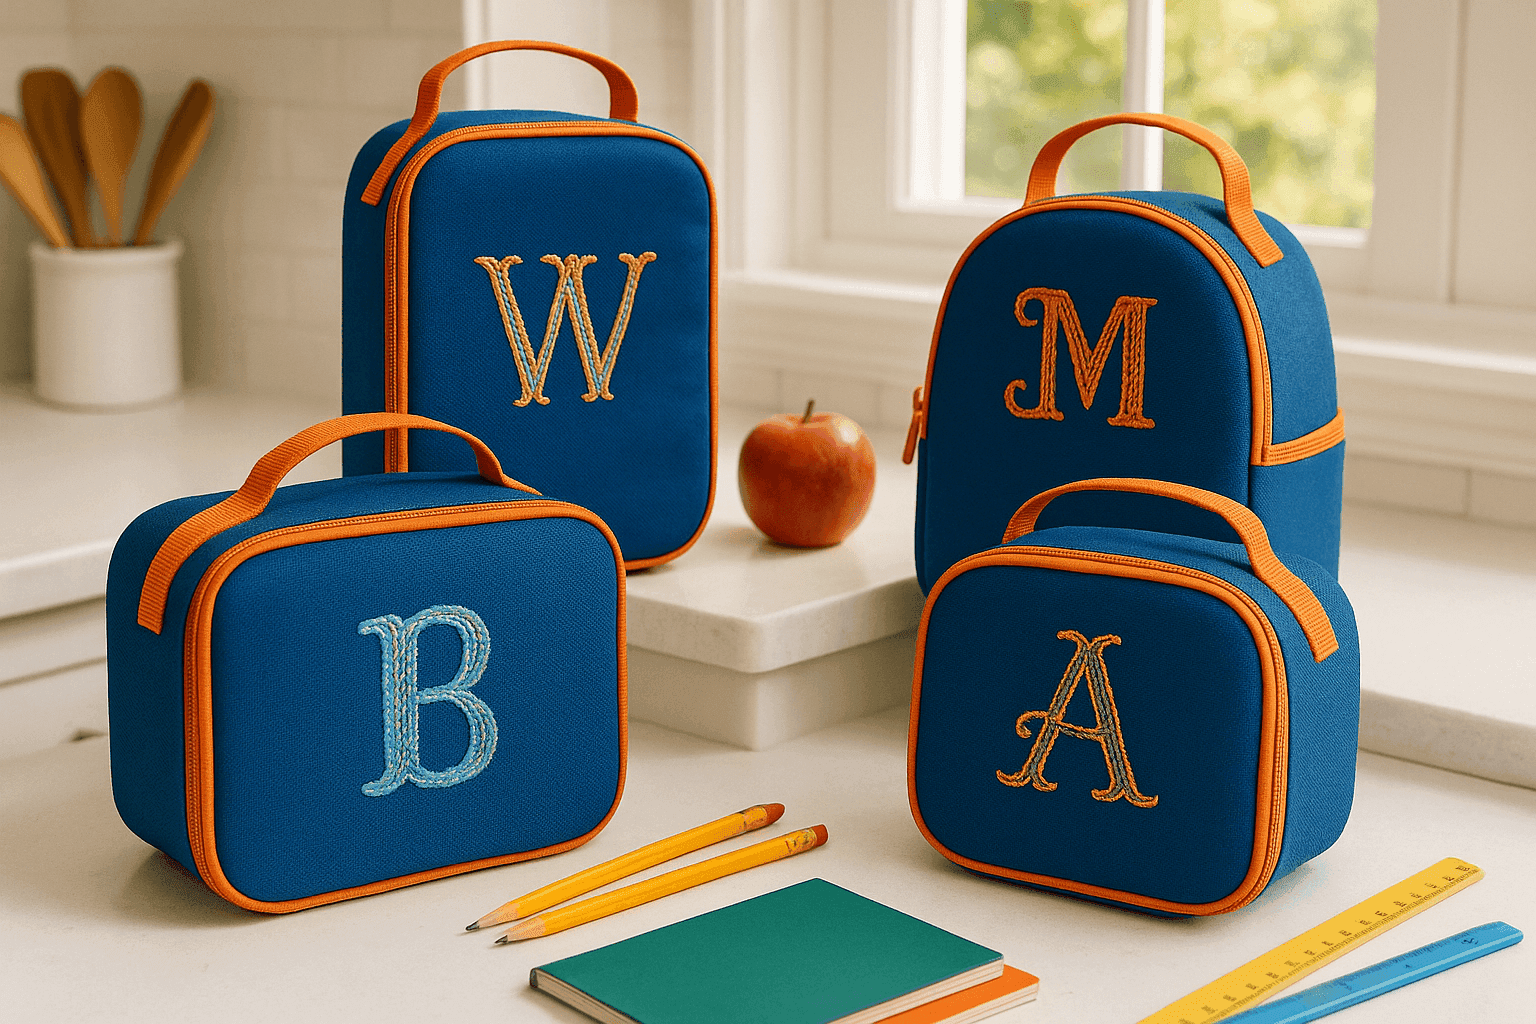
Choose thread colors that contrast well with your lunch bag fabric but also reflect your child's personality – bright turquoise on navy blue, sunny yellow on forest green, or classic red on natural canvas all create striking, readable results. For durability, reinforce your embroidery by backing the inside of the lunch bag with lightweight fusible interfacing before you begin stitching. This prevents the fabric from puckering and helps your beautiful handiwork withstand daily use and frequent washing. Consider adding small decorative elements like tiny stars or hearts around the initials to make each bag even more uniquely theirs.

Related Content

DIY Projects

01 April 2026

Post

Stand Tall: Build a Wooden Plant Stand for $10

Four legs + a few cross braces + 90 minutes = a minimalist plant stand that looks $60 and costs $10 to build. Make three at different heights and go. ...

DIY Projects

04 April 2026

Post

Set in Stone: Make Handprint Stepping Stones with Kids

A mold, a bag of concrete, and one small hand — the $15 garden project that takes 45 minutes to make and becomes one of your most treasured possessions. ...

DIY Projects

04 April 2026

Post

Mirror, Mirror: Make Disco Ball Planters That Dazzle

Make Disco Ball Planters That Dazzle...

DIY Projects

07 April 2026

Post

For the Birds: Make Homemade Suet Cakes for $10

Lard + peanut butter + seeds + a muffin tin = 12 homemade suet cakes for $10. Make a batch in 20 minutes and watch the birds go absolutely frantic....

DIY Projects

15 April 2026

Post

Hang It Up: Build a Wall-Mounted Herb Drying Rack

Angled dowels + a 1x6 backboard + one hour = a herb drying rack that preserves your harvest and looks great doing it....

DIY Projects

07 May 2026

Post

Paint Meditative Watercolor Plant Portraits for $15

One garden leaf, a brush, and twenty minutes of slow looking — a watercolor botanical practice that costs $15 and lasts all season....

DIY Projects

06 May 2026

Post

Build a Wooden Garden Tool Caddy for $12

One 1×8 board, a jigsaw, and 90 minutes builds the garden caddy that ends the shed round-trip forever — for just $12. ...

DIY Projects

05 May 2026

Post

Make a Paper Flower Garland for Parties for $8

Stack, fold, fluff — fifteen tissue paper blooms strung on jute twine transforms any outdoor space into a party for just $8. ...

DIY Projects

05 May 2026

Post

Make a Tissue Paper Fiesta Banner for Under $5

Stack tissue paper, fold accordion-style, snip a pattern, unfold — twelve fiesta banner panels for under $5 in about an hour....

DIY Projects

04 May 2026

Post

Turn Wooden Crates into Rolling Under-Bed Storage for $12

A wooden crate + four swivel casters + a knotted rope handle = rolling under-bed storage that looks boutique for just $12. ...

DIY Projects

02 May 2026

Post

Sew Lavender Sachets for Drawers & Closets for $8

Tuck dried lavender sachets in every drawer and closet for natural scent and moth protection that lasts all year — whole batch under $8....

DIY Projects

27 April 2026

Post

Turn Thrift Store Frames into Serving Trays for $8

Thrift store frame + two drawer pulls + decorative paper = a boutique-worthy serving tray for $8. Swap the insert anytime. ...

DIY Projects

22 April 2026

Post

Feed the Birds: Build a Platform Bird Feeder for $12

A base board, four corner lips, two posts, and a roof — the $12 platform bird feeder built in 90 minutes that attracts more species than any feeder you can buy....

DIY Projects

21 April 2026

Post

Banner Day: Sew Fabric Bunting Banners for $8

Fabric scraps + pinking shears + ribbon + one straight stitch per flag = a handmade bunting banner for $8 that guests always ask where you bought....

DIY Projects

18 April 2026

Post

Silver Lining: Make Vintage Silverware Wind Chimes

Thrift store silverware + driftwood + an hour = a wind chime that sounds better than boutique versions three times the price....
Terms and ConditionsDo Not Sell or Share My Personal InformationPrivacy PolicyPrivacy NoticeAccessibility NoticeUnsubscribe
Copyright © 2026 DIY HomeBoost