


Shade on Demand: Transform Your Patio with Retractable Awnings
Take control of your outdoor comfort with the ultimate patio upgrade that adapts to any weather or mood
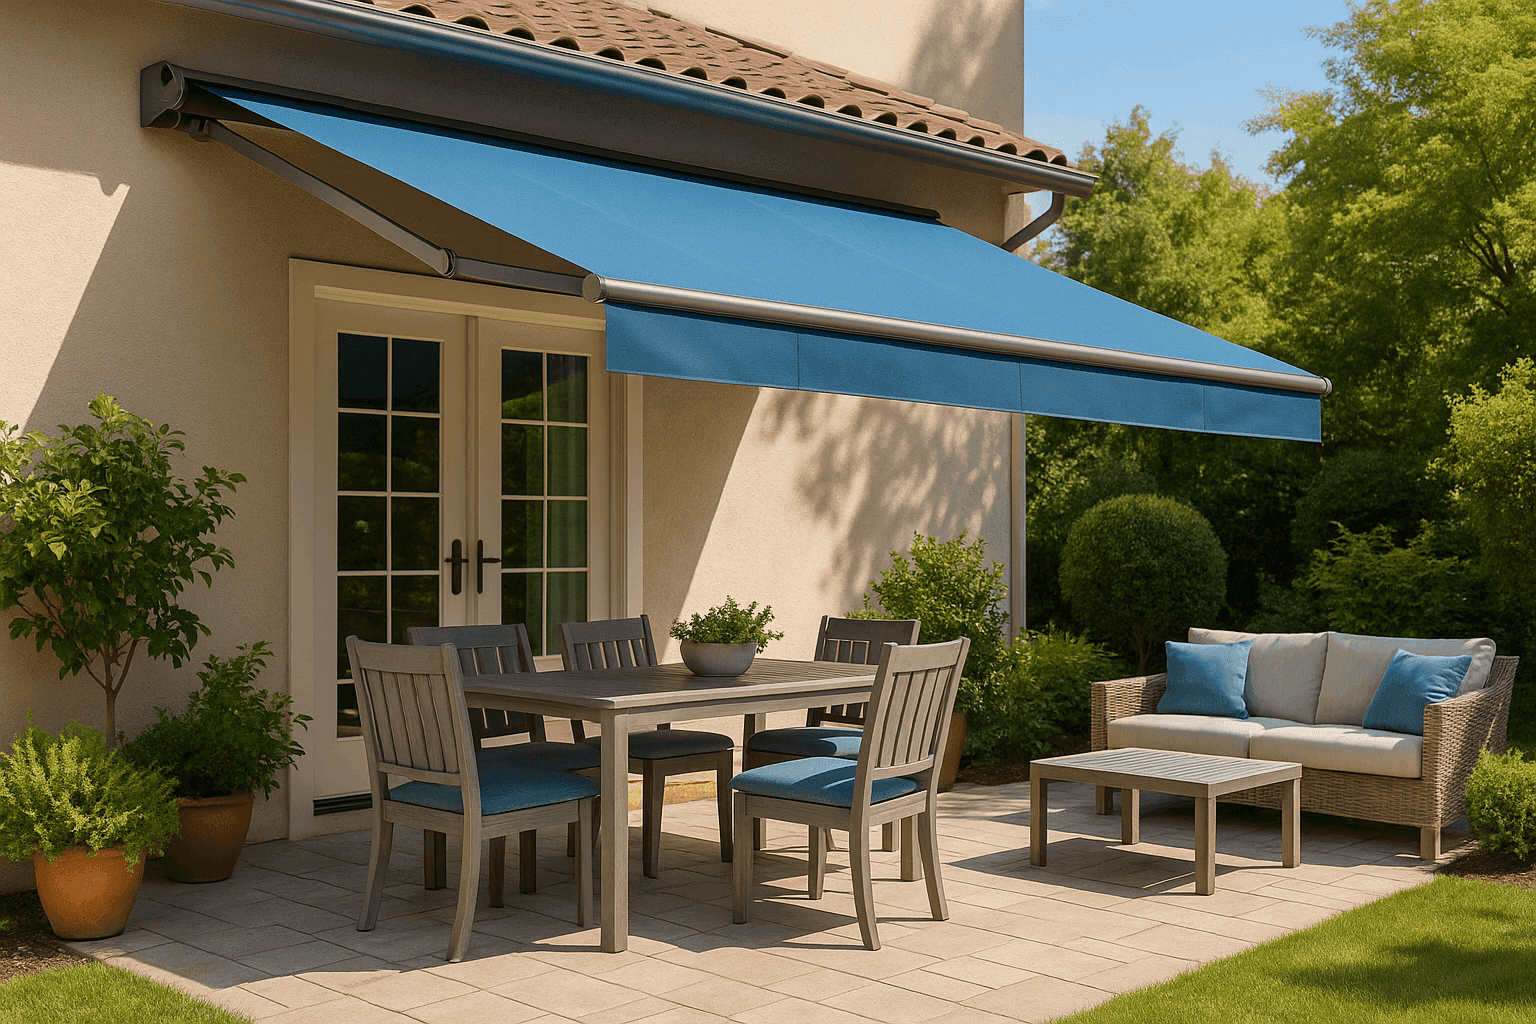
There's something absolutely liberating about being able to control your outdoor environment with the simple pull of a cord – no more abandoning perfect patio dinners because the sun decided to crash the party, no more choosing between scorching heat and missing out on beautiful evenings. I installed my first retractable awning two summers ago after one too many barbecues where guests huddled in the tiny sliver of shade from our house overhang, and it completely transformed how we use our outdoor space. The magic of a retractable awning lies in its adaptability; when you want sun for morning coffee, you've got it, when you need shade for afternoon lunch, it's there instantly, and when evening stars call for an open sky, the awning disappears with the push of a button. Whether you're dealing with a blazing west-facing deck, hosting outdoor dinner parties, or simply want to extend your patio season well into the scorching summer months, this upgrade gives you the power to create perfect conditions on demand. Once you experience the luxury of controlling your outdoor climate as easily as adjusting indoor thermostat, you'll wonder how you ever hosted outdoor gatherings at the mercy of the weather.
Awning Essentials
- Awning System: Manual or motorized retractable awning sized for your space ($300-2000)
- Mounting Hardware: Wall brackets, support arms, and heavy-duty fasteners ($50-150)
- Fabric Options: UV-resistant, waterproof, or breathable materials in colors/patterns ($200-800)
- Control Mechanism: Hand crank, cordless remote, or smart home integration ($0-300)
- Installation Tools: Drill, level, measuring tape, stud finder ($50-200 if needed)
- Wind Sensor: Automatic retraction system for weather protection ($100-400)
- LED Lighting: Integrated lights for evening ambiance ($50-250)
- Professional Installation: Expert mounting and setup service ($200-800)
Installation Process
- Measure your patio space and determine optimal awning size and projection
- Choose mounting location ensuring adequate wall support and clearance
- Install wall brackets securely into studs or masonry anchors
- Mount the awning cassette and support arms according to manufacturer specs
- Test extension and retraction mechanisms before full deployment
- Adjust pitch and tension for proper water runoff and fabric tautness
- Program motorized controls or wind sensors if applicable
- Enjoy your new climate-controlled outdoor living space
Professional outdoor designers choose awning fabrics and colors strategically to enhance both function and aesthetics. Light-colored fabrics reflect heat better and create brighter shaded areas, while darker colors provide more dramatic contrast and hide stains better. The key sizing rule is to extend the awning at least 8 feet out from the wall to create usable shade that covers your seating area even when the sun is at an angle. For the most sophisticated look, choose solid colors or subtle stripes that complement your home's exterior rather than busy patterns that compete with your landscape. Also, invest in motorized operation if your budget allows – the convenience factor dramatically increases how often you'll actually use the awning, making it a daily luxury rather than an occasional convenience.


