


Spa Luxury: Build a Custom Bath Caddy for Under $15
Transform basic lumber into a spa-worthy bathtub caddy that holds wine, books, and pure relaxation
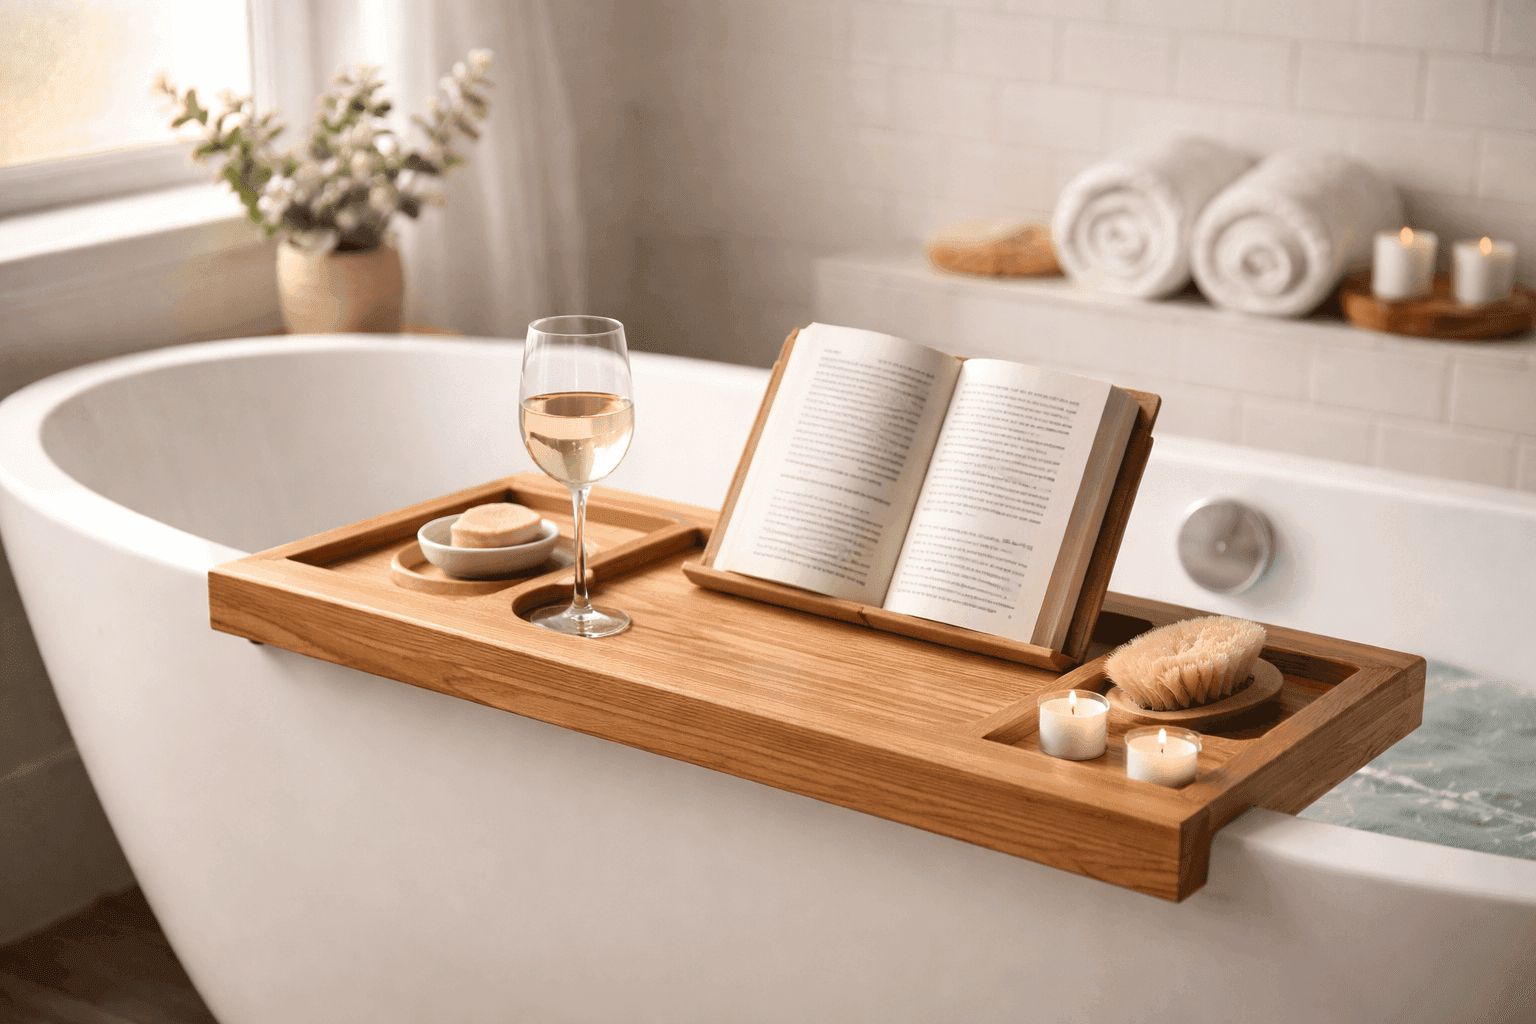
Store-bought bathtub caddies with wine glass holders and book stands sell for $50-100 at home stores, which feels excessive for what's essentially a simple wooden board with a few strategic cuts and holes. Building your own custom bath caddy costs $10-15 in basic lumber and hardware, takes about 2 hours from start to finish including drying time, and delivers that exact spa-luxury experience while fitting your specific tub dimensions perfectly rather than settling for whatever standard size manufacturers decided to produce. I built my first bath caddy as a gift after getting tired of balancing wine glasses precariously on tub edges and watching books slide into bathwater, and the reaction was so enthusiastic that I've since made a dozen more for friends who all report that their bath routine went from functional to genuinely indulgent once they had a proper caddy to hold all their relaxation essentials. The beauty of this project is the customization potential—you can add exactly the features you want (wine glass holder, yes; phone stand, maybe; candle holders, absolutely) while skipping anything you won't use, creating a personalized spa accessory that matches your actual bathing habits rather than someone else's assumptions. This is beginner-friendly woodworking that requires only basic tools and straight cuts, making it perfect for someone looking to build confidence with practical projects before tackling more complex furniture builds, and the waterproof finishing process you'll learn transfers directly to other bathroom and outdoor projects.
What You'll Need
- Main Board: One 1x6 or 1x8 pine, oak, or cedar board cut to your tub width plus 1/2" clearance—measure your specific tub for perfect fit ($5-10 depending on wood choice and length)
- Support Pieces: Small section of 1x3 or 1x4 lumber to cut into two 3" supports that prevent sliding ($2-3, often scrap pieces work perfectly)
- Wood Screws: 1.5" wood screws for attaching support pieces to main board (4-6 screws total)
- Sandpaper Progression: 80-grit, 120-grit, and 220-grit for smooth finish that won't snag towels or skin
- Spade Bit or Hole Saw: 2-3" diameter for cutting wine glass holder hole that stem passes through while bowl rests on top ($5-8 if you don't own one)
- Water-Resistant Finish: Marine-grade polyurethane, spar urethane, or tung oil for protecting wood from constant moisture exposure ($8-12 per can)
- Non-Slip Rubber Bumpers: Self-adhesive furniture pads for bottom of supports to prevent slipping on tub edges ($2-3 per package)
- Basic Tools: Saw (hand saw or miter saw), drill with bits, measuring tape, pencil, clamps for holding pieces during assembly
Step-by-Step Instructions
- Measure your tub width precisely at the point where the caddy will sit, typically the widest point of the tub rim, then add 1/2" total clearance so it rests securely without being so tight it's difficult to position.
- Cut the main board to your measured length using a hand saw or miter saw, ensuring the cut is perfectly square so the caddy sits level across your tub without tilting awkwardly.
- Cut support pieces to approximately 3" length from your 1x3 or 1x4 lumber—these attach perpendicular to the underside at each end to prevent the caddy from sliding into the tub.
- Mark wine glass hole location about 3-4 inches from one end, centered on the board width, using a compass or tracing a glass to mark the 2-3" diameter circle that will hold your stemmed glassware.
- Drill the wine holder using a spade bit or hole saw, working from both sides to prevent tear-out—drill halfway through from top, then flip and complete from bottom for clean edges on both surfaces.
- Add optional features like a tablet slot (cut 1/4" wide groove 1" deep using multiple saw passes), tea light holes (1.5" diameter), or phone stand blocks glued perpendicular to hold device at viewing angle.
- Sand everything thoroughly starting with 80-grit to remove rough spots and splinters, progressing through 120-grit and finishing with 220-grit until wood feels buttery smooth—this step determines comfort during use.
- Attach support pieces to the underside at each end, positioning them perpendicular to the main board and securing with 2-3 screws each, ensuring they're aligned so the caddy sits level.
- Apply waterproof finish in 3-4 thin coats rather than one thick coat, allowing proper drying time between coats per manufacturer's directions—this moisture protection is absolutely critical for bathroom furniture longevity.
- Add rubber bumpers to the bottom of support pieces once finish is completely cured, positioning them to grip tub edges and prevent slipping during use.
Here's the professional woodworking secret that separates amateur bath caddies from spa-quality pieces: instead of drilling a simple circular hole for the wine glass that just barely fits the stem, create a slightly larger hole (2.5-3" diameter) and add a thin wooden crosspiece underneath that spans the hole diameter with a small notch cut in the center for the stem to pass through. This cross-support prevents glasses from accidentally tipping through the hole if bumped, provides a more stable resting surface for the bowl, and looks infinitely more refined than a basic hole. Professional furniture makers call this "integrated safety design"—features that prevent common use failures without being obvious or intrusive. You can cut the crosspiece from the same 1x3 lumber as your supports, creating it about 4" long so it extends beyond the hole on both sides for easy gluing to the main board. This technique also works beautifully for candle holders—drill your 1.5" holes but add small wooden platforms underneath so tea lights sit securely rather than dropping through if wax melts unevenly. These thoughtful design details transform functional DIY projects into heirloom-quality pieces that people genuinely treasure and use for years, making your handmade gift or personal bath caddy feel truly special rather than merely adequate.


