Interior Design

Recent Content

Wooden Dish Rack: The Dowel Angle That Drains Right

Wooden Dish Rack: The Dowel Angle That Drains Right

Build a slatted wood dish rack for $18—the dowel tilt angle is what actually drains water into the tray instead of pooling on your counter.

Install a Fireplace Draft Stopper in 20 Minutes for $25

Install a Fireplace Draft Stopper in 20 Minutes for $25

Stop your chimney from sucking heat right out of the house—an inflatable draft stopper seals it in 20 minutes for about $25.

The Shower Rod Trick That Fakes a Walk-In Closet

The Shower Rod Trick That Fakes a Walk-In Closet

Steal spare closet space with a second shower-curtain rod—zero holes, zero fuss, and your full deposit stays safe.

Pool Noodle Knife Block: The Slice Depth That Stops Wobble

Pool Noodle Knife Block: The Slice Depth That Stops Wobble

Turn a $1 pool noodle into a safe knife block—the slice depth is what keeps blades from wobbling loose or slicing through the foam.

Build a Wooden Pie Carrier in 2 Hours for $25

Build a Wooden Pie Carrier in 2 Hours for $25

Never smash a pie in the car again! Build a snug wooden pie carrier in 2 hours for $25—perfect timing for fall potlucks.

logo
  • Home Improvement
  • DIY Projects
  • Interior Design
  • Gardening & Outdoor
  • Real Estate
  • Home Improvement
  • DIY Projects
  • Interior Design
  • Gardening & Outdoor
  • Real Estate
  • ​

Style a Cozy Window Seat Nook in 2 Hours for $45

Style a Cozy Window Seat Nook in 2 Hours for $45

The difference between a window seat that gets used daily and one that becomes a junk-mail landing pad comes down to cushion depth and layering order, not how many pillows you pile on.

[#~image_alt_1~#]
Interior design

Every house has one: a window seat or deep sill that everyone says they'll 'cozy up eventually' and nobody does. The reason most attempts flop is cushion depth — a seat cushion under 4 inches thick reads as a hard bench no matter how many throw pillows you stack on top, so people avoid sitting there. The fix is layering a firm foam base cushion first, then building texture height with graduated pillow sizes behind it, not on top of it. This whole refresh takes about 2 hours and runs around $45 if you're working with a seat you already have, and it transforms an ignored ledge into the spot people actually fight over on a cold October afternoon.

What You'll Need

  • Materials (~$45 total):
  • 1 high-density foam cushion insert, 4-5 inches thick, cut to seat dimensions ($22)
  • 1 yard durable cotton or canvas fabric for a no-sew cushion cover ($9)
  • 2 large floor pillows or 24-inch square pillow inserts for back support ($8 secondhand or clearance)
  • 3 smaller accent pillows in graduated sizes, 18-inch and 14-inch ($4 thrifted)
  • 1 chunky knit or faux-fur throw blanket ($10 or reused from closet)
  • Fabric glue or a hot glue gun for no-sew cushion cover finishing (optional, $3)

How to Do It

  1. Measure the seat's width, depth, and any obstructions like radiator covers, since a cushion cut even half an inch too wide will buckle at the corners and look sloppy no matter how it's styled.
  2. Cut the foam insert to size using a serrated bread knife, which slices dense foam cleanly without the crumbling a regular knife causes.
  3. Wrap the foam in your fabric like a gift box, pulling it taut on the top surface where sitting pressure will show every wrinkle, and securing the underside seams with fabric glue.
  4. Position the finished cushion first and sit on it before adding anything else, checking that it doesn't compress flat under body weight — if it does, you need denser foam, not more pillows to compensate.
  5. Anchor two large back pillows into the corners at a slight lean, which creates a backrest angle instead of a flat wall of cushions people slide off of.
  6. Layer the smaller accent pillows in front of the corner pillows, largest to smallest working toward the center, so the eye reads intentional height rather than a random pile.
  7. Drape the throw blanket asymmetrically across one end rather than folded flat in the center, since a folded blanket reads as staged while a draped one reads as lived-in.
  8. Test the whole setup by actually sitting there with a book for ten minutes — any pillow that shifts constantly or any cushion edge that digs in gets adjusted now, before it becomes the spot nobody uses.
DESIGNER TIP

Interior stylists working on window seat nooks use what's called the 'lean test' — they prop a pillow against the corner and push on it with a flat hand before calling it finished. If it slides down instead of holding its lean, the fill is too soft or under-stuffed, and they swap in a firmer polyester-fiberfill insert one size up from the cover to keep that backrest angle from collapsing after a week of actual use.
Related Content

Interior Design

26 October 2026

Post

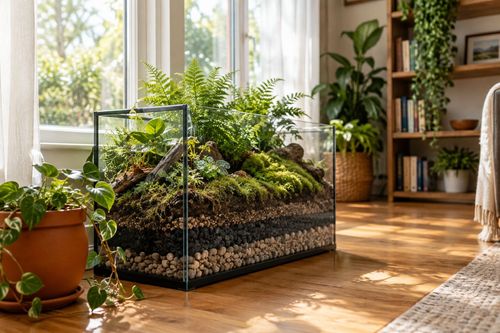
Fish Tank Terrarium: The Drainage Layer That Saves It

Turn a leaky old fish tank into a stunning terrarium—the gravel drainage layer is what stops root rot before your plants ever get a chance....

Interior Design

24 October 2026

Post

Tie-Dye Shower Curtain: The Fold That Makes Spirals

Turn a plain $8 shower curtain into a wild tie-dye spiral—the fold-and-twist technique is what makes the pattern radiate instead of blotch....

Interior Design

21 October 2026

Post

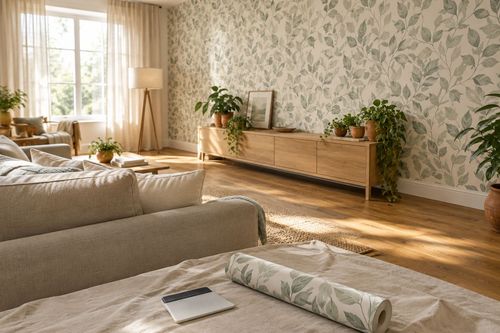
Peel-and-Stick Wallpaper Accent Wall in 3 Hours for $60

Turn one blank wall into a showstopper with peel-and-stick wallpaper—no wet paste, no mess, just a sharp accent wall by dinnertime....

Interior Design

19 October 2026

Post

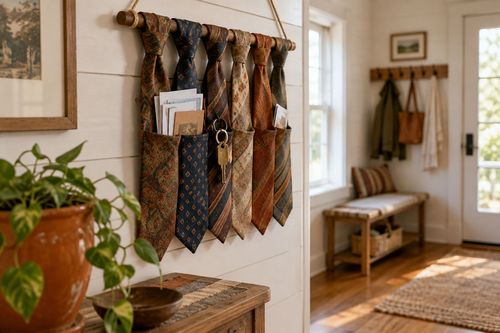
Necktie Wall Organizer: The Knot Spacing That Holds

Turn old neckties into a boho wall organizer for keys and mail—even knot spacing is what keeps the pockets from sagging open. Under $10....

Interior Design

17 October 2026

Post

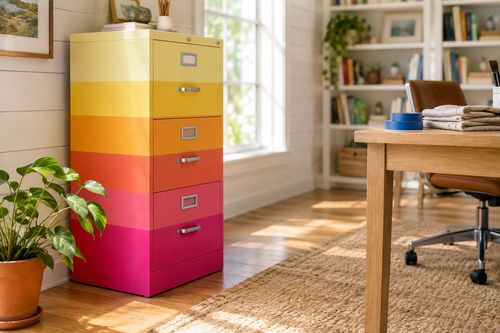
Neon Ombré File Cabinet: The Tape Order That Prevents Bleed

Turn a beige metal file cabinet into a neon ombré showstopper—the tape-layering order is what keeps colors crisp instead of muddy. Under $25....

Interior Design

15 October 2026

Post

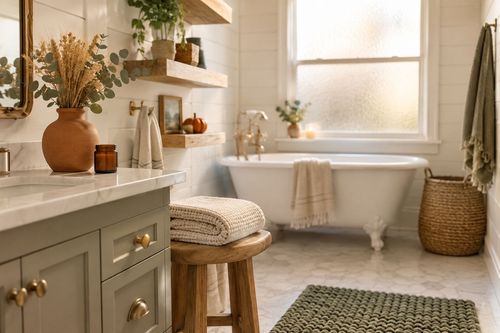
Style a Cozy Fall Guest Bathroom Refresh in 2 Hours for $35

Turn a sterile guest bath into a warm fall retreat with layered textiles and scent—2 hours, $35, zero renovation required....

Interior Design

13 October 2026

Post

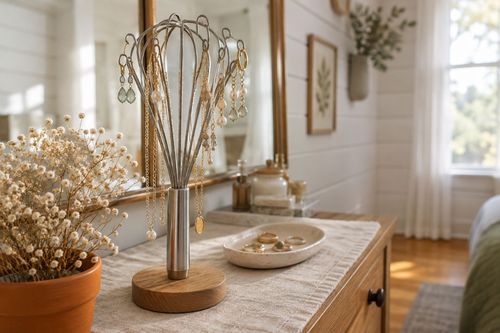
Whisk Jewelry Holder: The Bend That Stops Sagging

Turn a $1 dollar-store whisk into a boutique earring holder—the wire bend angle is what stops it from drooping under real jewelry weight....

Interior Design

12 October 2026

Post

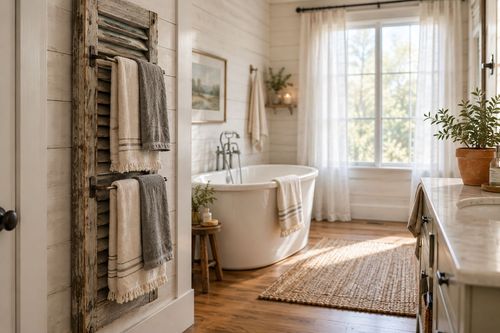
Shutter Towel Rack: The Anchor Screw That Won't Rip Out

Turn a salvaged wood shutter into a bathroom towel rack—the stud anchor is what stops it ripping out under soaked towels....

Interior Design

10 October 2026

Post

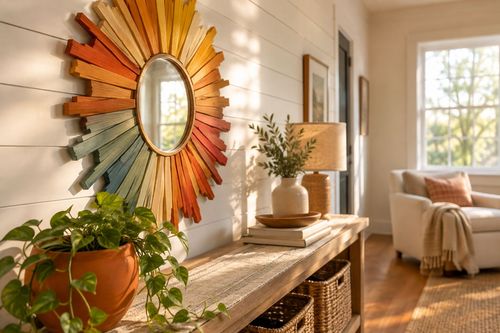
Sunburst Mirror: The Ray Overlap That Hides Gaps

Paint a bold rainbow sunburst mirror for $25—overlapping each ray's base is the trick that hides gaps and makes it look store-bought....

Interior Design

07 October 2026

Post

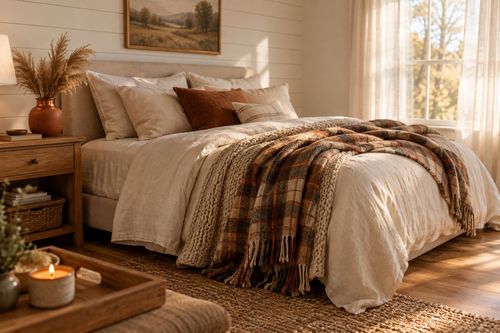
Style a Cozy Fall Bedroom Refresh in 2 Hours for $50

Layer flannel, wool, and warm light the right way and your bedroom finally feels like fall — 2 hours, $50, zero renovation....

Interior Design

03 October 2026

Post

Style a Fall Bookshelf Refresh in 2 Hours for $40

Turn a cluttered bookshelf into a magazine-worthy fall vignette using the triangle rule and warm accents—2 hours, $40, zero carpentry....

Interior Design

03 October 2026

Post

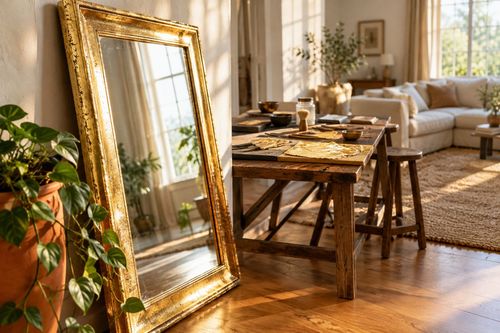
Gold Leaf Frame: The Size Overlap That Prevents Cracks

Turn a plain thrift mirror into a bold gold-leaf statement piece—overlapping each sheet correctly is what stops the finish from cracking and flaking later....

Interior Design

29 September 2026

Post

Style a Fall Coffee Table Tray Vignette for $30

Turn a plain coffee table into a cozy fall focal point with a layered tray vignette—45 minutes, $30, zero design degree required....

Interior Design

28 September 2026

Post

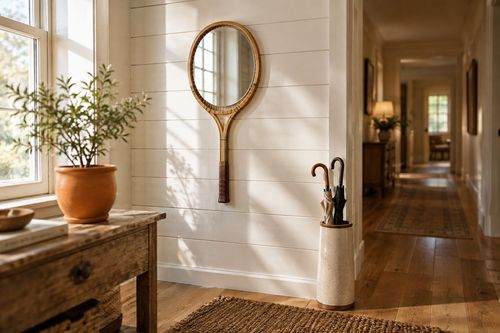
Tennis Racket Mirror: The Backing Trick That Locks It Flat

Turn a thrifted tennis racket into a quirky wall mirror—the plywood backing is what keeps the round mirror from popping loose over time....

Interior Design

26 September 2026

Post

Cabinet Interior Pop: The Paint Line That Sells It

Paint the inside of your open cabinets a jaw-dropping color—the tape line where it meets the face frame is what makes it look designer, not sloppy....
Terms and ConditionsDo Not Sell or Share My Personal InformationPrivacy PolicyPrivacy NoticeAccessibility NoticeUnsubscribe
Copyright © 2026 DIY HomeBoost