The Tension Rod Trick That Doubles Your Pantry Shelf
One rod, zero tools, and suddenly your cabinet has twice the room.
![[#~image_alt_1~#]](/_next/image?url=https%3A%2F%2Fd3klpa3rfwubzz.cloudfront.net%2Fmedia%2FAPI%20Uploads%2FDIY%2F0ee3010f09b6a636bdd702e354b000ea_8702f17a61.jpg&w=1920&q=75)
Small Space
Rental kitchens and dorm cabinets never seem to have enough shelf space, and stacking cans just leads to an avalanche every time you reach for one. This tension rod trick creates an instant second-tier shelf with zero tools and zero damage — pull it out anytime and the cabinet looks untouched.
What You'll Need
- Two adjustable tension rods, spring-loaded, sized to your cabinet width (approx. $6-$10 each)
- Optional: thin rubber grip liner to prevent rod slipping (approx. $4)
- Optional: small flat items (light boxes, flat cans) to test the new shelf's weight limit
How to Do It
- Measure the width of your cabinet and the height where you want the new shelf tier.
- Extend each tension rod to fit snugly between the cabinet's side walls, leaving no marks since nothing is screwed or glued in place.
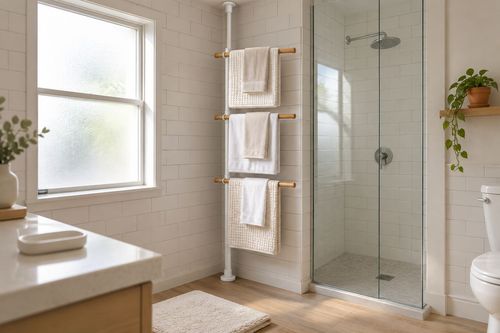
- Space two rods a few inches apart, front to back, so they can support flat-bottomed items like plates or boxed goods.
- Test the rods with light items first, adjusting tension until they hold steady without slipping.
- Load your new upper tier with lightweight items, keeping heavier things on the original shelf below.
- Remove anytime by simply collapsing the rods — no residue, no marks, no landlord side-eye.
DESIGNER TIP
Add a strip of rubber shelf liner along the rods before loading items — it grips better and keeps things from sliding when you open the cabinet door.