Thrift Frame Gallery: One Color Ends the Chaos
Mismatched wood tones and finishes compete for attention no matter how good the composition is — a single unified paint color is what actually lets the eye read the wall as one intentional collection instead of a pile of random frames.
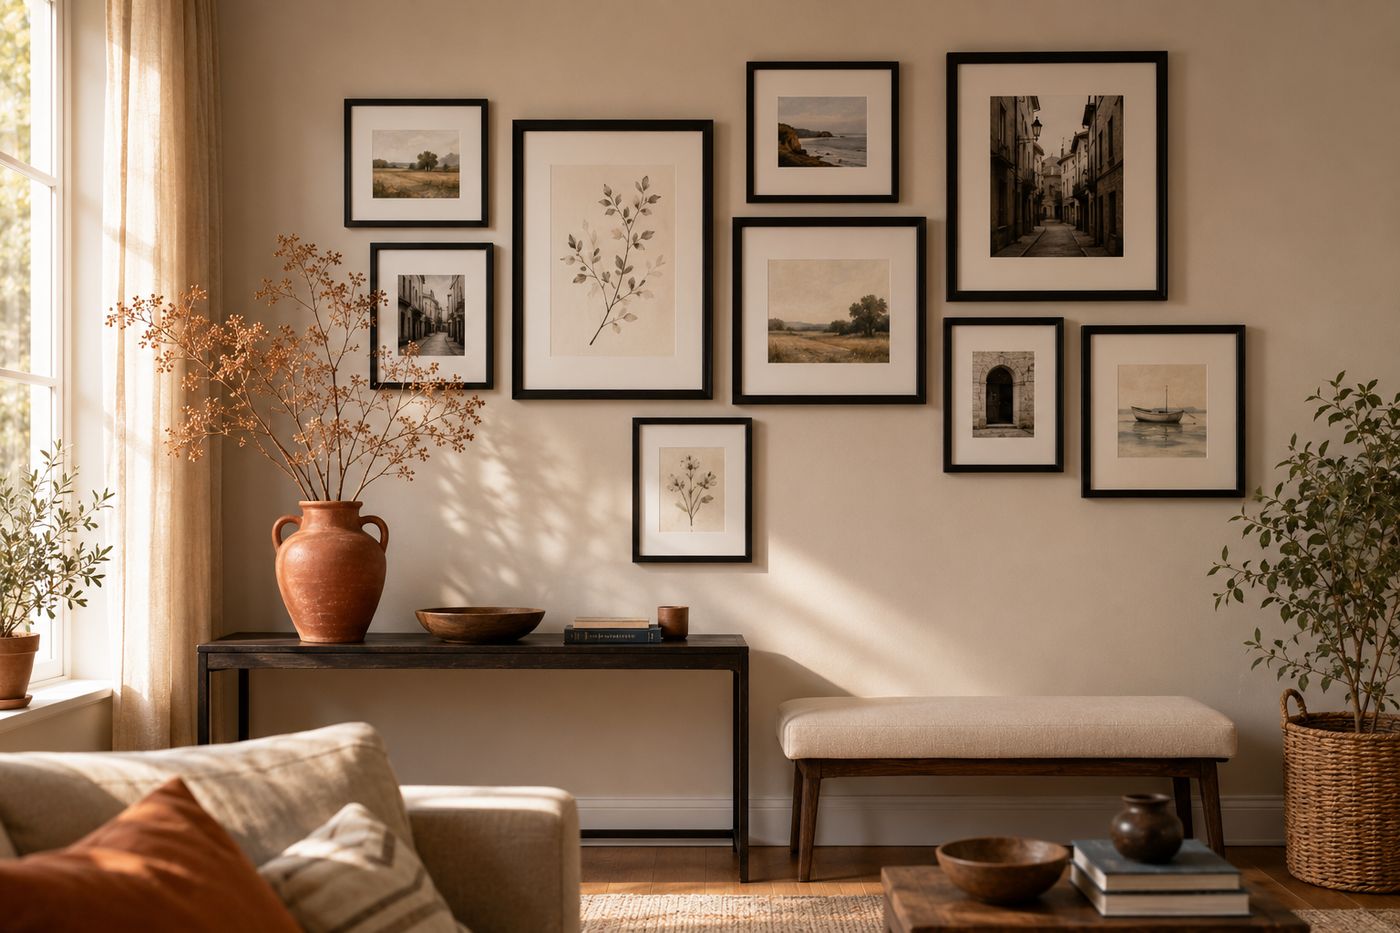
A collection of thrifted frames arrives with wildly different wood tones, finishes, and ornamentation, and hanging them as-is means the eye spends its energy processing all those competing materials before it ever gets to the art inside them — no arrangement, however well-composed, overcomes that visual noise on its own. Painting every single frame the same matte color removes that competition entirely: once the material differences disappear, the eye reads the wall as one cohesive collection and actually looks at the artwork and the overall shape of the arrangement instead of cataloging mismatched wood grains. That's the specific design mechanism that makes a pile of $0.50-$3 thrift store finds read as a deliberately curated, expensive-looking installation rather than what it actually is. The composition planning matters too, but it's secondary — laying frames out on the floor and photographing the arrangement from above lets you perfect spacing before a single nail goes in the wall, avoiding unnecessary holes. Get the color unification right, and the whole project costs about $32 and takes roughly three hours from paint to final hang.
What You'll Need
- Assorted thrifted frames, mismatched sizes and styles — about $0.50-$3 each, roughly $20 total for a full wall
- Matte spray paint, in one unified color (black, white, or another cohesive tone) — about $12 for two cans
- White cardstock or mat board, for consistent matting — about $5, or already on hand
- Art prints, photographs, torn book pages, or simple watercolor washes, to fill each frame
- Drop cloth or outdoor space, for spray painting
- Picture hanging hardware (if not already on the frames)
- Level and tape measure
- Painter's tape and paper, cut to each frame's size, for planning the wall layout
How to Do It
- Collect a mismatched variety of frames over time from thrift stores and estate sales, prioritizing interesting shapes and sizes over matching styles, since paint will unify them later regardless of how different they start out.
- Remove the glass and backing from each frame before painting, setting them aside to clean and reuse.
- Spray paint every single frame in the same matte color, applying light even coats and letting each dry fully before the next — this single unifying step is what actually determines whether the finished wall reads as curated rather than random.
- Mat your chosen art, photographs, or paper pieces uniformly in white cardstock or mat board, which adds another layer of visual consistency across the varied frame sizes.
- Lay the fully painted and filled frames out on the floor in your planned arrangement, adjusting spacing and composition until it feels balanced.
- Photograph the floor arrangement from directly above, which gives you a clear reference to work from once you start hanging and prevents guessing at spacing on the wall itself.
- Trace each frame's outline onto paper and tape those templates to the wall in your planned positions, adjusting placement before committing to any nails.
- Hang each frame according to its template position, checking level as you go and removing the paper templates once the real frames are in place.
Interior stylists who design gallery walls professionally often deliberately include one or two empty or mostly-white frames in the arrangement rather than filling every single one with dense art or photographs, because a few visual "rest" spots keep a busy gallery wall from feeling overwhelming and actually make the eye linger longer on the pieces with more detail.