Window Photo Display: Wire Tension Is the Real Skill
A loosely strung wire sags the moment a clip weighs it down at the center — the entire display depends on getting each wire pulled genuinely taut before a single photo goes up.
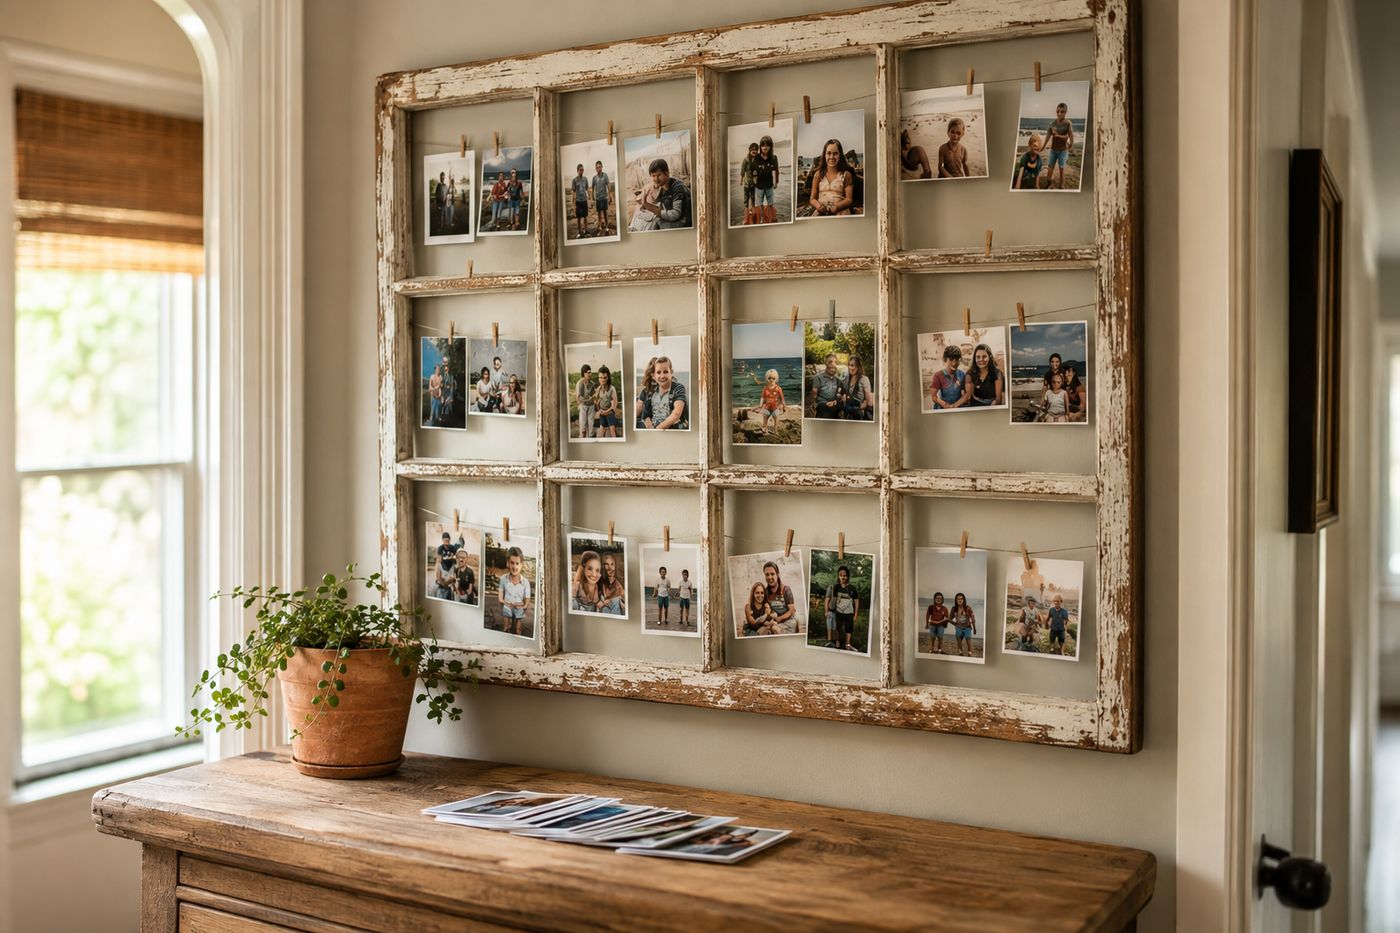
A wire strung across a frame under low tension holds its own weight fine, but the moment a binder clip and photo hang from its center, that added weight pulls the middle of the wire down into a visible dip, and every subsequent clip added along that same wire sags a little further at whatever point it's clipped. The distinction between a display where every photo sits level and neat and one where the middle of each row droops noticeably lower than the ends comes down entirely to how taut the wire was pulled and secured at the screw eyes before a single photo went up. Genuinely tight wire distributes the weight of multiple clips evenly along its length instead of concentrating sag at whichever spot happens to be loaded first. That's a small mechanical detail, but it's the difference between a display that reads as effortlessly curated and one that looks like it's slowly falling apart within its own frame. Get the tension right at the start, and the actual charm of the piece, the vintage frame, the grid lines, the swap-anytime clips, does all the rest of the work. The whole project costs about $15 and takes roughly an hour.
What You'll Need
- Multi-pane window frame, salvaged or thrifted — about $8
- Thin picture-hanging wire — about $3
- Small screw eyes, two per pane row
- Mini binder clips — about $2
- Two picture-hanging hooks, rated for the frame's weight — about $2
- Wire cutters
- Printed photos, to display
- Level, for hanging
How to Do It
- Clean the window frame thoroughly, and check that the frame joints and glass panes (if keeping them) are stable before working with it.
- Drive a small screw eye into each side of the frame at the height where you want each horizontal wire row, spacing multiple rows evenly if using more than one pane.
- Cut a length of wire slightly longer than the distance between each pair of screw eyes.
- Thread the wire through one screw eye and twist it securely, then pull it across to the opposite screw eye, pulling it genuinely taut before twisting it off — this tension is the detail that determines whether your finished display sags under the weight of photo clips or stays level, so don't settle for "close enough" tension here.
- Check the wire's tautness by pressing gently at the center — it should barely give at all before adding any weight.
- Repeat for each additional row across the remaining panes, checking each wire's tension individually.
- Clip your printed photos along each wire with mini binder clips, varying the height slightly within each row so the arrangement reads as curated rather than perfectly uniform.
- Mount two picture-hanging hooks on the wall at your chosen height, check level, and hang the finished frame.
Interior stylists who design gallery-style photo displays often mix printed photos with a few small pressed flowers, ticket stubs, or handwritten notes clipped in among the images, rather than filling every clip position with a photograph, because the mix of ephemera and images gives the eye more texture and story to explore and keeps the display from reading as a flat, uniform photo grid.