Command Center for Holiday Package Chaos
Create a dedicated receiving station that tames daily delivery mayhem and keeps outgoing gifts organized
The December I watched packages pile up randomly across my entryway, living room, and kitchen counter while outgoing gifts mixed with incoming orders and no one could find anything, I vowed to create a dedicated package receiving station before the next holiday season's shipping chaos began. A mail and package command center isn't fancy organization theater—it's functional infrastructure that prevents the daily avalanche of holiday deliveries from overwhelming your home and your sanity during the busiest shopping and shipping season of the year. This setup takes about 30 minutes and costs $20-40 depending on containers you choose, but delivers immediate order to what otherwise becomes mounting chaos as multiple daily deliveries arrive alongside cards, bills, and outgoing gifts needing shipment. I position my package station by the front door now, and the simple act of having designated spots for incoming packages, outgoing mail, packing supplies, and family member-specific items transforms overwhelming disorder into manageable systems that everyone in the household can follow. Beyond preventing physical clutter, this receiving station creates mental clarity—you know exactly where to put new arrivals, where to find items you're expecting, and where to stage gifts before they ship, eliminating the frantic pre-holiday searching through random piles scattered across your home.
What You'll Need
- Container System:
- Large basket or bin for incoming packages
- Separate basket for outgoing mail and gifts
- Smaller bins for individual family members (optional)
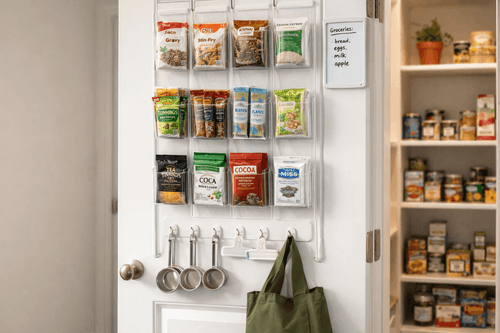
- Mail organizer or wall-mounted slots
- Choose coordinating styles for cohesive look
- Base & Display:
- Console table, bench, or shelving unit
- Or utilize existing entryway furniture
- Should be easily accessible from front door
- Adequate space for multiple containers
- Sturdy enough to hold stacked packages
- Labeling & Tools:
- Labels or tags for each basket's purpose
- Package scissors or box cutter
- Pens and return address labels
- Small notepad for tracking deliveries
- Tape measure for checking package dimensions
- Packing Supplies Station:
- Shipping tape and dispenser
- Bubble wrap or packing paper
- Various box sizes if space allows
- Shipping labels and printer access
- Scale for weighing packages
- Optional Add-Ons:
- Hooks for hanging gift bags
- Clipboard for delivery notifications
- Small trash bin for packaging waste
- Decorative elements to match decor
- Total Cost: $20-50 depending on containers
Setup Steps
- Choose your location by identifying a spot near your main entry door with adequate floor and surface space for packages, ideally where delivery drivers already naturally place items and household members pass frequently. Proximity to where packages arrive prevents the drift of boxes throughout your home.
- Assess space realistically by measuring available area and considering peak volume—you'll need room for multiple daily deliveries during December plus staging space for outgoing gifts. Better to designate more space than needed rather than creating a system that overflows during busy periods and stops functioning.
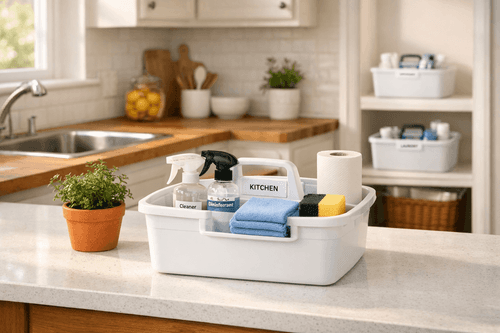
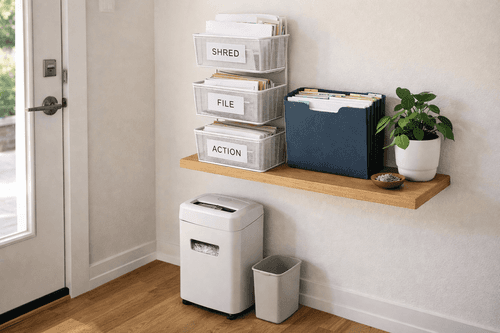
- Select appropriate containers by choosing baskets or bins large enough for typical package sizes without being so huge they look empty or take excessive space. Wire baskets work well for visibility, while solid containers conceal clutter—choose based on whether your station is visible to guests.
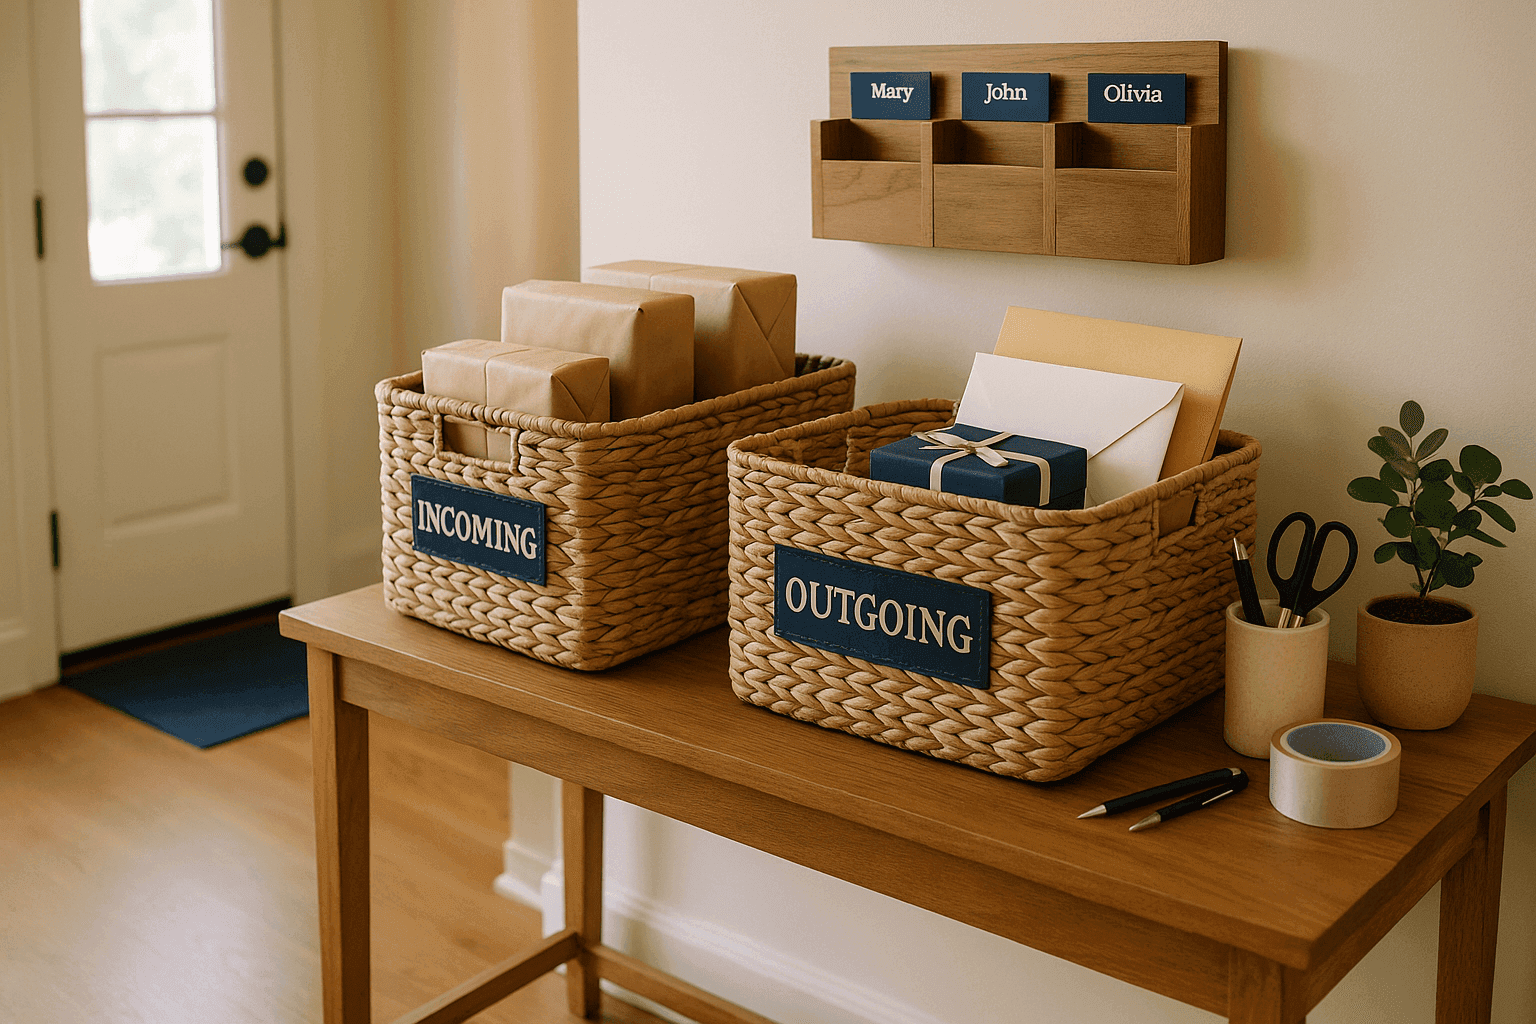
- Create distinct zones by designating separate containers for different purposes: incoming packages awaiting opening, opened items needing distribution to recipients, outgoing gifts ready for shipping, and current mail requiring action. This separation prevents confusion about package status and what needs attention.
- Label everything clearly using tags, chalkboard labels, or printed signs that communicate each zone's purpose to all household members and even delivery drivers. Clear labeling means everyone knows where items belong without asking, making the system self-maintaining rather than dependent on one person's enforcement.
- Position for workflow by arranging containers in logical sequence matching your typical package journey: incoming basket nearest door, processing area in middle with scissors and tools, outgoing basket positioned where you naturally grab items heading to post office. Intuitive flow makes following the system effortless.
- Include tool access by keeping package scissors, box cutter, and pens immediately at hand rather than forcing trips to other rooms when packages arrive. A small jar or cup holding these essentials prevents the frustration of needing to hunt for tools every time you open deliveries.
- Add packing supplies nearby if you have space, creating a one-stop station for both receiving and sending rather than requiring multiple locations for package handling. Even a small basket holding tape, scissors, and bubble wrap enables immediate gift wrapping and shipping preparation without leaving the area.
- Establish daily routine by committing to processing the incoming basket once daily—opening packages, distributing contents to recipients, breaking down boxes, and moving outgoing items to shipment staging. This daily maintenance prevents overwhelming backlog and keeps the system functioning throughout busy season.
- Communicate the system by explaining your package station setup to household members and even leaving a note for delivery drivers about your preferred package placement. When everyone understands and follows the same organizational system, it actually stays organized rather than slowly devolving into the chaos it was designed to prevent.
Professional organizers and efficiency experts who help clients manage high-volume shipping recommend several advanced strategies that transform basic package stations into truly sophisticated systems. The most important upgrade is a digital tracking component—use a shared family note or spreadsheet where anyone who orders something logs the expected delivery date and item description, eliminating the "what did you order?" conversations and ensuring nothing gets missed or mistakenly returned. Interior designers who specialize in functional spaces recommend the "hidden storage" approach: use beautiful baskets and bins that match your decor rather than utilitarian plastic, and choose a console table with cabinet storage underneath for concealing packing supplies when not in use, so your package station looks intentional rather than cluttered. For households with multiple people ordering separately, implement a color-coding system where each family member gets a specific colored bin or tag, allowing everyone to quickly identify their deliveries without opening packages or asking around. Professional organizers also swear by the "immediate disposal" rule for packaging waste—keep a collapsible recycling bin right at your station so cardboard and paper can be broken down and discarded immediately rather than migrating throughout your home. The most sophisticated systems include a "gift staging" area separate from personal deliveries, creating dedicated space for wrapping supplies, gift tags, and presents waiting to be wrapped or shipped, which prevents accidentally opening someone's gift or mixing up what's for keeping versus giving. Finally, if you're serious about shipping efficiency, invest in a small digital scale and label printer positioned at your station—the ability to weigh, print shipping labels, and schedule pickups without leaving your package command center transforms outgoing shipment from tedious errand into two-minute task.