


Draft Defense: Weatherstrip Sliding Doors for Fall Comfort
Seal patio doors before temperature drops reveal every air leak and energy loss
Last winter I kept feeling this mysterious cold draft every time I sat near my patio doors, and it wasn't until temperatures really dropped that I realized how much warm air I was losing through those seemingly small gaps! Weatherstripping sliding doors is one of those projects that seems almost too simple to make a real difference, but the impact on comfort and energy bills is absolutely dramatic. There's something so satisfying about running your hand along a door frame that used to let cold air whistle through and feeling nothing but solid seal. The timing is perfect right now because you can tackle this project while it's still pleasant to work with doors open, before those chilly mornings make every little air leak painfully obvious. This upgrade literally pays for itself in energy savings, and the difference in comfort is immediate – no more cold spots or drafts ruining your cozy indoor vibe!
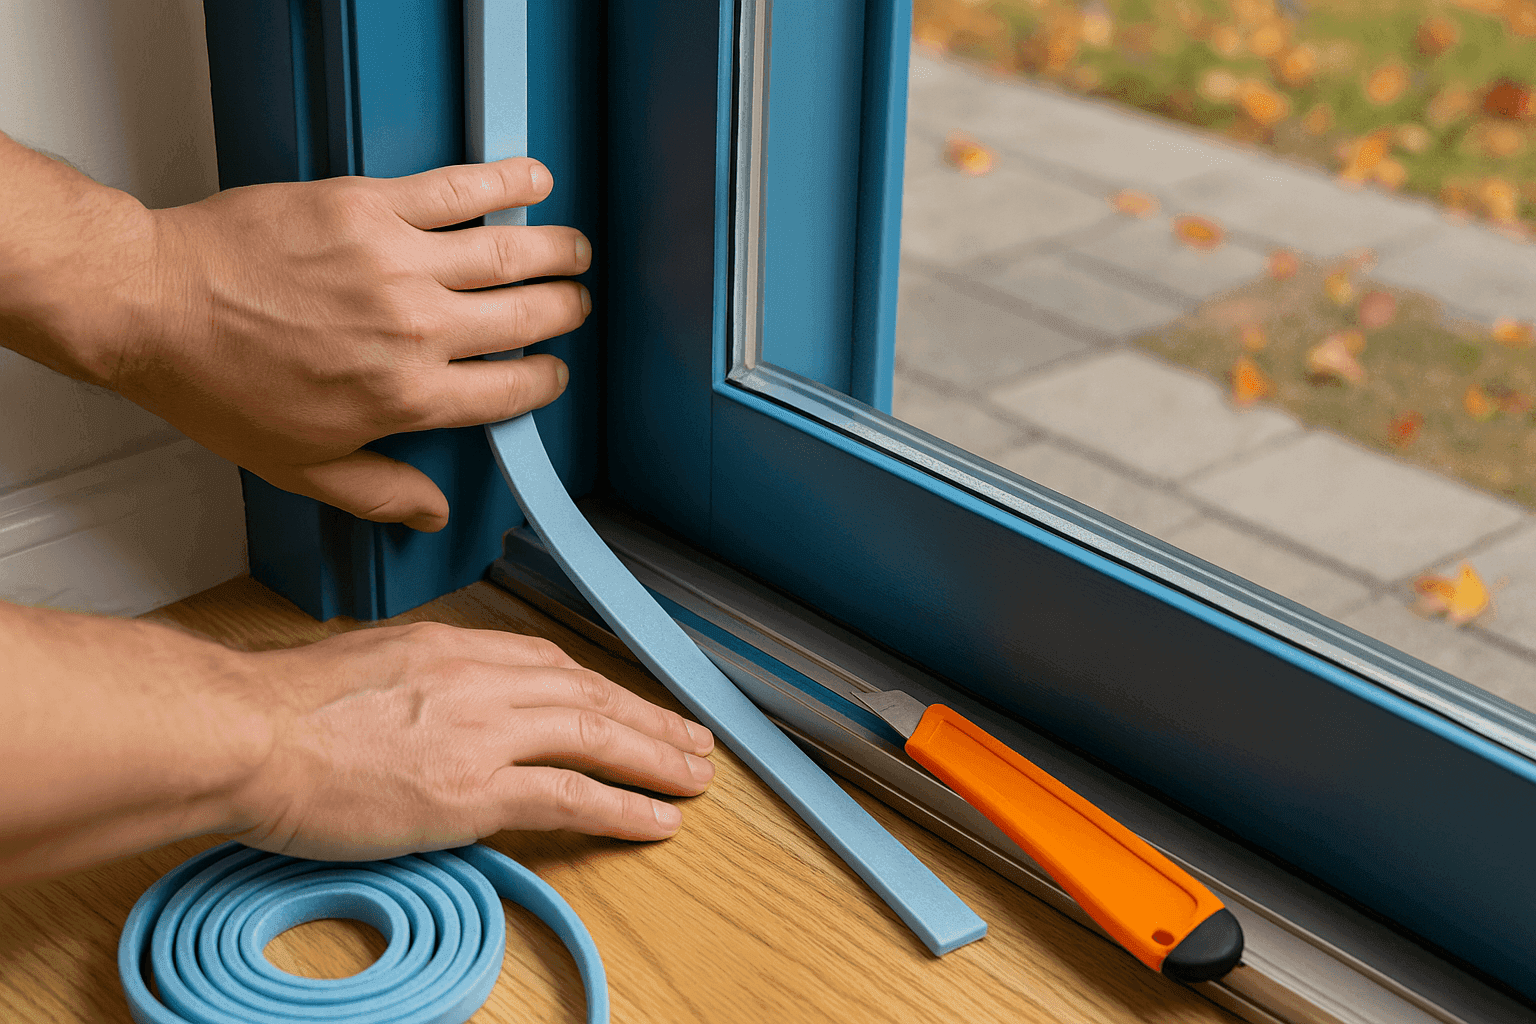
Sealing Supplies
- Bottom Seal: Door sweep or threshold weatherstrip designed for sliding doors ($8-15)
- Side Seals: Adhesive foam strips or vinyl weatherstripping for vertical gaps ($5-12)
- Top Seal: Foam tape or brush strips for header area ($3-8)
- Installation Tools: Utility knife, measuring tape, screwdriver ($8-15 if needed)
- Cleaning Supplies: Degreaser and clean rags for surface preparation ($5-8)
- Optional Upgrades: Adjustable threshold, lock-side weatherstrip ($10-25)
- Total Cost: $40-85 for complete door sealing that cuts energy loss significantly
Installation Process
- Clean all door frame surfaces thoroughly to ensure proper adhesion
- Measure gaps around entire door perimeter to select appropriate weatherstrip types
- Start with bottom threshold, installing door sweep or threshold seal first
- Apply side weatherstripping, ensuring door still operates smoothly when closed
- Install top seal, checking that door closes properly without binding
- Test operation by sliding door open and closed multiple times
- Adjust any areas where weatherstripping interferes with smooth door movement
- Check seal effectiveness using flashlight test or feeling for air movement
Professional energy auditors know that sliding doors are often the biggest source of air leakage in homes, but they're also the easiest to fix with proper weatherstripping. Here's my secret technique: use the "dollar bill test" – close the door on a dollar bill at various points around the frame. If you can pull it out easily, you need better weatherstripping in that spot. My favorite upgrade is installing an adjustable threshold that you can fine-tune for perfect contact with the door bottom. Pro tip: apply weatherstripping when temperatures are moderate (60-75°F) so materials aren't contracted from cold or expanded from heat. Also, clean the door tracks while you're at it – debris prevents proper closing and creates gaps that no amount of weatherstripping can seal!


