Install Window Insulation Film in 45 Minutes for $18
The film only stops drafts if the tape seals on clean, fully dry frames and the film is pulled taut with a hair dryer, so prep matters more than the plastic.

Every winter, old windows quietly leak heat, and a $5 sheet of plastic can stop most of it. But the difference between film that lasts all season and film that peels off by December comes down to one step: cleaning and fully drying the frame before the double-sided tape goes on. Tape needs bare, dust-free, oil-free surfaces to grip, and cold, damp trim lets go within days. Once the tape is bonded, a hair dryer shrinks the film drum-tight, which traps a still layer of air that acts as insulation. Plan on about 45 minutes and $18 for a kit covering several standard windows, and you will feel the difference at the glass by tonight.
What You'll Need
- Materials (~$18 total):
- Indoor window insulation film kit covering 3-5 standard windows, with included double-sided tape (~$14-16)
- Isopropyl alcohol, 70%, small bottle (~$2-3) for degreasing the frame
- Tools (likely on hand):
- Hair dryer with a high heat setting
- Sharp scissors
- Tape measure
- Clean lint-free cloth or paper towels
How to Do It
- Measure each window frame's outer width and height, then add 2 inches to each. The extra film gives you room to trim and prevents gaps at the corners where air leaks first.
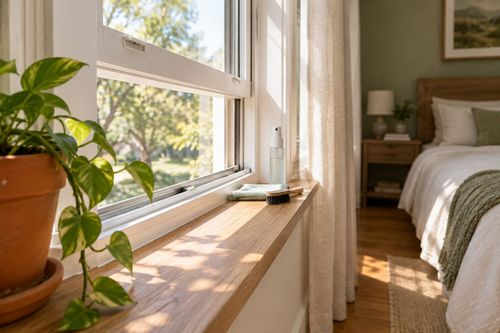
- Clean the frame surfaces where tape will stick with a cloth and isopropyl alcohol. Dust and grease are the main reason film fails, so do not skip this.
- Dry the frame fully, waiting 10 minutes after cleaning. Tape bonds poorly to any moisture, especially on cold trim.
- Apply the double-sided tape around the frame in a continuous strip, overlapping slightly at the corners. A gap in the tape is a gap in the air seal, so keep it unbroken. Press the strip down firmly with your thumb along its whole length.
- Attach the film by peeling the tape backing and pressing the film on, starting at the top and working across and down. Leave a little slack so you can smooth wrinkles later.
- Trim the excess film with sharp scissors, leaving about a quarter inch past the tape edge. A clean cut makes the finished window look neat and keeps loose edges from catching.
- Shrink the film by holding a hair dryer on high about 4 inches from the surface and moving constantly. The heat tightens the film and removes wrinkles, so keep the dryer moving to avoid melting it.
- Check the edges by running a finger along the tape for any lifted spots, then press them down. Fixing a small gap now beats finding it in January.
Energy auditors who weatherize older homes often warm the tape for a few seconds with the hair dryer before pressing the film down, because gently heated adhesive bonds much better to cold frames. They also fix the film's top edge first and work downward so gravity helps keep the sheet from sagging as they smooth it.