DIY Projects

Recent Content

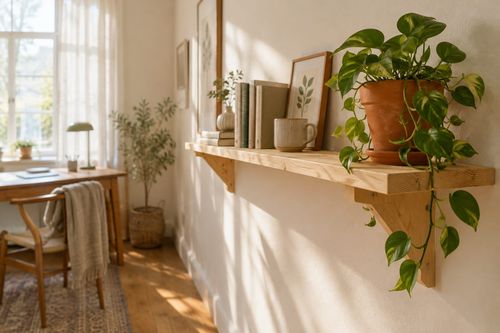
Wooden Wall Shelf: Why Pilot Holes Stop Splits

Wooden Wall Shelf: Why Pilot Holes Stop Splits

Build a simple pine wall shelf in an afternoon for about $20. Drilling pilot holes first is what keeps the wood from splitting and the shelf solid.

Make Cedar Fire Starter Bundles in 45 Minutes for $14

Make Cedar Fire Starter Bundles in 45 Minutes for $14

Light your first fire in seconds, not frustration! Make cedar-and-wax fire starter bundles in 45 minutes for $14 and be ready for cold November nights.

Peel-Off Stair-Step Shelf Trick for Tiny Desks

Peel-Off Stair-Step Shelf Trick for Tiny Desks

Free up desk space with a freestanding monitor riser shelf. No drilling, no glue, zero deposit risk. A small-space win you can set up in 10 minutes!

Dollar Store Tray Shelf: The Anchor That Holds $5

Dollar Store Tray Shelf: The Anchor That Holds $5

Turn two $1 dollar-store trays into a wall-hung bathroom shelf for under $5. Hanging it from a sturdy hook, not tape, keeps it from crashing down.

Build a Glove and Hat Drying Rack in 1 Hour for $18

Build a Glove and Hat Drying Rack in 1 Hour for $18

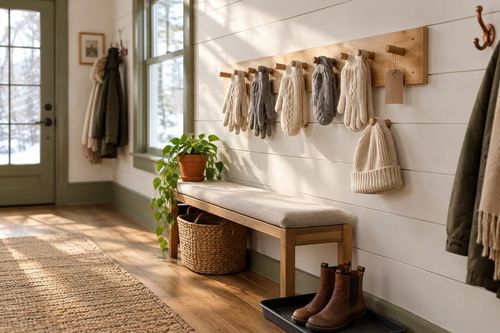
Soggy mittens by the door? Build a slim dowel drying rack in an hour for $18 and wake up to warm, dry gloves and hats all winter long.

logo
  • Home Improvement
  • DIY Projects
  • Interior Design
  • Gardening & Outdoor
  • Real Estate
  • Home Improvement
  • DIY Projects
  • Interior Design
  • Gardening & Outdoor
  • Real Estate
  • ​

Sky Art: DIY Kite Decorating

Transform plain kites into flying masterpieces that dance across summer skies with your personal artistic touch!

Children flying colorfully decorated kites with painted designs and streaming ribbons against a bright blue summer sky
DIY PROJECTS

There's something absolutely magical about watching your own artwork dance across the sky, carried by invisible currents of wind that make your creation come alive. I'll never forget the first time my son watched his hand-painted dragon kite soar above the park – his face lit up with pure wonder as if he'd summoned magic from thin air. Decorating kites is one of those perfect projects that combines creativity with outdoor adventure, giving kids (and adults) the immediate satisfaction of seeing their artistic vision take flight. At just $10-15 per decorated kite, you're not just creating art – you're making memories and turning a simple summer afternoon into an unforgettable experience where imagination literally soars.

What You'll Need

  • Base Kites: Plain white or light-colored kites from craft stores (~$5-8 each)
  • Paint Supplies: Acrylic paints, fabric paint markers, brushes in various sizes (~$15)
  • Decorative Elements: Colorful ribbons, streamers, lightweight fabric strips for tails
  • Adhesives: Fabric glue, double-sided tape, permanent adhesive dots
  • Design Tools: Stickers, stencils, stamps, permanent markers
  • Protective Gear: Aprons or old clothes, plastic tablecloth for workspace

Step-by-Step Method

  1. Plan your design by sketching ideas on paper first, considering how patterns will look in flight
  2. Prepare workspace with plastic covering and lay kite flat for easy access to all areas
  3. Paint base colors first, using thin coats that won't add excessive weight to the kite
  4. Add details with markers or smaller brushes once base colors are completely dry
  5. Attach streamers and ribbons to create flowing tails that enhance movement in the air
  6. Test balance by holding the kite and ensuring decorations don't interfere with flight stability
  7. Seal painted areas if needed with light spray coating to prevent paint from flaking
  8. Launch your creation on a breezy day and watch your artwork come alive in the sky!
DESIGNER TIP

Professional kite designers know that less is often more when it comes to decorating – too much paint or too many heavy decorations can affect flight performance. Focus on bold, simple designs that will be visible from a distance, and always test your kite's balance before the final flight. Also, consider wind direction when planning streamers – they should flow behind the kite, not interfere with its movement. The goal is creating art that flies beautifully, not just looks pretty on the ground!

Related Content

DIY Projects

11 November 2026

Post

Wooden Wall Shelf: Why Pilot Holes Stop Splits

Build a simple pine wall shelf in an afternoon for about $20. Drilling pilot holes first is what keeps the wood from splitting and the shelf solid....

DIY Projects

11 November 2026

Post

Make Cedar Fire Starter Bundles in 45 Minutes for $14

Light your first fire in seconds, not frustration! Make cedar-and-wax fire starter bundles in 45 minutes for $14 and be ready for cold November nights....

DIY Projects

10 November 2026

Post

Build a Glove and Hat Drying Rack in 1 Hour for $18

Soggy mittens by the door? Build a slim dowel drying rack in an hour for $18 and wake up to warm, dry gloves and hats all winter long....

DIY Projects

09 November 2026

Post

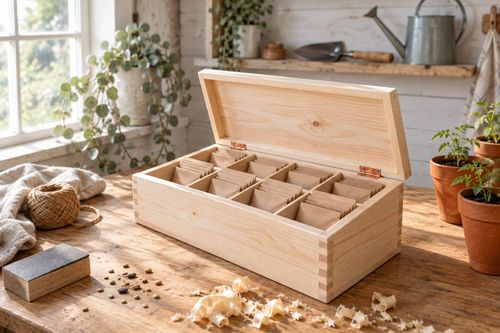
Build a Wooden Seed Storage Box in 2 Hours for $25

Spring-you will thank November-you! Build a divided wooden seed box in 2 hours for $25 and keep saved seeds dry, sorted, and viable until planting time....

DIY Projects

08 November 2026

Post

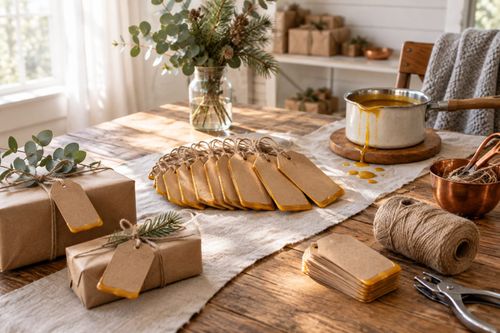
Make a Wax-Dipped Gift Tag Set in 45 Minutes for $12

Skip the flimsy store tags! Dip kraft tags in beeswax for sturdy, gorgeous holiday gift labels that survive wrapping, shipping, and curious toddlers....

DIY Projects

07 November 2026

Post

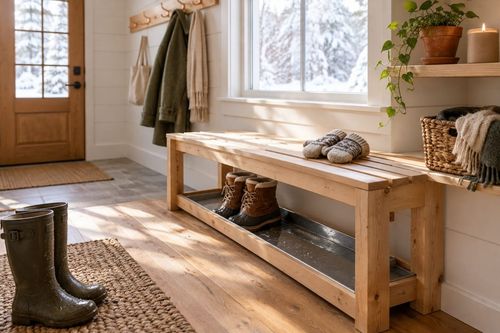
Build a Wooden Mitten and Boot Tray Bench in 2 Hours for $30

Wet boots wrecking your floors? Build a slatted-top boot tray with a gravel-free drip basin in 2 hours for $30 and keep winter slush off your entry floor....

DIY Projects

07 November 2026

Post

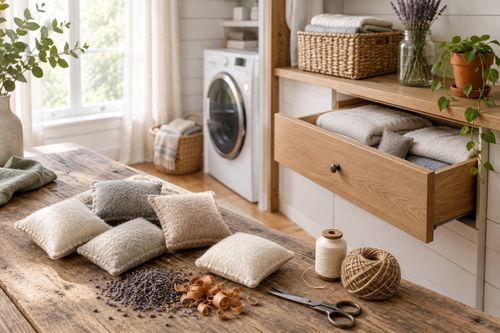
Make Wool Dryer Sachets in 30 Minutes for $10

Ditch the pricey dryer sheets! Sew cedar-and-lavender sachets for your drawers and closets in 30 minutes, just in time for wool sweater season....

DIY Projects

06 November 2026

Post

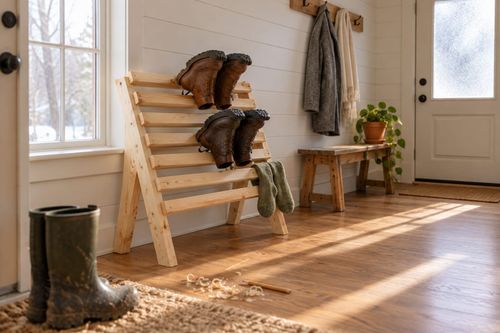
Build a Wooden Boot Drying Rack in 2 Hours for $25

Soggy boots by the door? Build a slatted wooden boot drying rack in 2 hours for $25 and wake up to dry, warm, odor-free footwear all winter long....

DIY Projects

05 November 2026

Post

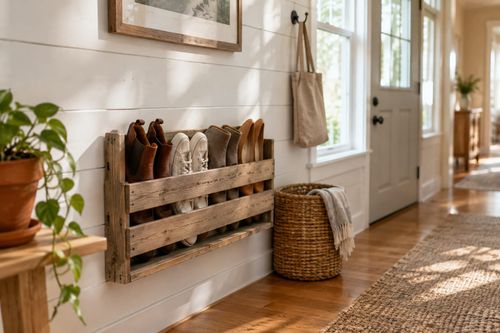
Wine Crate Shoe Rack: The Slat Gap That Holds Pairs

Turn a thrifted wine crate into a wall-hung shoe rack. The slat gap is what keeps heels from slipping through and pairs standing neat. Under $20....

DIY Projects

05 November 2026

Post

Make Stovetop Simmer Pot Jars in 30 Minutes for $15

Skip the $25 candle! Layer dried citrus, spices, and cranberries into gift-ready jars in 30 minutes for $15 and make your home smell like the holidays....

DIY Projects

04 November 2026

Post

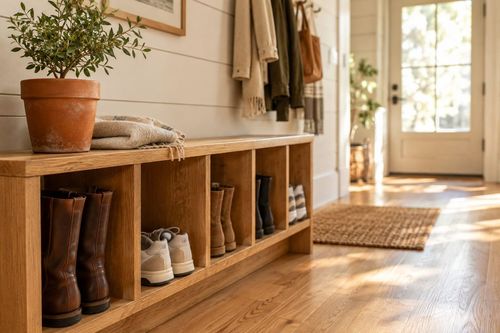
Shoe Bench Build: The Cubby Depth That Keeps Pairs Upright

Build a wooden entryway shoe bench for $35—the cubby depth is what keeps boots standing instead of toppling into a pile every morning....

DIY Projects

03 November 2026

Post

Tension Rod Shelf: The Rod Width That Won't Slip

Build a hidden double-decker shelf under your sink for $6—the rod tension width is what keeps it from crashing down on cleaning day....

DIY Projects

01 November 2026

Post

Sew Flannel Pajama Pants in 3 Hours for $25

Ditch store PJs! Sew cozy flannel pajama pants with an elastic waist in 3 hours for about $25 — perfect for chilly November nights....

DIY Projects

31 October 2026

Post

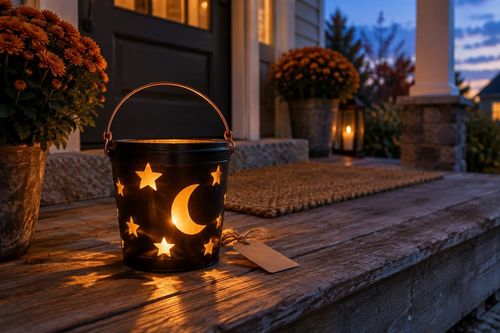
Build a Trick-or-Treat Bucket Lantern in 1 Hour for $15

Light up Halloween night with a glowing trick-or-treat bucket lantern—1 hour, $15, and way safer than a candle in a pumpkin....

DIY Projects

30 October 2026

Post

Pour Pumpkin Spice Candles in 1 Hour for $15

Ditch the $28 mall candle—pour your own pumpkin spice soy candles at home for $15 and fill your house with fall in an hour....
Terms and ConditionsDo Not Sell or Share My Personal InformationPrivacy PolicyPrivacy NoticeAccessibility NoticeUnsubscribe
Copyright © 2026 DIY HomeBoost