Space Revival: Furniture Arrangements That Welcome Spring Light
Create airier, more spacious rooms by strategic furniture placement that maximizes natural light and flow

Spring calls for liberation—not just in shedding winter layers but in freeing your living spaces from heavy, closed arrangements that once created cozy winter nests. By strategically repositioning your existing furniture to enhance natural light flow and create more open pathways, you can dramatically transform your home's feeling without purchasing a single new piece. This refresh focuses on psychological spaciousness: pulling furniture away from walls, creating conversation areas that breathe, and ensuring that spring's longer daylight hours reach deeper into your rooms. The result is a space that feels fundamentally renewed, with improved function and flow that better serves the indoor-outdoor living style of warmer months.
What You'll Need
| Planning Tools: |
| • Measuring tape |
| • Graph paper or room planning app |
| • Furniture templates or cutouts |
| • Notebook for recording measurements |
| • Camera or smartphone for "before" photos |
| Moving Assistance: |
| • Furniture sliders for hard floors |
| • Carpet sliders for carpeted areas |
| • Furniture lifting straps |
| • Moving blankets to protect pieces |
| • Helper(s) for moving larger items |
| Floor Protection: |
| • Felt furniture pads for wood floors |
| • Area rug gripper pads |
| • Furniture coasters for heavy pieces |
| • Floor repair markers or crayons |
| • Vacuum for cleaning revealed areas |
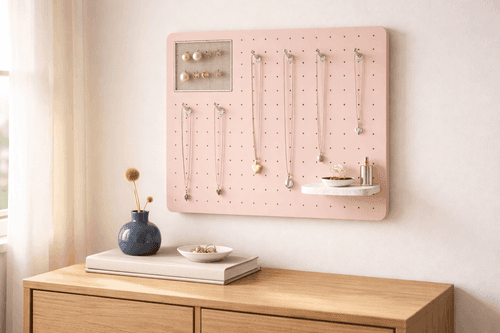
| Room Refreshers: |
| • Lightweight, spring-colored throw pillows |
| • Mirrors to enhance light reflection |
| • Light-filtering window treatments |
| • Fresh or silk plants for empty corners |
| • Lighter weight area rugs |
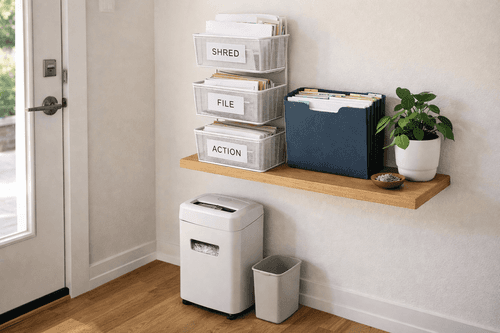
| Storage Solutions: |
| • Underbed storage containers |
| • Decorative baskets for quick cleanup |
| • Ottoman or coffee table with storage |
| • Wall-mounted shelving to free floor space |
| • Seasonal storage bags for winter items |
How To Do It
- Assess your space and sunlight patterns:
- Observe how natural light moves through your rooms throughout the day
- Note which windows bring in the most desirable light
- Identify furniture pieces that block significant light flow
- Consider seasonal changes in sun position and intensity
- Take "before" photos from multiple angles as reference points
- Create a scale floor plan:
- Measure room dimensions including windows and doorways
- Measure each furniture piece (width, depth, height)
- Draw room to scale on graph paper (1 square = 1 foot)
- Create paper cutouts of furniture to scale
- Alternatively, use a room planning app or online tool
- Establish clear traffic patterns:
- Identify natural pathways between doorways
- Allow 30-36 inches for main walkways
- Create clear paths to frequently used areas
- Avoid placing furniture in natural traffic flows
- Consider indoor-outdoor transitions for spring/summer use
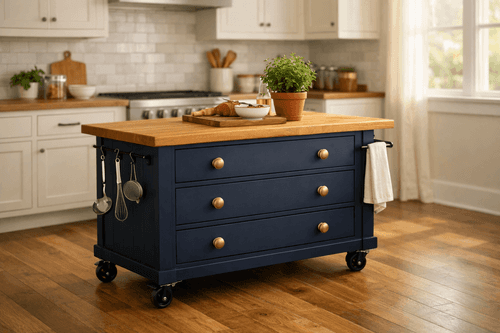
- Pull furniture away from walls:
- Move sofas 6-12 inches from walls to create breathing space
- Create "floating" furniture arrangements in room centers
- Use area rugs to define and anchor floating groupings
- Ensure backs of furniture pieces are finished if visible
- Consider angling pieces for dynamic dimension
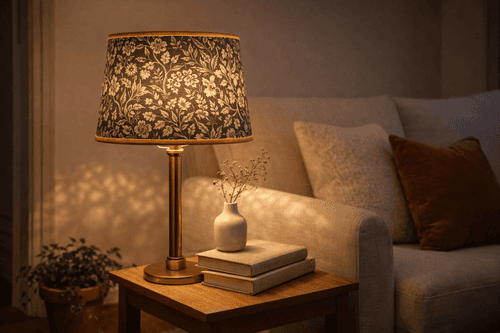
- Create conversation zones:
- Arrange seating to facilitate face-to-face interaction
- Position chairs and sofas no more than 8 feet apart for conversation
- Orient seating toward focal points like windows or fireplaces
- Consider multiple smaller conversation areas in larger rooms
- Include a surface within reach of each seat for drinks or books
- Prioritize light flow:
- Move tall pieces away from windows
- Replace solid furniture with open or glass-topped pieces where possible
- Position mirrors strategically to reflect window light deeper into rooms
- Use lighter colored furniture near windows to reflect rather than absorb light
- Consider removing or repositioning heavy window treatments
- Create multi-functional spaces:
- Define areas for different activities within open spaces
- Use rugs, lighting, or furniture groupings as visual dividers
- Consider furniture that serves multiple purposes
- Create flexible arrangements that can adapt for entertaining
- Include movable pieces like ottomans or garden stools
- Edit and minimize:
- Remove unnecessary furniture that clutters pathways
- Store seasonal items like heavy throws and winter accessories
- Evaluate whether each piece serves function or beauty
- Consider removing one large piece from each room temporarily
- Replace bulky items with lighter, visually lighter alternatives
- Test and refine positioning:
- Try furniture in new positions before committing
- Sit in each seat to test comfort and sight lines
- Walk through the space to ensure easy movement
- Observe how light interacts with new arrangement at different times
- Make adjustments based on practical use over several days
- Finish with spring accents:
- Add lightweight textiles in spring colors
- Position plants where newly available light makes them thrive
- Use smaller accessories to tie new arrangements together
- Clean windows to maximize light penetration
- Take "after" photos to appreciate the transformation
Professional interior designers use a technique called "visual weighting" when arranging furniture for spring. This approach balances the perceived heaviness of pieces throughout the room rather than their actual physical weight. For instance, a dark-colored armchair may appear visually heavier than a physically larger sofa in a light fabric. By distributing visual weight evenly and concentrating lighter pieces near windows, designers create spaces that feel balanced yet airy. Another industry secret is the "sight line approach" — when seated, your eye should travel smoothly along interesting elements at approximately the same height around the room, creating a harmonious horizontal flow. For maximum spatial impact, top designers recommend following the "rule of thirds vertically" — dividing your visual field into thirds and ensuring decorative elements occupy each zone, drawing the eye not just around the room but up and down as well. This comprehensive approach creates spaces that feel expansive in all dimensions, perfect for welcoming spring's abundant natural light.