No-Drill Fix

Recent Content

Wooden Dish Rack: The Dowel Angle That Drains Right

Wooden Dish Rack: The Dowel Angle That Drains Right

Build a slatted wood dish rack for $18—the dowel tilt angle is what actually drains water into the tray instead of pooling on your counter.

Install a Fireplace Draft Stopper in 20 Minutes for $25

Install a Fireplace Draft Stopper in 20 Minutes for $25

Stop your chimney from sucking heat right out of the house—an inflatable draft stopper seals it in 20 minutes for about $25.

The Shower Rod Trick That Fakes a Walk-In Closet

The Shower Rod Trick That Fakes a Walk-In Closet

Steal spare closet space with a second shower-curtain rod—zero holes, zero fuss, and your full deposit stays safe.

Pool Noodle Knife Block: The Slice Depth That Stops Wobble

Pool Noodle Knife Block: The Slice Depth That Stops Wobble

Turn a $1 pool noodle into a safe knife block—the slice depth is what keeps blades from wobbling loose or slicing through the foam.

Build a Wooden Pie Carrier in 2 Hours for $25

Build a Wooden Pie Carrier in 2 Hours for $25

Never smash a pie in the car again! Build a snug wooden pie carrier in 2 hours for $25—perfect timing for fall potlucks.

logo
  • Home Improvement
  • DIY Projects
  • Interior Design
  • Gardening & Outdoor
  • Real Estate
  • Home Improvement
  • DIY Projects
  • Interior Design
  • Gardening & Outdoor
  • Real Estate
  • ​

The Floating Shelf Trick That Uses Zero Screws

Extra storage and a bigger-feeling room, minus the wall damage.

[#~image_alt_1~#]
No-Drill Fix

Small closets and tiny kitchens never have enough shelf space, but drilling into rental walls is a hard no. This hack uses tension-mounted shelf brackets and heavy-duty removable strips to add real, weight-bearing storage that lifts off without a trace when you move out.

What You'll Need

  • Tension-mount shelf bracket kit, no-drill style (~$25)
  • Heavy-duty removable mounting strips rated for 5-15 lbs (~$10)
  • One floating shelf board, 24" wide (~$18)
  • Level (phone app or small bubble level works fine)
  • Microfiber cloth for surface prep

How to Do It

  1. Clean the wall surface thoroughly with the microfiber cloth so the removable strips bond properly.
  2. Mark your shelf placement lightly with a pencil dot, using the level to keep it straight.
  3. Attach the tension-mount brackets using the removable strips, pressing firmly for 30 seconds each.
  4. Wait the full cure time listed on the strip packaging, usually about one hour, before adding weight.
  5. Slide the shelf board onto the brackets and check it's level.
  6. Load lightly at first, then add more items once you trust the hold.
  7. Remove anytime by pulling the strip tabs slowly downward, which releases the bond and leaves no residue.
DESIGNER TIP

Stick two shelves at slightly different heights instead of one long one — it reads as an intentional design choice, not just extra storage.
Related Content

No-Drill Fix

02 October 2026

Post

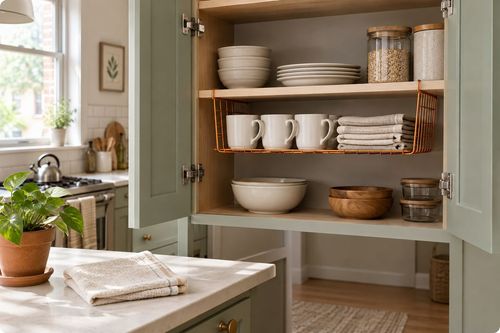
The Under-Shelf Basket Trick for Instant Cabinet Space

Double your cabinet storage with a slide-in wire basket — zero screws, zero damage, and your full deposit stays safe....

No-Drill Fix

01 October 2026

Post

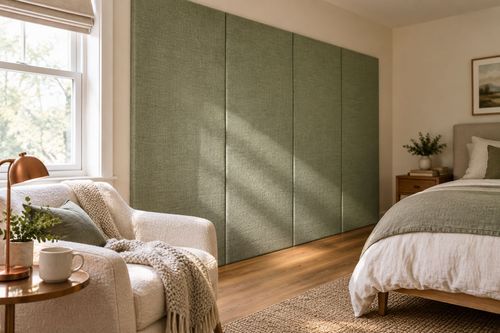
The Fabric Wall Panel That Fakes a Feature Wall

Fake a bold accent wall with removable fabric panels — zero paint, zero holes, and your full deposit stays intact....

No-Drill Fix

29 September 2026

Post

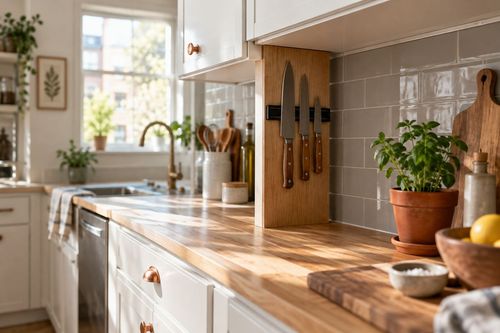
The Magnetic Knife Strip Trick for Rental Kitchens

No drilling, no gouges — a magnetic strip that mounts on a tension board and frees up drawer space instantly....

No-Drill Fix

26 September 2026

Post

The Tension Curtain Trick for Instant Room Zones

Split a studio into two 'rooms' with one tension rod and a curtain — zero holes, zero fuss, full deposit back....
Terms and ConditionsDo Not Sell or Share My Personal InformationPrivacy PolicyPrivacy NoticeAccessibility NoticeUnsubscribe
Copyright © 2026 DIY HomeBoost