Wooden Boot Tray: The Slat Gap That Drains Right
The slat gap is the one measurement that decides whether meltwater drains away or sits under your boots and warps the wood.

It's early December, and every wet boot coming through your door is dropping meltwater somewhere. A slatted wooden boot tray fixes that, but only if the gap between slats is right. Leave it about 3/8 inch and water falls through into a shallow lipped base while boots still sit flat on the slats. Go wider and heels tip and catch. Go tighter than 1/4 inch and surface tension holds the water on top, so the wood stays wet, swells, and eventually grays or splits. Cut a simple spacer block, build one sturdy tray, and you'll have a dry, solid entryway in an afternoon for about $20.
What You'll Need
- 1x4 pine boards, 8 ft (2), for slats and frame, about $12
- 1x2 pine, 6 ft, for the base rails and lip, about $4
- 1/4 inch plywood or hardboard scrap, 24x14 inches, for the drip base, about $3
- 1-1/4 inch wood screws, a small box, about $3
- Waterproof wood glue and exterior polyurethane, about $8 if you don't already own them
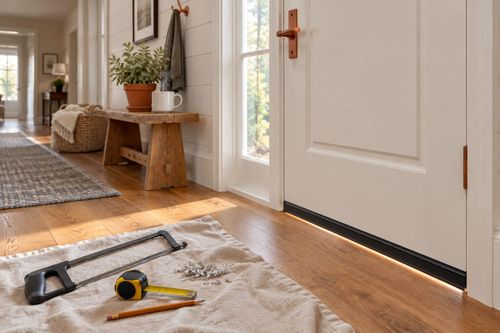
- Handsaw, drill, sandpaper, and a 3/8 inch scrap spacer, tools you likely own
How to Build It
- Cut the 1x4 into six slats at 24 inches. Cut two 1x4 end pieces at 12 inches. Sand all the cut edges smooth.
- Make a spacer by cutting a scrap to exactly 3/8 inch thick. Test it against a slat edge so you can trust it for the whole build.
- Build the drip base by gluing and screwing 1x2 rails around the edges of the plywood to make a shallow lip about 3/4 inch high. Run a bead of glue in each corner so the lip holds water in.
- Pre-drill pilot holes through the end pieces, then lay out the slats across them. Use the spacer between every slat so the gaps are identical.
- Screw each slat to both end pieces with two screws per end. Check the gap after each slat, since boards tend to creep.
- Seal the slat assembly with three thin coats of exterior polyurethane, including the edges and the underside. Let each coat dry fully and lightly sand between coats.
- Set the slat top into the drip base so it rests on the rails. Place it by the door and test it with a cup of water to confirm it drains into the base.
Seal the underside and screw holes as carefully as the top, because that's where lingering moisture rots wood first. For a more finished look, stain the slats a dark walnut before sealing and line the drip base with a strip of river rock so it hides splashes between emptying.