Deep Clean Your Porch for Spring in Under $20
Two to three hours of honest scrubbing and your outdoor living space feels brand new
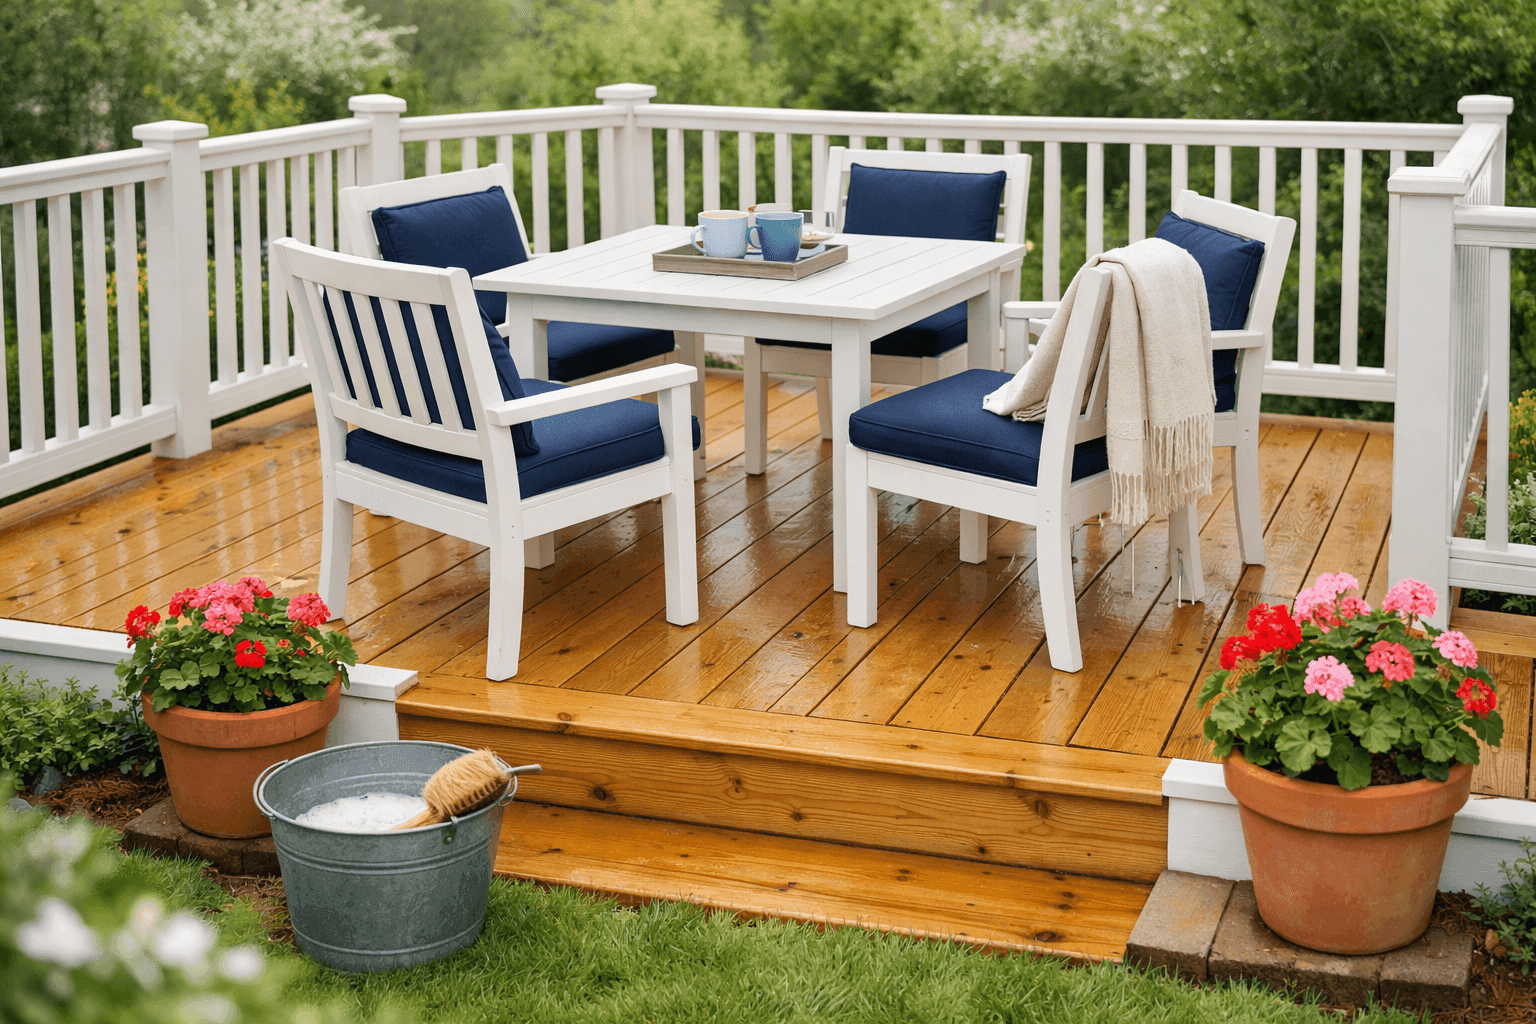
There's a specific moment every spring when you walk out onto your porch, look at the film of winter grime on the furniture, the pollen-coated floor, and the cushions that have been quietly getting musty in storage since October, and think: this weekend. That moment is the whole motivation for this project — because a porch and outdoor furniture that get a proper deep clean before the season starts aren't just cleaner, they genuinely feel like a different space. The kind of space you actually want to sit in with a coffee on a Saturday morning rather than one you keep meaning to deal with. For under $20 in cleaning supplies and two to three honest hours of work, you can take every outdoor surface from winter-dingy to properly ready for the season — decking scrubbed, cushions washed, furniture wiped down, everything dried and back in place. It's the reset that makes your outdoor living space feel as intentional and inviting as the rooms inside your house.
What You'll Need
- Deck and Hard Surface Cleaning
- Oxygen bleach powder (like OxiClean) — the safe, plant-friendly alternative to chlorine bleach for wood and composite decking; mixed with warm water it lifts winter grime, mildew stains, and pollen residue without damaging surrounding plants or discoloring wood (~$6–8 for a container that covers a full deck)
- Stiff-bristle deck brush or push broom with scrubbing head for working the solution into deck boards
- Garden hose with a jet nozzle for rinsing — a pressure washer makes this faster if you have access to one, but isn't required
- White vinegar in a spray bottle for wiping down railings, light fixtures, and any mildew spots on non-wood surfaces (~$2–3 for a large bottle)
- Furniture Cleaning
- Dish soap and warm water in a bucket — effective on almost all outdoor furniture frames including aluminum, resin wicker, wrought iron, teak, and painted wood
- Microfiber cloths or soft sponges for wiping down frames and hard surfaces without scratching
- Old toothbrush for getting into wicker weaves, railing spindles, and tight joints where grime accumulates and a regular cloth can't reach
- Car wax or teak oil — optional finish treatment for metal furniture prone to rust and natural wood furniture respectively; extends the clean significantly (~$5–8)
- Cushion Cleaning
- Liquid laundry detergent or dish soap for hand-washing removable covers and spot-treating non-removable cushions
- Soft-bristle scrub brush for working out embedded dirt, mildew spots, and stains in cushion fabric
- Check cushion care tags before machine washing — many outdoor cushion covers are machine washable on cold gentle, but foam inserts should never go in the machine
- Spray bottle with equal parts water and white vinegar for mildew odor treatment before washing
- Total Cost
- Under $20 for oxygen bleach, vinegar, and dish soap — likely under $10 if you already own the cleaning basics
How to Do It
- Clear and sweep everything first — move all furniture, planters, rugs, and decorative objects completely off the deck or porch surface before touching a single cleaning product. Sweeping out every corner, underneath the furniture base marks, and along the railing edges while the surface is clear takes five minutes and makes every subsequent step faster and more effective than trying to clean around obstacles.
- Start cushions soaking before scrubbing the deck — cushions need the longest processing time in the whole cleanout, so starting them first means they're drying while you work through everything else. Spray any mildew-smelling fabric with the water-vinegar solution and let it sit for 10 minutes, then hand-wash covers in warm soapy water or machine wash on cold gentle if the care tag allows. Set covers to air dry in a sunny spot immediately.
- Mix oxygen bleach solution according to package directions in a watering can or bucket — typically two to three tablespoons per gallon of warm water. Wet the deck surface with plain water first, then apply the oxygen bleach solution generously across the boards and let it sit for 10–15 minutes before scrubbing. This dwell time is what loosens the winter grime and mildew at the fiber level rather than just moving it around on the surface.
- Scrub the deck with a stiff-bristle brush in the direction of the wood grain, working in manageable sections from the far end of the deck back toward the door so you're never walking on freshly scrubbed sections. Pay extra attention to the gaps between boards where organic debris collects, shaded corners where mildew concentrates, and any areas directly under where furniture sat all winter. Rinse each section thoroughly with the hose before moving to the next.
- Clean railings, steps, and vertical surfaces with the vinegar spray and a microfiber cloth while the deck boards are still drying — spray generously, let it sit for two minutes on any mildew spots, then wipe down from top to bottom. Use the old toothbrush to scrub between railing spindles, inside corner joints, and anywhere grime has built up in a gap a cloth can't reach. These details are what separate a surface that looks cleaned from one that looks actually clean.
- Wash all furniture frames with warm soapy water and a sponge, working systematically from the top of each piece downward so dirty rinse water doesn't flow over surfaces you've already cleaned. Scrub wicker weaves with the toothbrush in the direction of the weave, paying attention to where the strands cross — that's where dirt packs in most densely. Rinse with clean water and dry immediately with a cloth to prevent water spots on metal surfaces.
- Apply protective finish to any furniture that benefits from it — a coat of paste car wax buffed onto powder-coated or painted metal furniture creates a hydrophobic barrier that keeps the next season's worth of weather from bonding as hard to the surface; teak oil applied to natural wood furniture restores moisture to dry grain and brings back the rich warm color that a winter outdoors tends to fade. Neither step is required, but both extend the time until the next deep clean significantly.
- Reassemble and style once the deck surface and furniture frames are fully dry — bring cushion covers back from the line, replace any that aren't fully dry with an indoor dry overnight before putting them on foam inserts. Carry furniture back into its arrangement, set out planters, replace the outdoor rug, and do a slow walk around the full space from the yard looking in. The difference between a porch viewed from outside before and after a proper spring clean is one of the most satisfying reveals in the whole seasonal home maintenance calendar.
Outdoor living designers who stage and photograph porches for editorial shoots almost always do one specific thing after the clean that most homeowners skip entirely: they rearrange the furniture before putting it back rather than returning it to the same positions it occupied all last year. A winter's worth of floor stains, fading patterns, and weathered zones all map exactly to where the old arrangement sat — and placing furniture back in those same spots makes the space feel like it's still wearing its winter residue even after a thorough cleaning. Rotating the arrangement by even 90 degrees puts the worn zones under furniture where they're invisible, puts the cleanest surface areas on full display, and often improves the layout's function and flow in the process.