Interior Design

Recent Content

Wooden Wall Shelf: Why Pilot Holes Stop Splits

Wooden Wall Shelf: Why Pilot Holes Stop Splits

Build a simple pine wall shelf in an afternoon for about $20. Drilling pilot holes first is what keeps the wood from splitting and the shelf solid.

Make Cedar Fire Starter Bundles in 45 Minutes for $14

Make Cedar Fire Starter Bundles in 45 Minutes for $14

Light your first fire in seconds, not frustration! Make cedar-and-wax fire starter bundles in 45 minutes for $14 and be ready for cold November nights.

Peel-Off Stair-Step Shelf Trick for Tiny Desks

Peel-Off Stair-Step Shelf Trick for Tiny Desks

Free up desk space with a freestanding monitor riser shelf. No drilling, no glue, zero deposit risk. A small-space win you can set up in 10 minutes!

Dollar Store Tray Shelf: The Anchor That Holds $5

Dollar Store Tray Shelf: The Anchor That Holds $5

Turn two $1 dollar-store trays into a wall-hung bathroom shelf for under $5. Hanging it from a sturdy hook, not tape, keeps it from crashing down.

Build a Glove and Hat Drying Rack in 1 Hour for $18

Build a Glove and Hat Drying Rack in 1 Hour for $18

Soggy mittens by the door? Build a slim dowel drying rack in an hour for $18 and wake up to warm, dry gloves and hats all winter long.

logo
  • Home Improvement
  • DIY Projects
  • Interior Design
  • Gardening & Outdoor
  • Real Estate
  • Home Improvement
  • DIY Projects
  • Interior Design
  • Gardening & Outdoor
  • Real Estate
  • ​

Swing Into Comfort: Indoor Hanging Chair

Transform any corner into a dreamy retreat where gentle swaying meets ultimate relaxation!

Cozy living room corner with stylish hanging chair creating a perfect reading nook with soft cushions and natural lighting
INTERIOR DESIGN

The first time I installed a hanging chair in our living room corner, I thought it might be a fun novelty that would lose its appeal after a few weeks. Three years later, it's become the most coveted seat in the house – everyone from my teenage daughter to visiting grandparents gravitates toward its gentle sway and cocoon-like comfort. There's something primal and soothing about that subtle swinging motion that instantly reduces stress and creates a sense of being cradled. Whether you choose a macramé hammock chair for bohemian vibes or a sleek modern swing for contemporary appeal, this addition costs $100-250 but transforms any space into a sanctuary that brings vacation relaxation indoors year-round.

What You'll Need

  • Hanging Chair: Hammock chair, swing chair, or pod chair (~$80-200 depending on style)
  • Ceiling Hardware: Heavy-duty ceiling hook rated for 400+ lbs, swivel hardware for rotation
  • Installation Tools: Stud finder, drill with bits, measuring tape, level
  • Safety Equipment: Eye protection, step ladder, assistant for safe installation
  • Comfort Additions: Cushions, throw pillows, soft blanket for ultimate coziness
  • Optional Accessories: Side table for books/drinks, reading light, plant for ambiance

Step-by-Step Method

  1. Locate ceiling joists using a stud finder – never install in drywall alone for safety
  2. Measure chair clearance ensuring 3 feet of swing space in all directions
  3. Mark exact installation point and double-check with measuring tape and level
  4. Drill pilot hole and install heavy-duty eye bolt or ceiling hook into joist
  5. Test installation with gradually increasing weight before hanging the actual chair
  6. Attach chair hardware following manufacturer's specifications exactly
  7. Adjust height so feet can touch floor comfortably when seated
  8. Style with cushions and accessories to create the perfect reading or relaxation nook
DESIGNER TIP

Professional interior designers position hanging chairs to take advantage of natural light and views – near windows but not blocking traffic flow. Also, consider the room's scale – a large pod chair works in spacious rooms, while a simple rope chair suits smaller spaces. Always install a swivel mechanism so the chair can rotate naturally with use. For ultimate comfort, add a small side table within arm's reach and layer soft textures that invite lingering. The goal is creating an irresistible retreat that becomes everyone's favorite spot!
Related Content

Interior Design

07 November 2026

Post

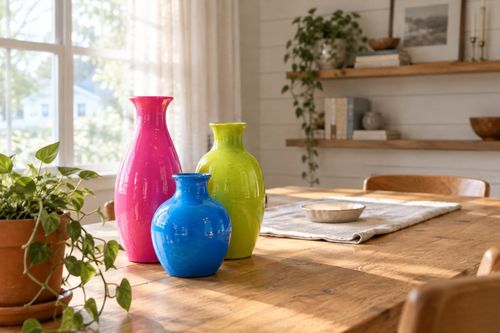
Painted Vase Trio: Why the Gloss Coat Must Go Last

Turn thrifted vases into a bold, color-blocked trio for under $20. The clear gloss coat is what makes the color pop and keeps the paint from chipping....

Interior Design

04 November 2026

Post

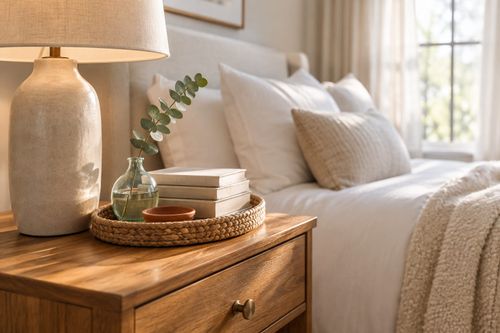
Style a Layered Nightstand Vignette in 1 Hour for $35

Turn a cluttered nightstand into a cozy styled vignette with the height-rule trick—1 hour, $35, instant bedroom upgrade....

Interior Design

02 November 2026

Post

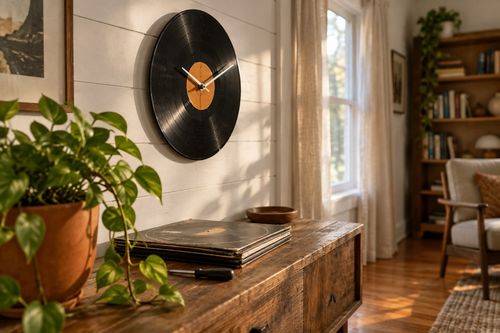
Vinyl Record Clock: The Center Hole Size That Matters

Turn a scratched vinyl record into a working wall clock—the center hole size is what keeps the mechanism snug instead of wobbling off-center. Under $15....

Interior Design

26 October 2026

Post

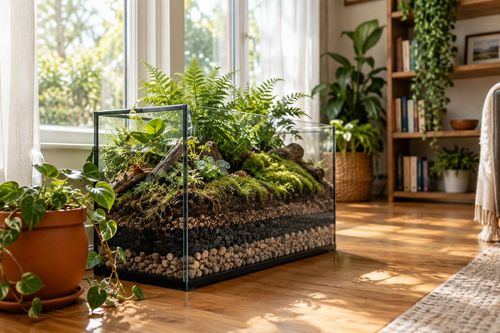
Fish Tank Terrarium: The Drainage Layer That Saves It

Turn a leaky old fish tank into a stunning terrarium—the gravel drainage layer is what stops root rot before your plants ever get a chance....

Interior Design

24 October 2026

Post

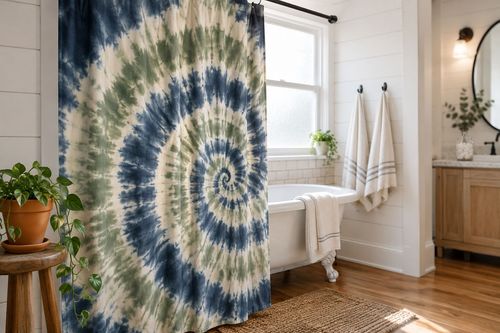
Tie-Dye Shower Curtain: The Fold That Makes Spirals

Turn a plain $8 shower curtain into a wild tie-dye spiral—the fold-and-twist technique is what makes the pattern radiate instead of blotch....

Interior Design

21 October 2026

Post

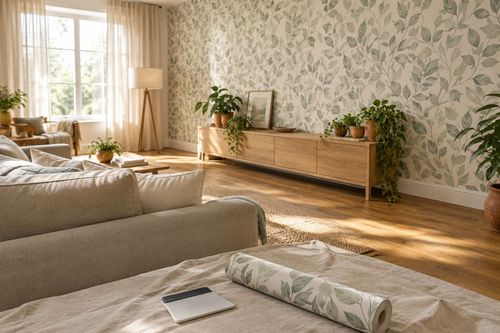
Peel-and-Stick Wallpaper Accent Wall in 3 Hours for $60

Turn one blank wall into a showstopper with peel-and-stick wallpaper—no wet paste, no mess, just a sharp accent wall by dinnertime....

Interior Design

19 October 2026

Post

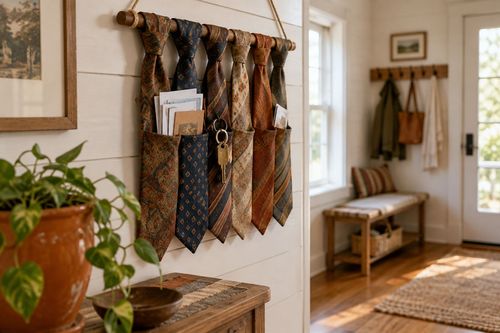
Necktie Wall Organizer: The Knot Spacing That Holds

Turn old neckties into a boho wall organizer for keys and mail—even knot spacing is what keeps the pockets from sagging open. Under $10....

Interior Design

17 October 2026

Post

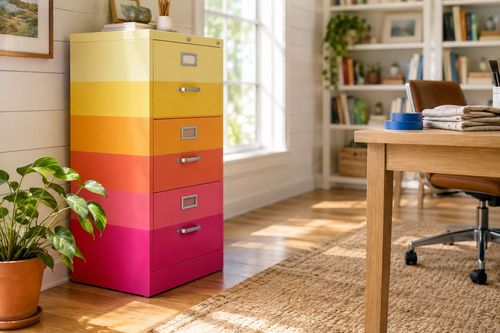
Neon Ombré File Cabinet: The Tape Order That Prevents Bleed

Turn a beige metal file cabinet into a neon ombré showstopper—the tape-layering order is what keeps colors crisp instead of muddy. Under $25....

Interior Design

15 October 2026

Post

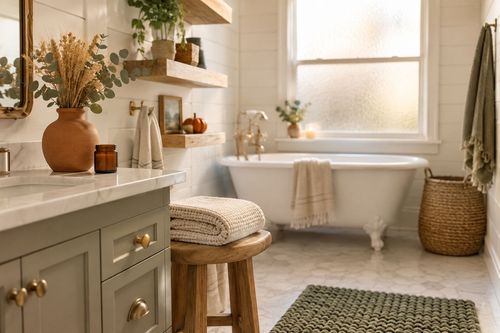
Style a Cozy Fall Guest Bathroom Refresh in 2 Hours for $35

Turn a sterile guest bath into a warm fall retreat with layered textiles and scent—2 hours, $35, zero renovation required....

Interior Design

13 October 2026

Post

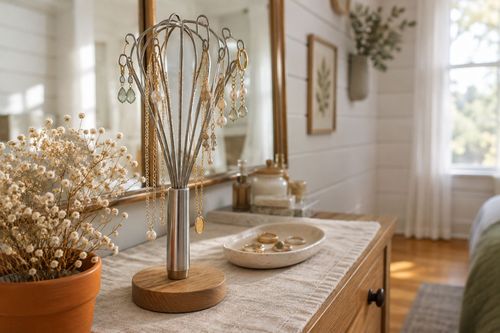
Whisk Jewelry Holder: The Bend That Stops Sagging

Turn a $1 dollar-store whisk into a boutique earring holder—the wire bend angle is what stops it from drooping under real jewelry weight....

Interior Design

12 October 2026

Post

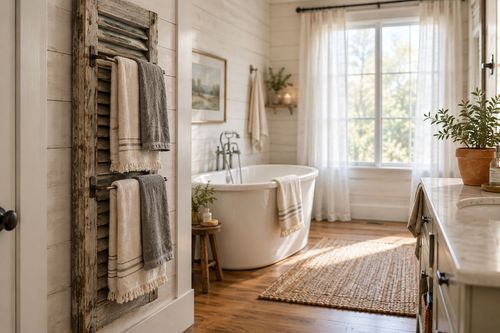
Shutter Towel Rack: The Anchor Screw That Won't Rip Out

Turn a salvaged wood shutter into a bathroom towel rack—the stud anchor is what stops it ripping out under soaked towels....

Interior Design

11 October 2026

Post

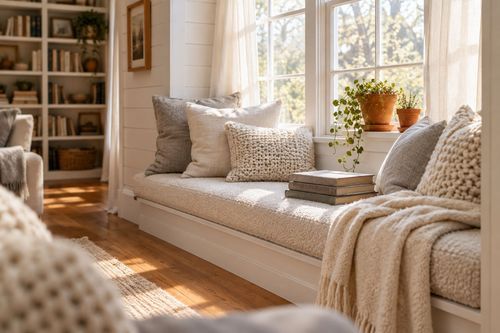
Style a Cozy Window Seat Nook in 2 Hours for $45

Turn a bare window seat into a cozy fall reading nook with the right cushion layering trick—2 hours, $45, instant curl-up energy....

Interior Design

10 October 2026

Post

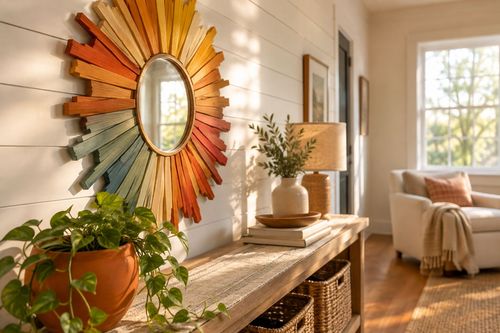
Sunburst Mirror: The Ray Overlap That Hides Gaps

Paint a bold rainbow sunburst mirror for $25—overlapping each ray's base is the trick that hides gaps and makes it look store-bought....

Interior Design

07 October 2026

Post

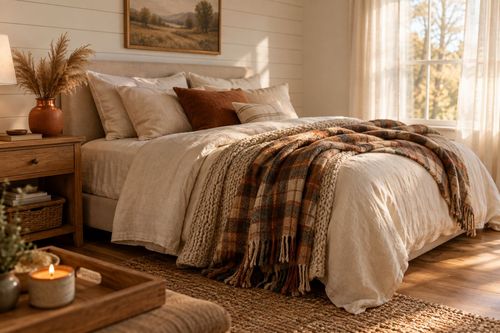
Style a Cozy Fall Bedroom Refresh in 2 Hours for $50

Layer flannel, wool, and warm light the right way and your bedroom finally feels like fall — 2 hours, $50, zero renovation....

Interior Design

03 October 2026

Post

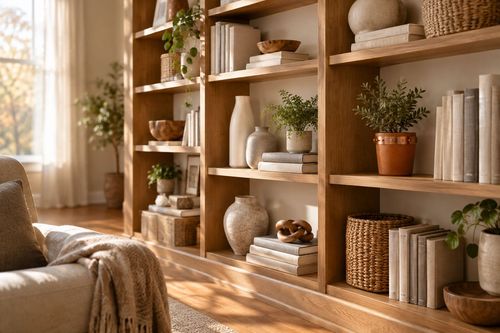
Style a Fall Bookshelf Refresh in 2 Hours for $40

Turn a cluttered bookshelf into a magazine-worthy fall vignette using the triangle rule and warm accents—2 hours, $40, zero carpentry....
Terms and ConditionsDo Not Sell or Share My Personal InformationPrivacy PolicyPrivacy NoticeAccessibility NoticeUnsubscribe
Copyright © 2026 DIY HomeBoost